Step 1: Installing and Preparing the Hobie Lynx Rear Bumper Bro For those who wish to enhance their kayak’s structural integrity and safeguard their investment with a Keel Guard, begin by carefully positioning it at either the kayak’s bow or stern. Ensure a snug fit without any visible gaps, and mark the optimal placement using masking tape or a pencil. If you identify any gaps, gently apply heat to the Keel Guard using a heat gun while wearing a protective heat-resistant glove to mold it to match your kayak’s unique contours. Please note there will be larger gaps on the Lynx due to the inconsistency of the lip shape in molding so it will require more sealant to seal. You can see this process by following this link.
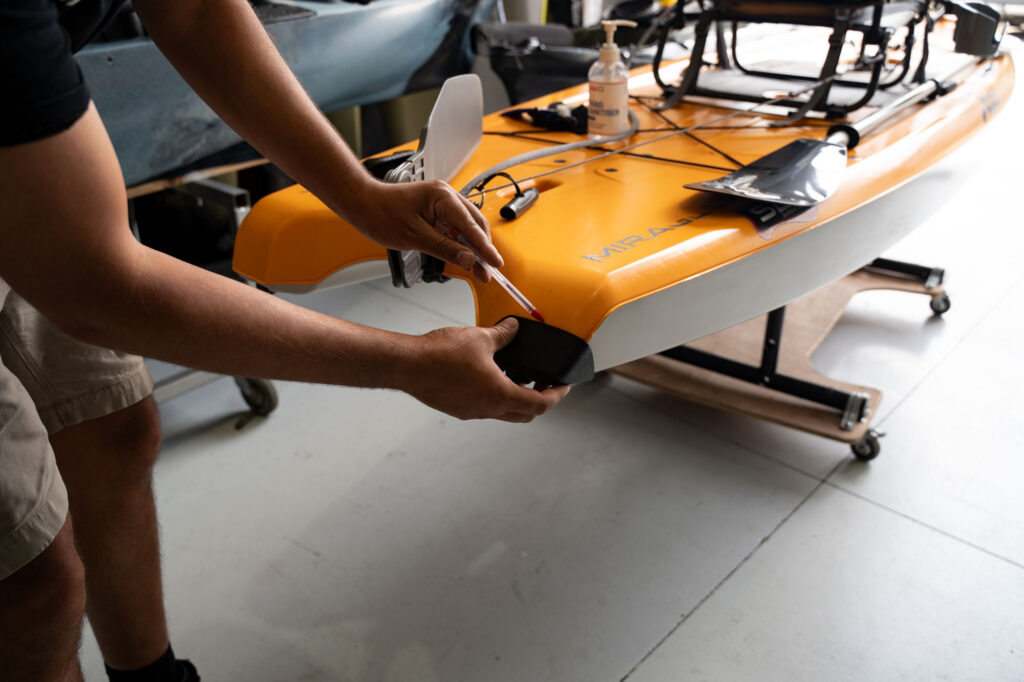
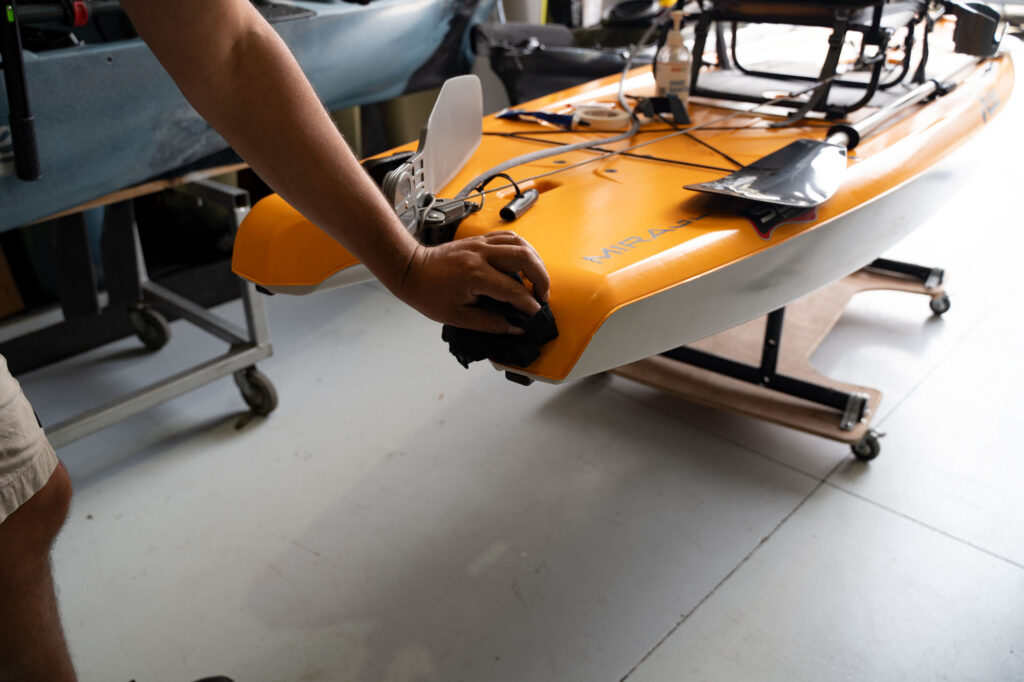
Step 2: Cleaning and Surface Preparation Initiate the process by thoroughly cleaning the mounting surface of your kayak with isopropyl alcohol and a clean cloth to remove any stubborn dirt or residue. To ensure a perfect bond, lightly sand the surface with sandpaper, then wipe it down again with isopropyl alcohol.
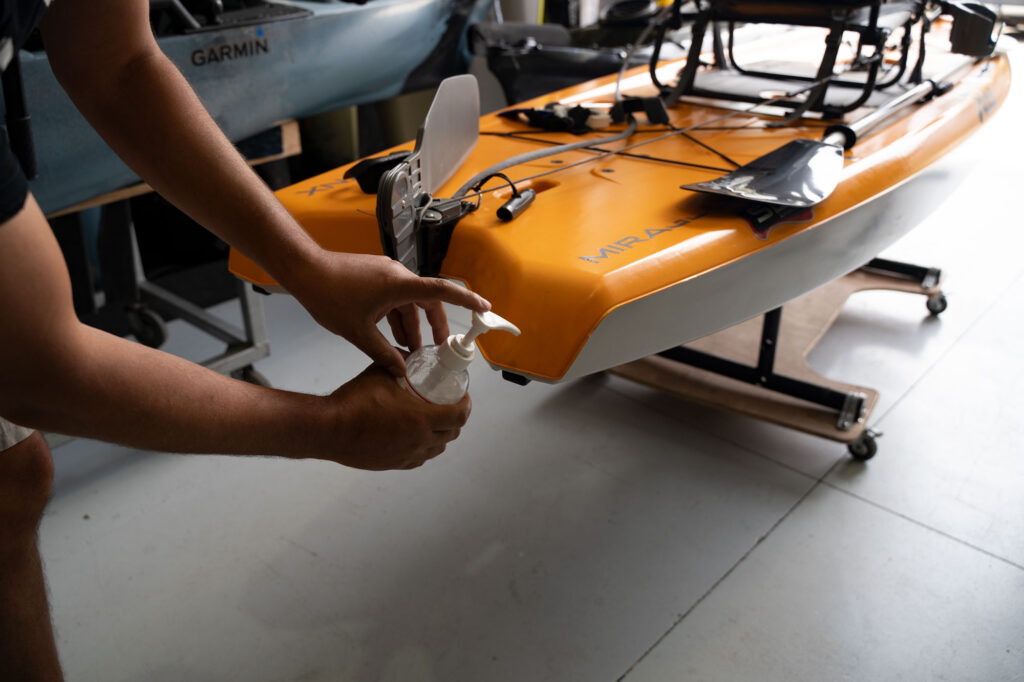
Step 3: Preparing the Keel Guard Clean the inner surface of the Keel Guard using isopropyl alcohol and a cloth or paper towel, ensuring that both the Keel Guard and the kayak’s mounting surface are completely dry.
Step 4: Applying Marine Goop or Adhesive Confirm that the Keel Guard is oriented correctly for attachment to your kayak. Use tape as reference points to mark the keel just beyond the Keel Guard’s ends. Apply a small bead of marine Goop or your chosen adhesive 15mm (1/2 inch) down from each edge of the Keel Guard and a more substantial bead along the kayak’s keel’s centerline.
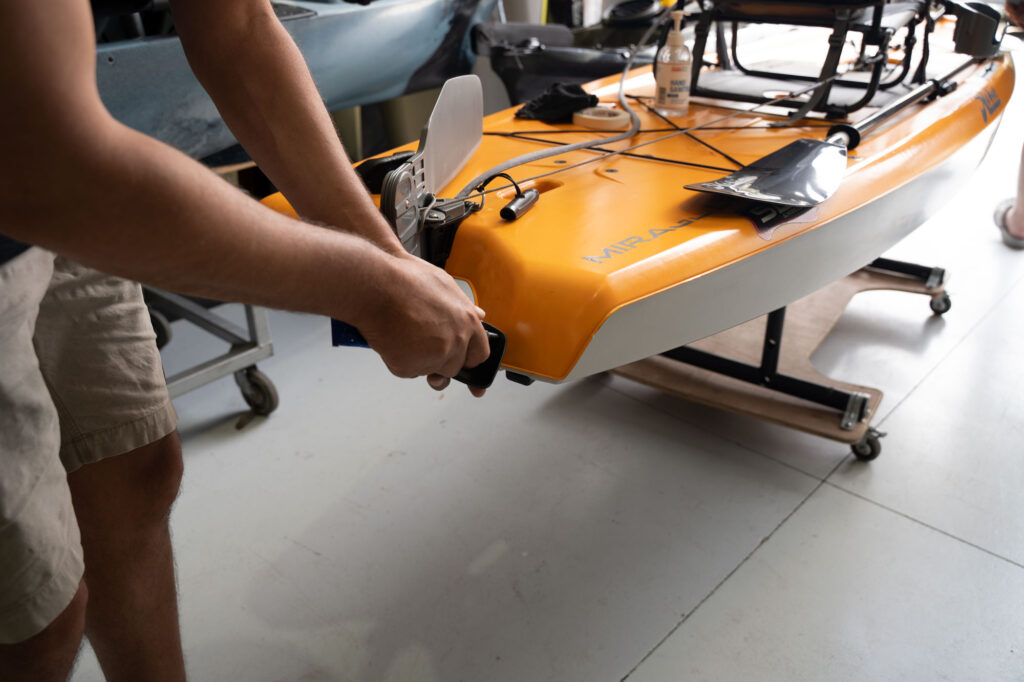
Step 5: Precise Placement and Secure Attachment of the Keel Guard Handle the Keel Guard with care, positioning it precisely at the marked location and aligning it meticulously with your kayak’s hull contours. Apply consistent, gentle pressure to ensure the Keel Guard is firmly attached to the kayak’s surface. If needed, use masking tape to temporarily secure the Keel Guard in place while the adhesive sets.
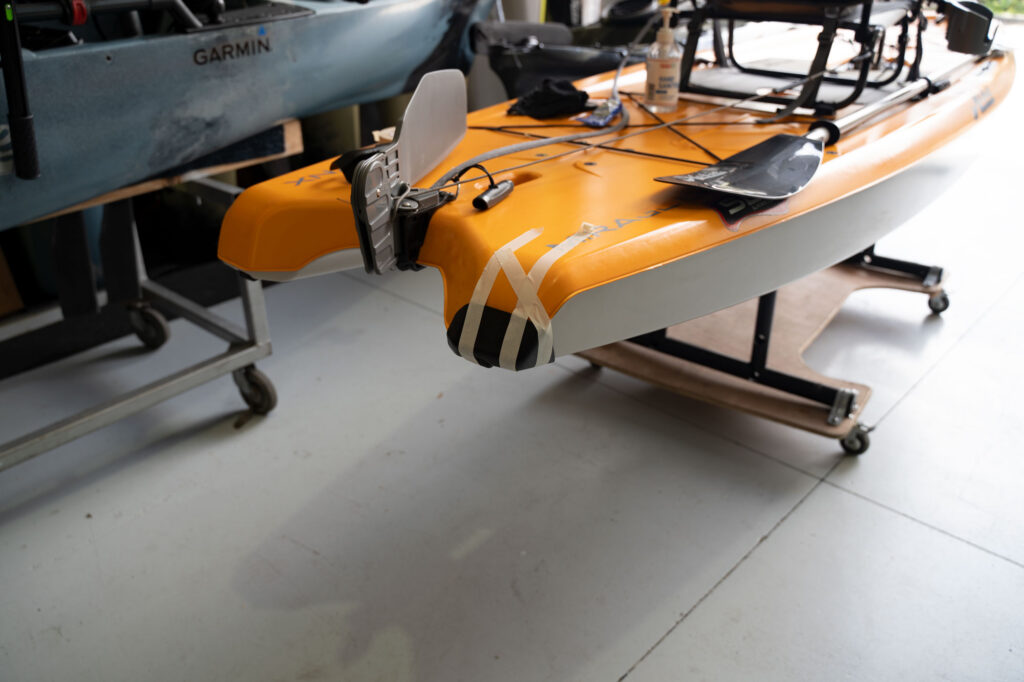
Step 6: Allowing the Adhesive to Cure Once the Keel Guard is securely in place, allow the adhesive ample time to cure undisturbed for at least 24 hours. Alternatively, adhere to the specific curing guidelines provided by the adhesive manufacturer. This curing period guarantees a strong and long-lasting bond between the Keel Guard and your kayak’s surface.
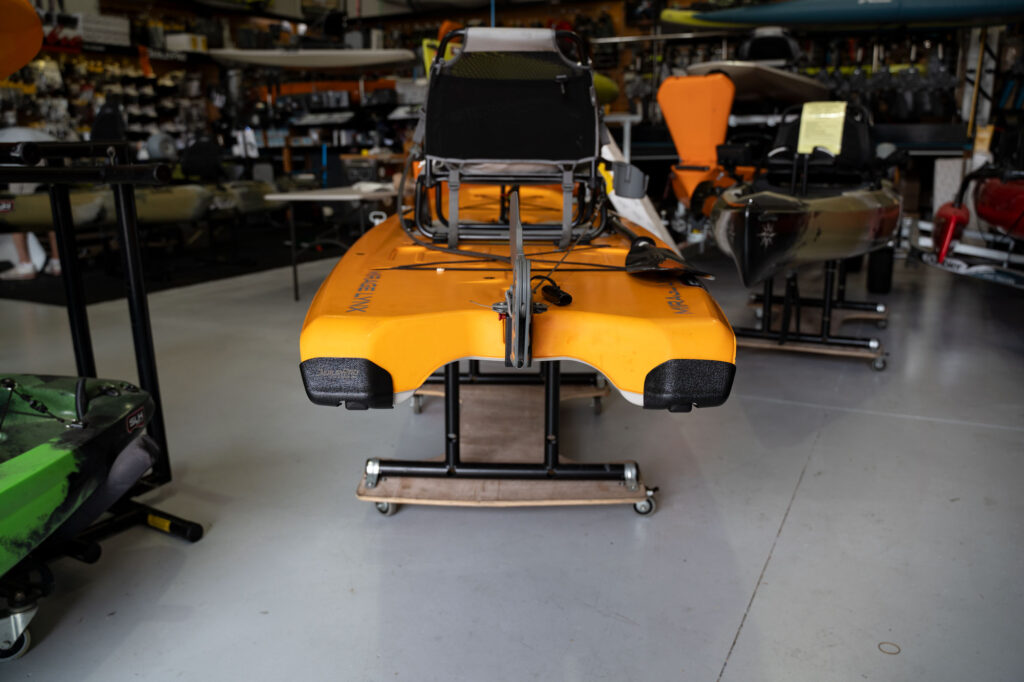
By following these instructions, you can effectively install the Keel Guard on your kayak, enhancing your fishing experience and ensuring prolonged protection for your watercraft investment.


2 comments
Jose Perez
Where I can buy the Hobie Lynx Rear Bumper Bro?
Dave
Hi Jose, please check out our dealers page and find the closest dealer near your 🙂