If you’re a kayak angler looking to improve your fishing outings while safeguarding your kayak investment, the BerleyPro Bumper Bro presents a dependable answer. In this article, we’ll present you with a detailed walkthrough for installing the Bumper Bro using marine goop or a fitting adhesive. By adhering to these guidelines, you can achieve a sturdy and long-lasting attachment without resorting to screws. Let’s delve into the instructions and get your kayak outfitted with a BerleyPro Bumper Bro promptly!
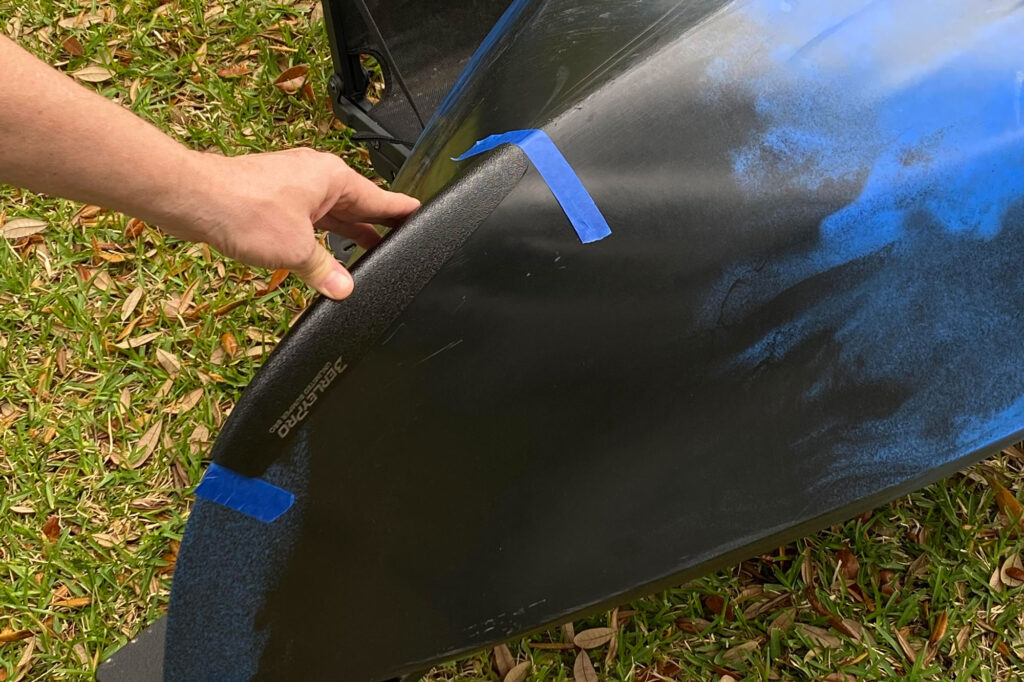
Step 1: Find the Optimal Placement and Adjust the Bumper (if needed): The fit of the BerleyPro Bumper Bro may slightly differ depending on the specific kayak model. Thus, take care to position the bumper on the kayak’s bow or stern in a way that minimizes any gaps. Use masking tape or a pencil to mark this chosen location. In case there are gaps between the bumper and the kayak, employ a heat gun while wearing a heat-resistant glove to gently warm the bumper. Apply gentle pressure and reshape the bumper to better align with the kayak’s contours.
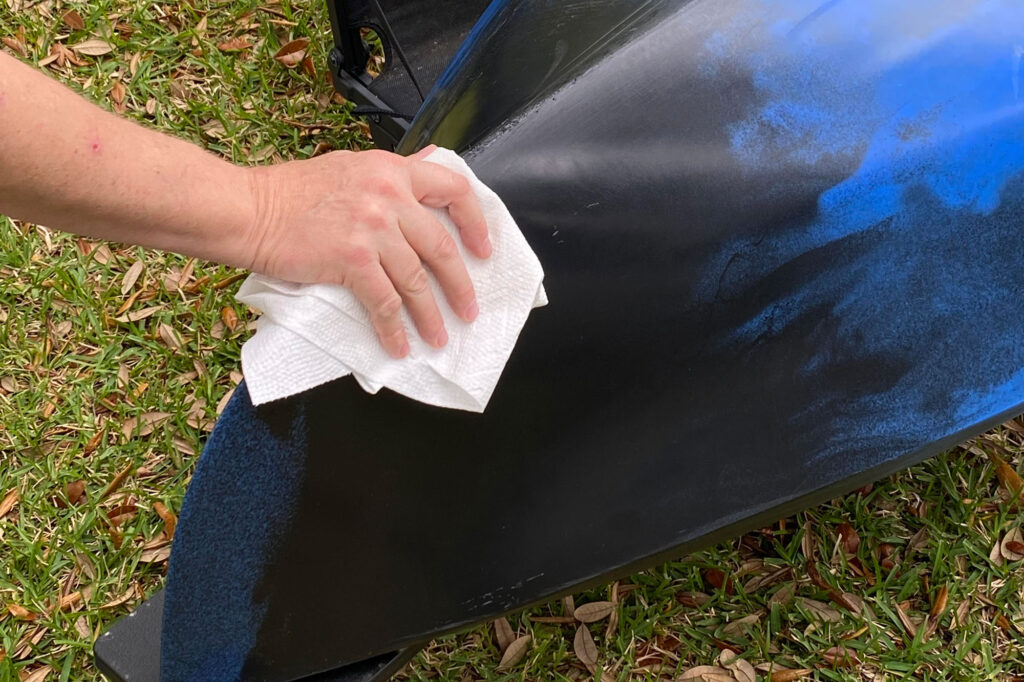
Step 2: Clean and Prepare the Surface: To ensure optimal adhesion, it’s crucial to thoroughly clean the mounting surface on the kayak. Begin by using isopropyl alcohol and a clean cloth to remove any dirt, grime, or residue. This ensures a pristine surface. For even better adhesion, lightly sand the surface with sandpaper and then remove any dust before proceeding to clean the surface once again with isopropyl alcohol. This step facilitates improved contact and enhances the effectiveness of the adhesive.
Step 3: Clean the Bumper Bro: Similarly, it’s important to clean the inside surface of the Bumper Bro to ensure a proper bond. Use isopropyl alcohol along with a clean cloth or paper towel to thoroughly clean the interior surface. Afterward, allow both the Bumper Bro and the mounting surface on the kayak to dry completely. This ensures optimal conditions for a successful installation.
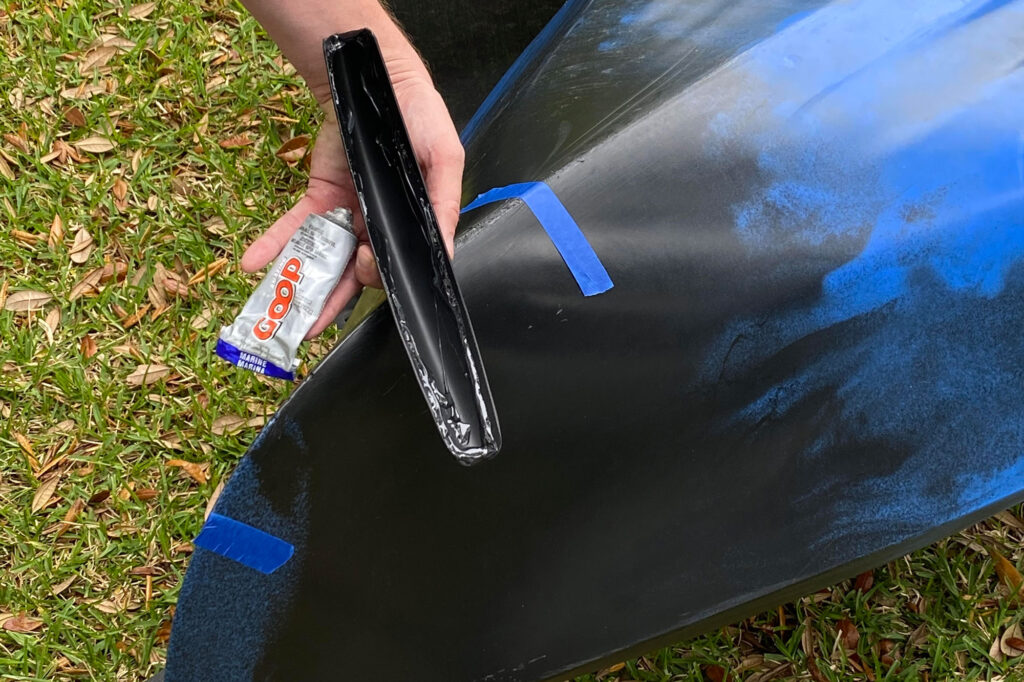
Step 4: Apply the Marine Goop or Adhesive: Before proceeding, double-check the fit of the Bumper Bro to ensure it is correctly oriented for installation on the kayak. To assist with alignment, consider using tape pieces to mark the keel just beyond the ends of the Bumper Bro, acting as a guide when pressing it into position. Now, squeeze a small bead of marine Goop or your preferred adhesive along the sides of the Bumper Bro, approximately 15mm (1/2 inch) down from each edge. Additionally, apply a generous bead along the centerline of the kayak’s keel. This ensures a secure and reliable attachment.
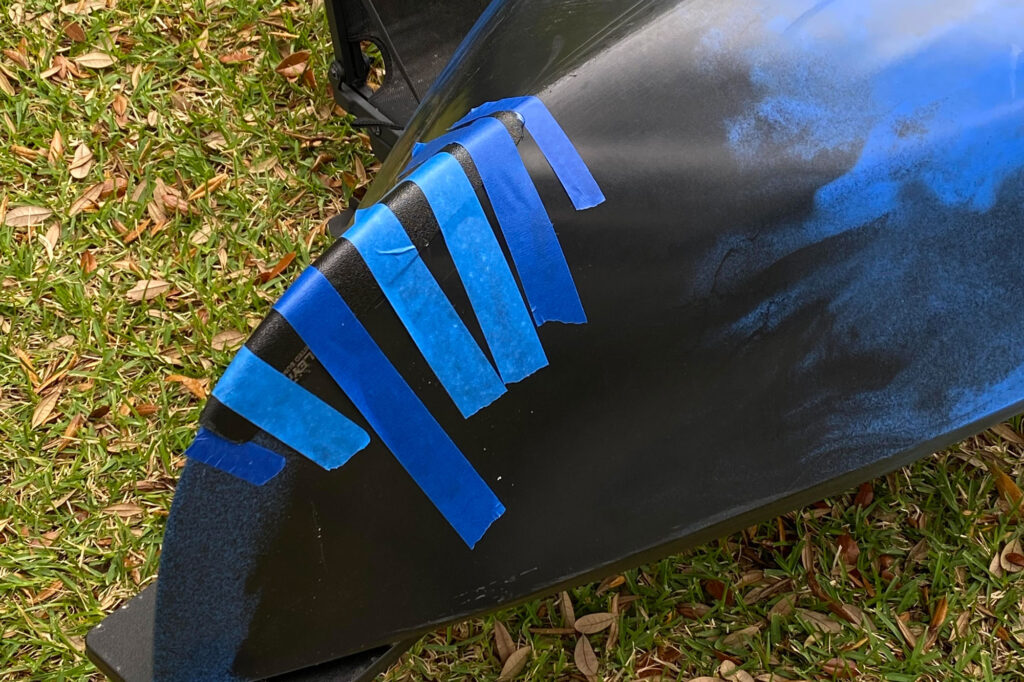
Step 5: Position and Secure the Bumper Bro: Delicately position the Bumper Bro on the designated location of your kayak, ensuring proper alignment with the hull’s contours. Apply firm yet gentle pressure to firmly press the bumper against the kayak’s surface. If necessary, utilize masking tape to temporarily hold the bumper in place as the adhesive cures. This precaution ensures a secure attachment during the curing process.
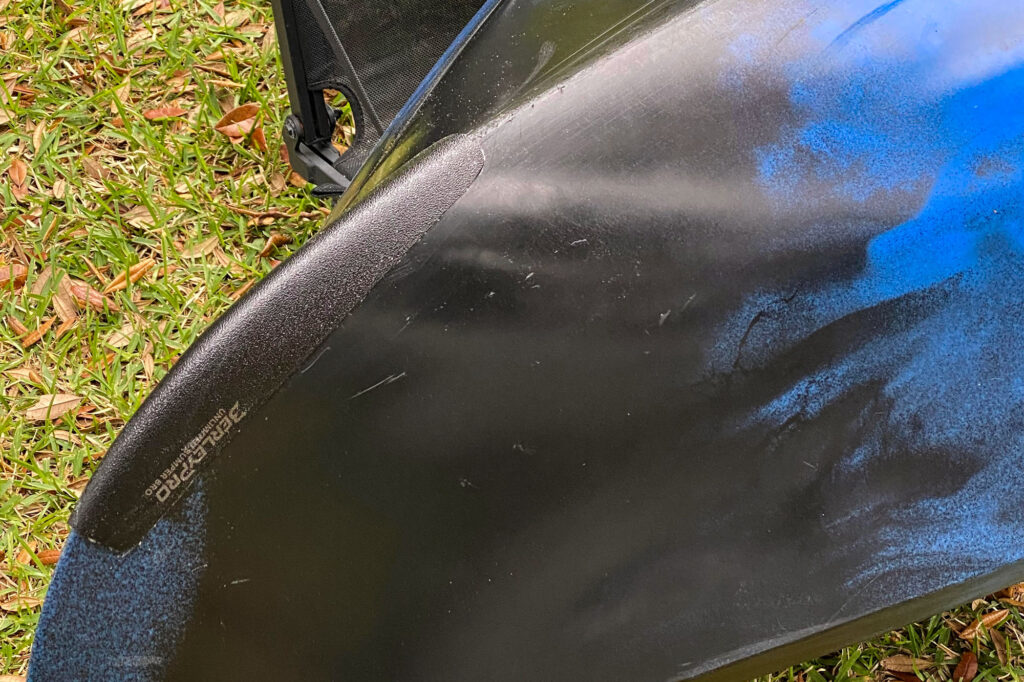
Step 6: Allow the Adhesive to Cure: Once the bumper is securely in place, it’s essential to allow the adhesive to cure undisturbed for a minimum of 24 hours or as instructed by the adhesive manufacturer. This curing period is crucial as it ensures a robust and durable bond between the bumper and the kayak. Patience during this time will result in a long-lasting attachment that can withstand the rigors of kayaking.


