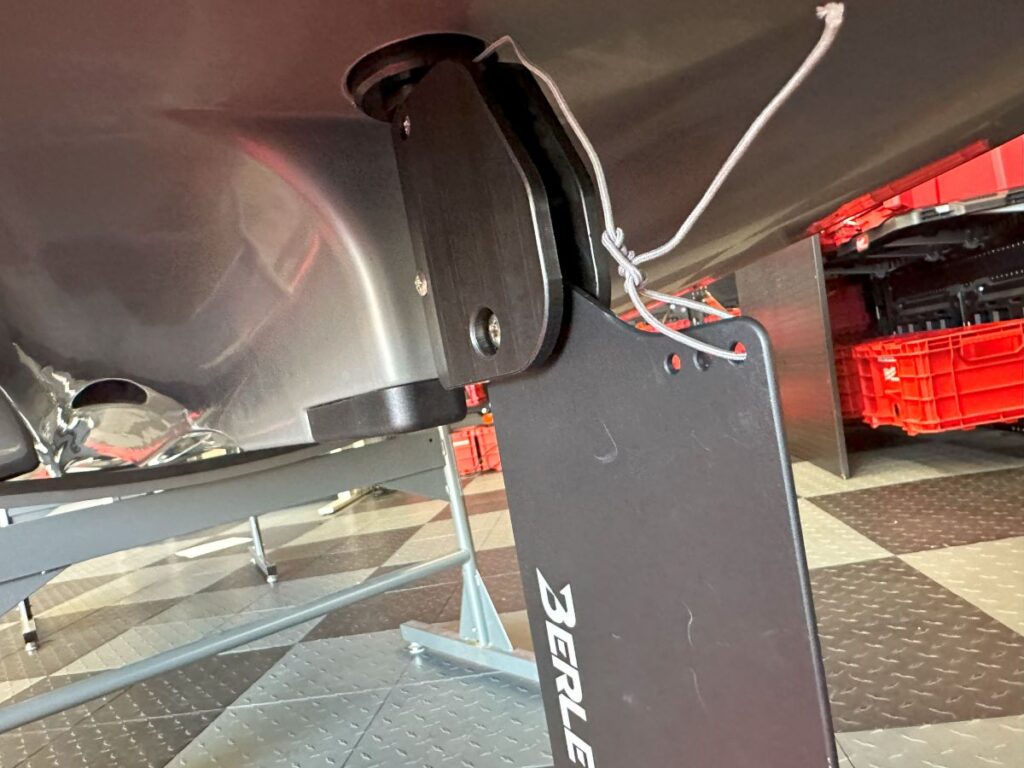
Congratulations on your purchase, good move! We will have you cutting tight turns in no time. Install is pretty simple, but follow closely and in sequence for best results. Please note that this install guide also covers replacing the stock handle with our Slayer Max Steering Handle. If you aren’t replacing the handle simply omit those steps.
Step one, remove the 4 self-tapping screws around the original handle base with a Phillips head screwdriver.
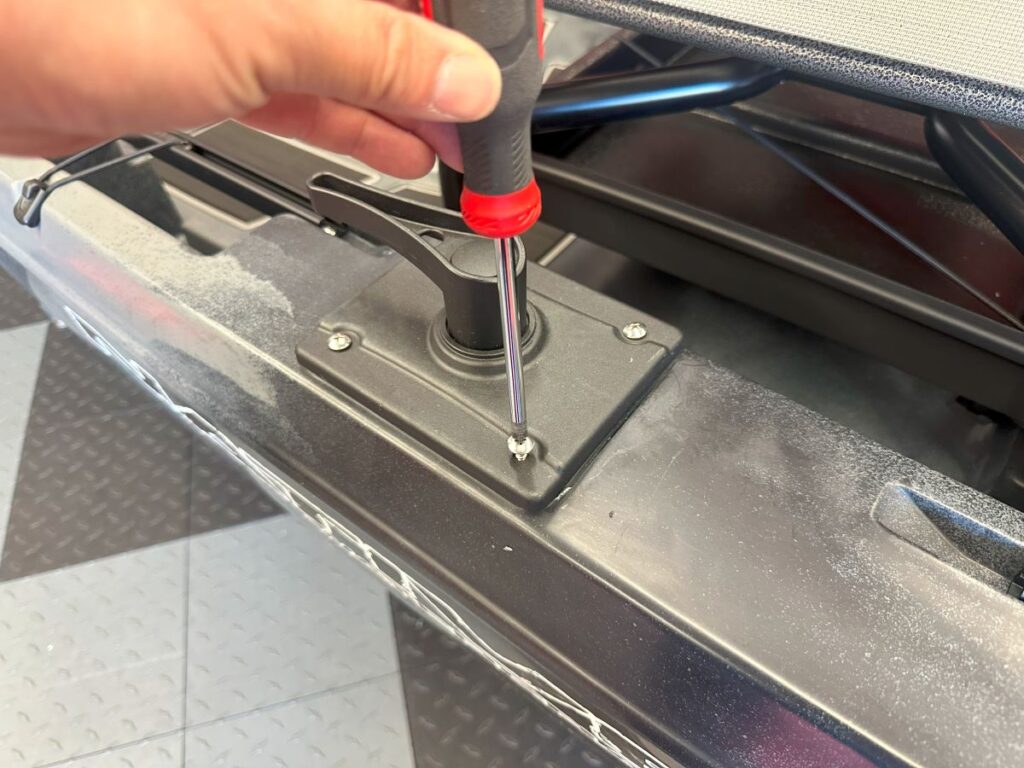
Next, tilt the handle base up and unscrew the 1 self-tapping screw that holds on the original pully and detach it from the original handle.
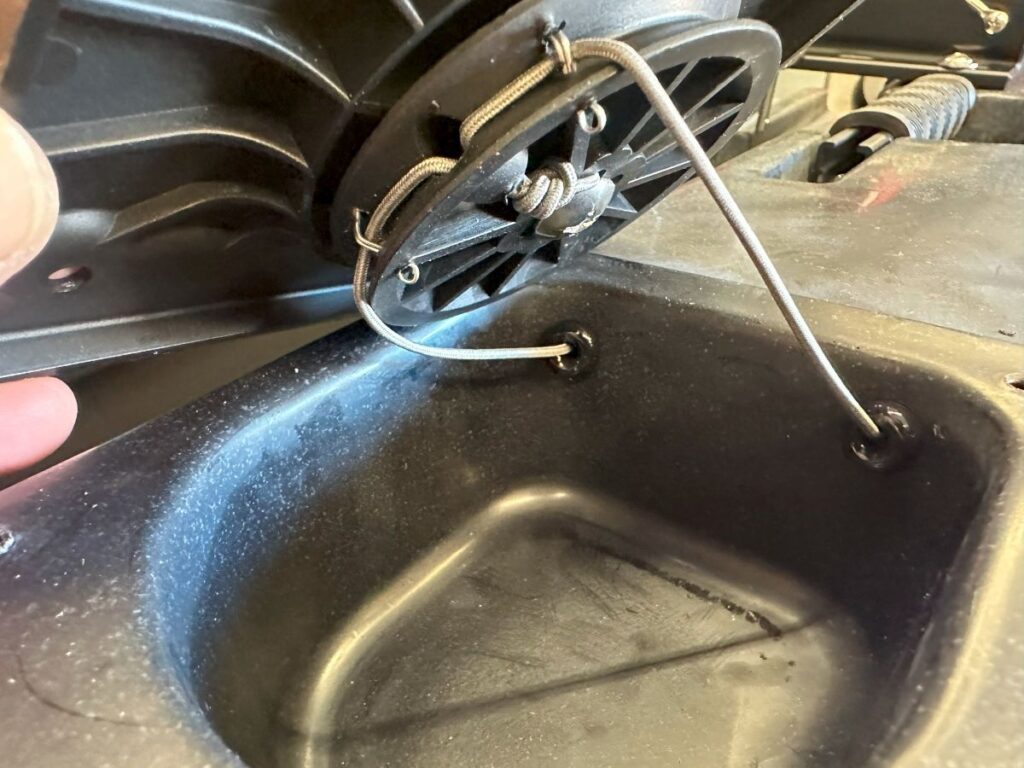
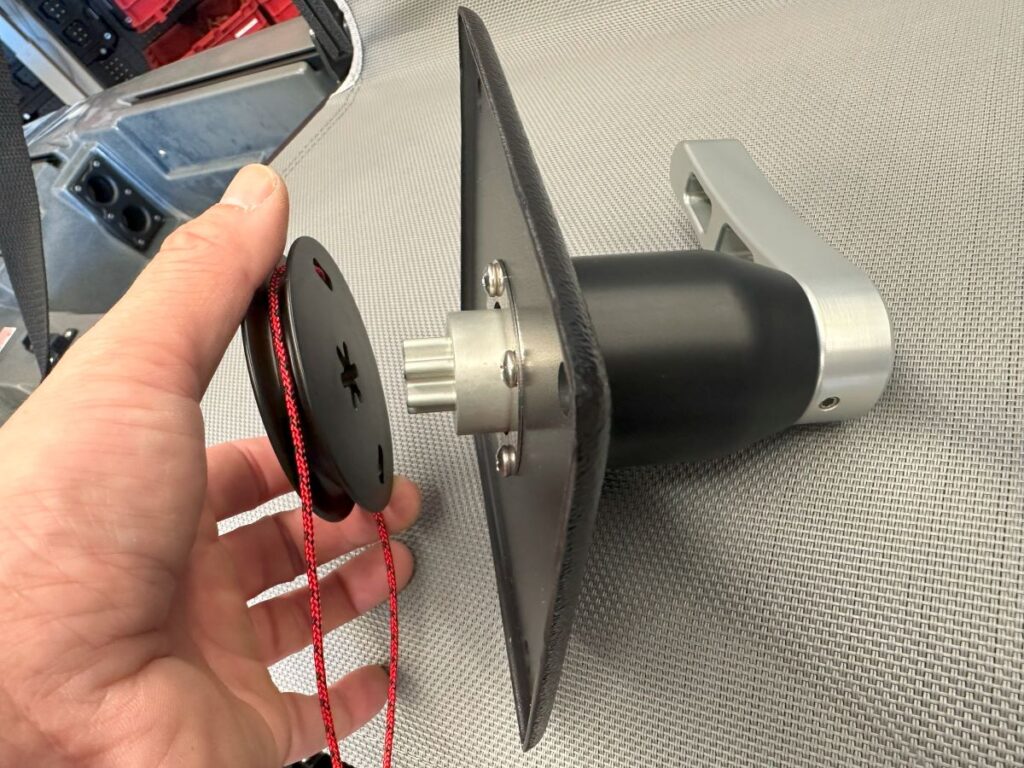
Now attach and screw the new pulley onto the new handle using the supplied M8 Allan-headed bolt and washer. Make sure the cords don’t overlap and run around the front of the pully.
Next, unscrew the original lock screws from the top of the original steering assembly and unwrap the steering wires from around the screw heads.
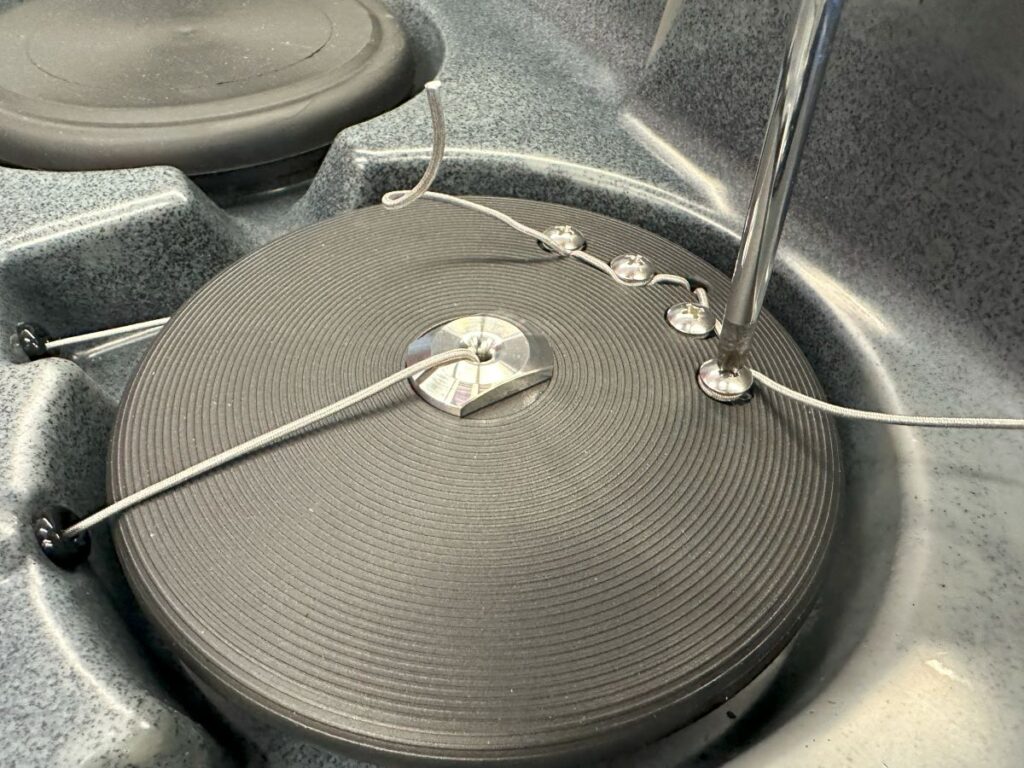
Using a shifter or spanner, unscrew the rudder retaining bolt and drop the old rudder out and remove the plate.
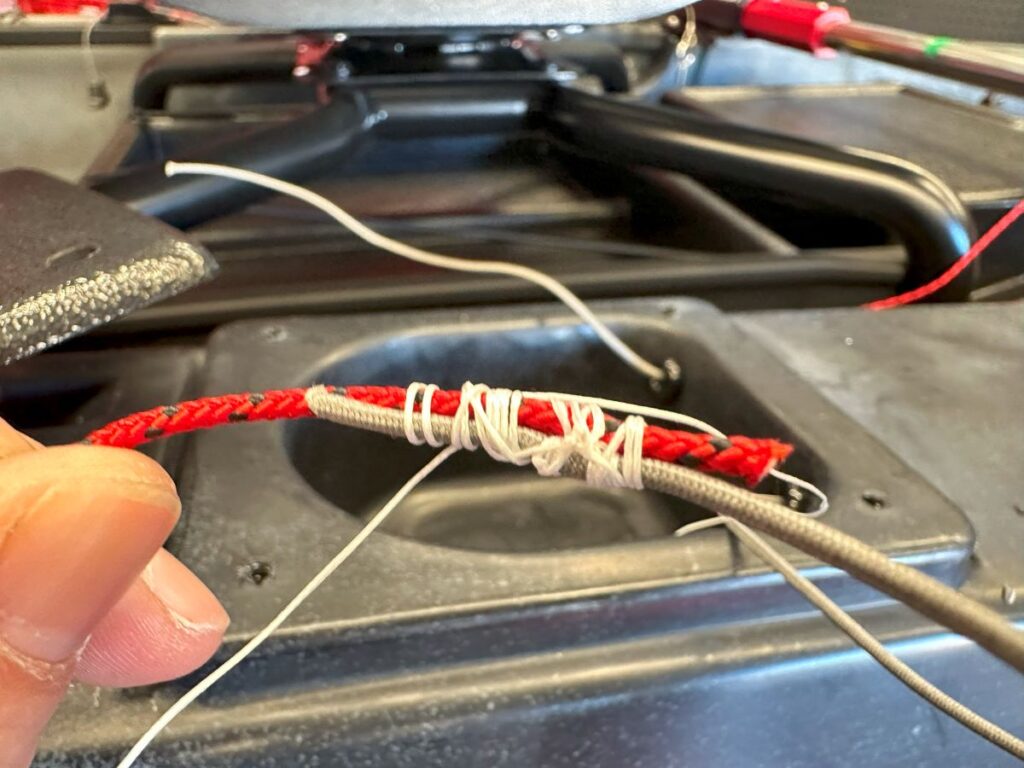
Next, attach the new cord to the original steering cable by using the supplied braid in the kit to allow the new cord to be pulled through the channels. This must be pulled through carefully and gently. Joining the two is achieved by a series of 5 tight half-hitches around both. Make sure this is tight and secure so they don’t easily pull apart.
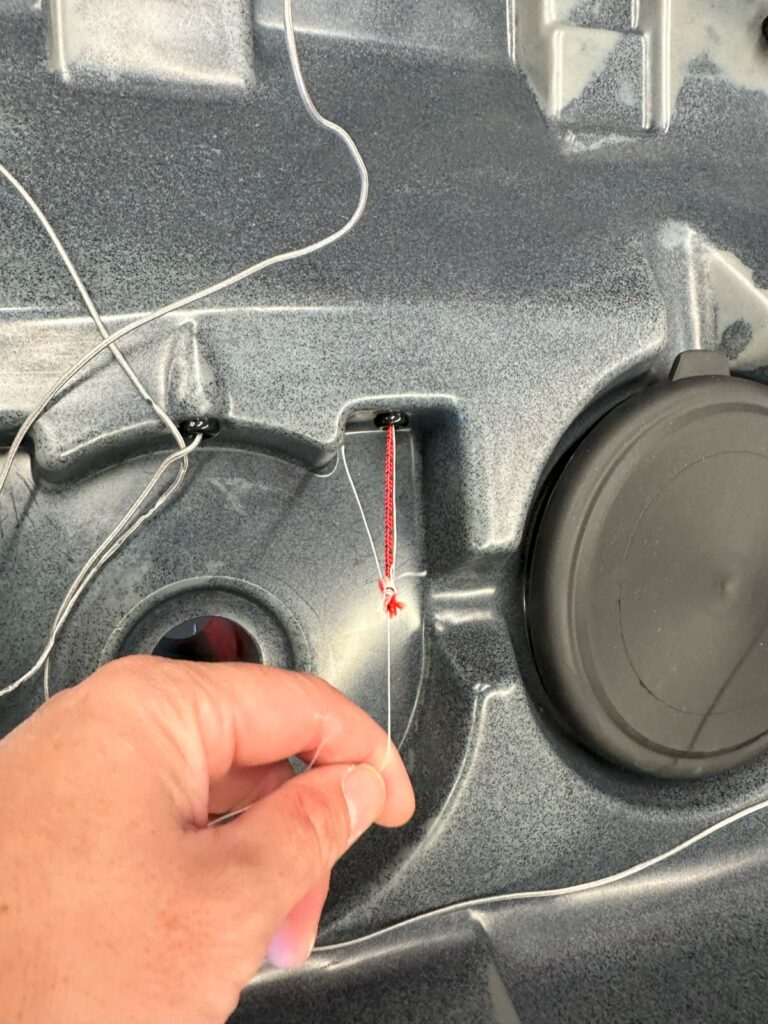
Then we gently pull the cords through and repeat on both sides. Once both cords are pulled through the binding can be discarded and the old cables discarded.
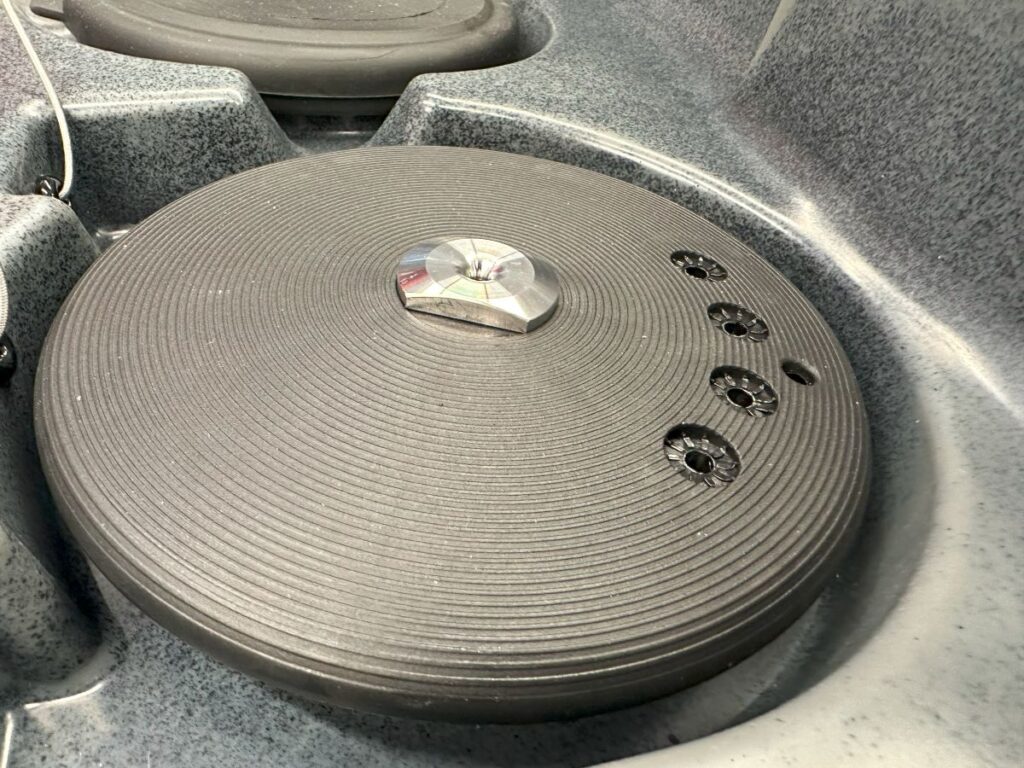
Next, assemble the 4 taper lock bushes into the back of the T-Lock Disc using the 4 supplied button-head screws and a 3mm Allen key. Only do these up finger tight at this point, otherwise, you won’t be able to fit the rudder later.
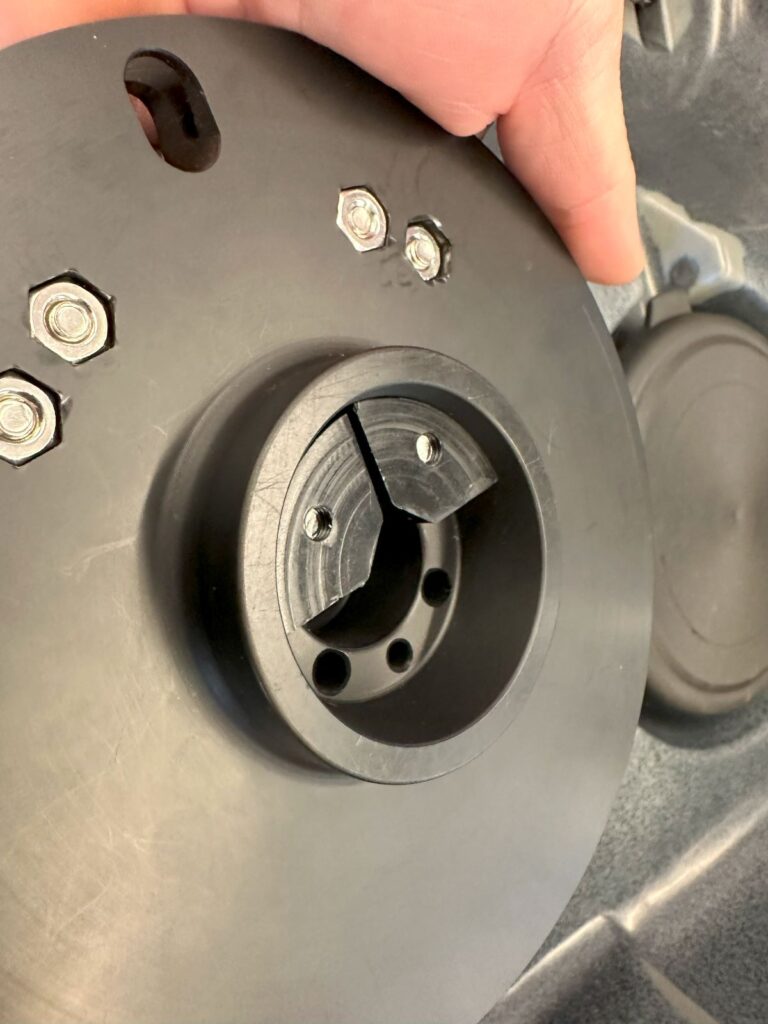
Orient the T-Lock Disk with the cord retaining screws towards the stern of the kayak. We now gently pull the cords through the hole at the rear of the disc and commence to loosely tension the cord.
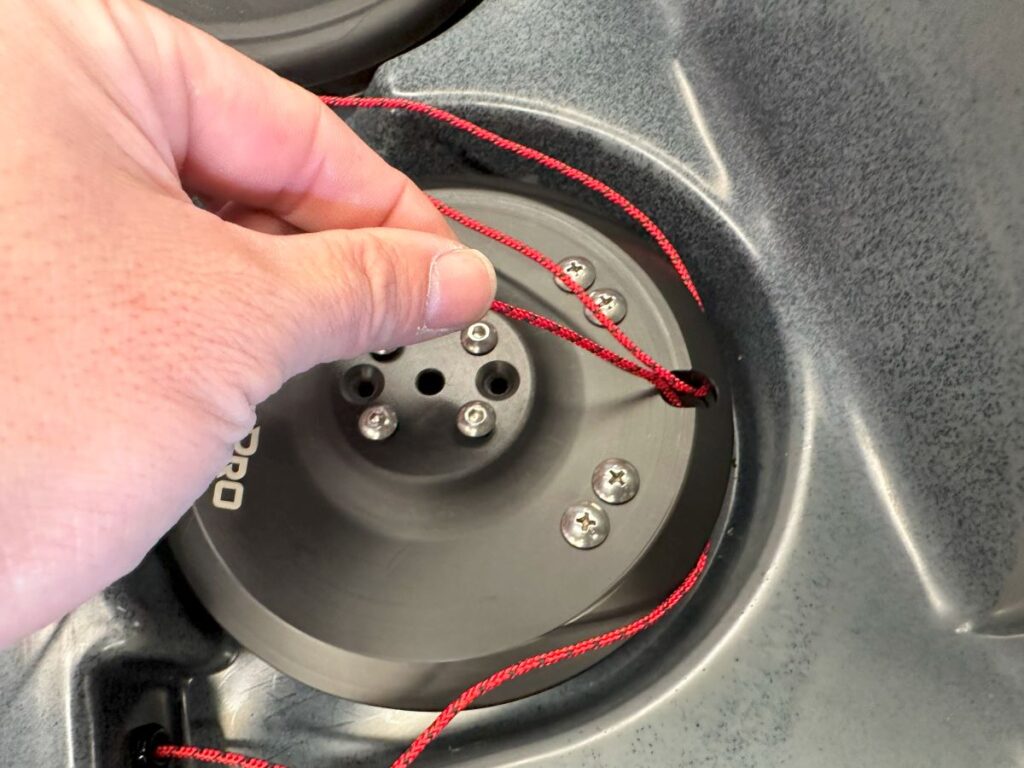
With some loose tension maintained on the cords, refit the handle using the original self-tapping screws. Make sure that cords do not fall off the pulley during installation. Orient the handle in the forward position.
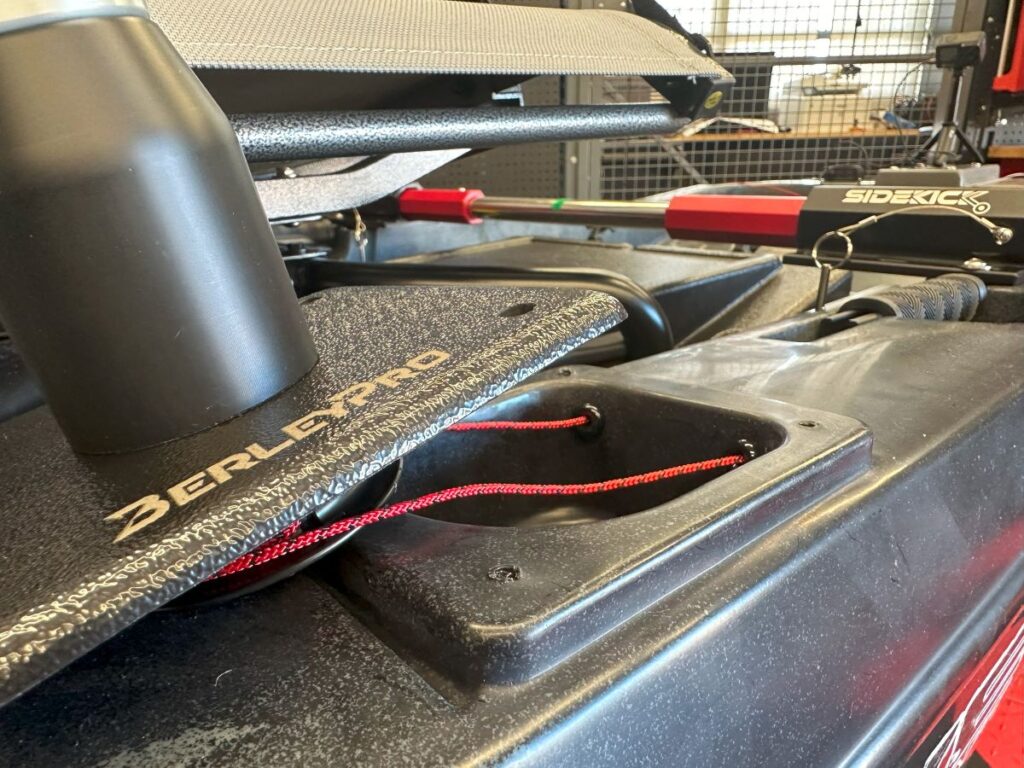
Now push the rudder splines up through the taper lock bushes and once installed tighten the Phillips head screw through the center of the T-Lock Disc into the top of the rudder spline. This process sets the rudder tension and we prefer that the rudder is just touching the base of the kayak and not too tight as when tension is applied to the cords, additional friction occurs which can make the rudder application tighter than ideal.
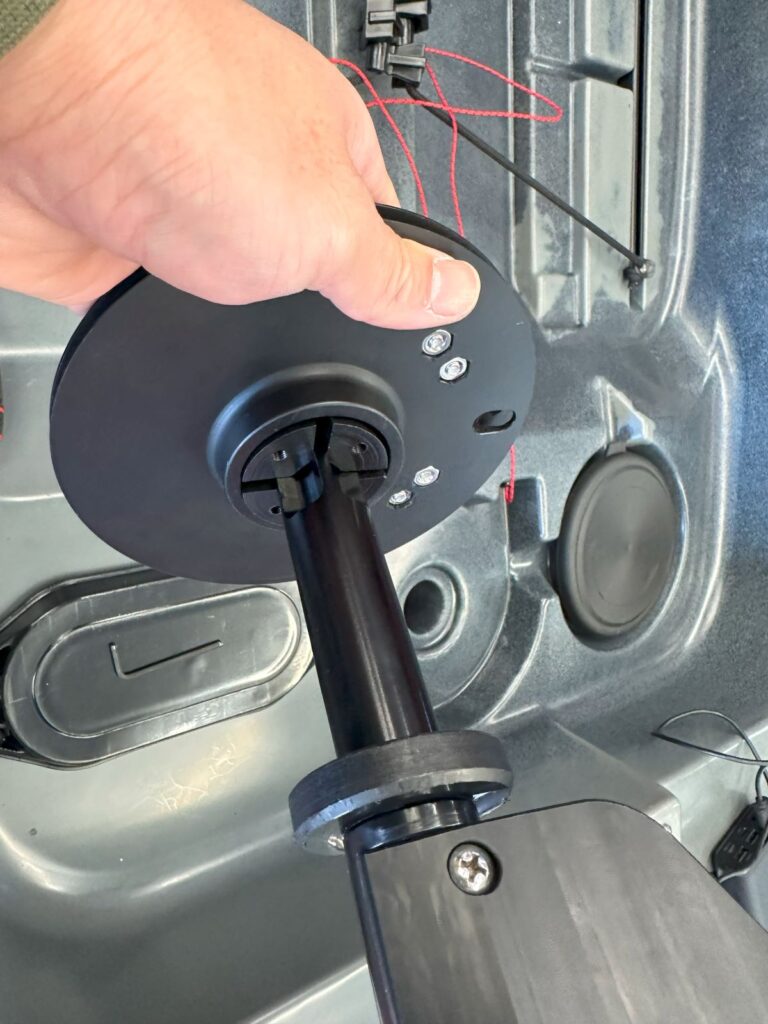
Now tighten all 4 Allen head screws into the taper lock bushes to securely hold the rudder into position. This next bit is important! Have the steering handle facing forward, the rudder also facing forward in the neutral position, and then pull the cords tight! Loop them around the screw heads and tighten them securely.
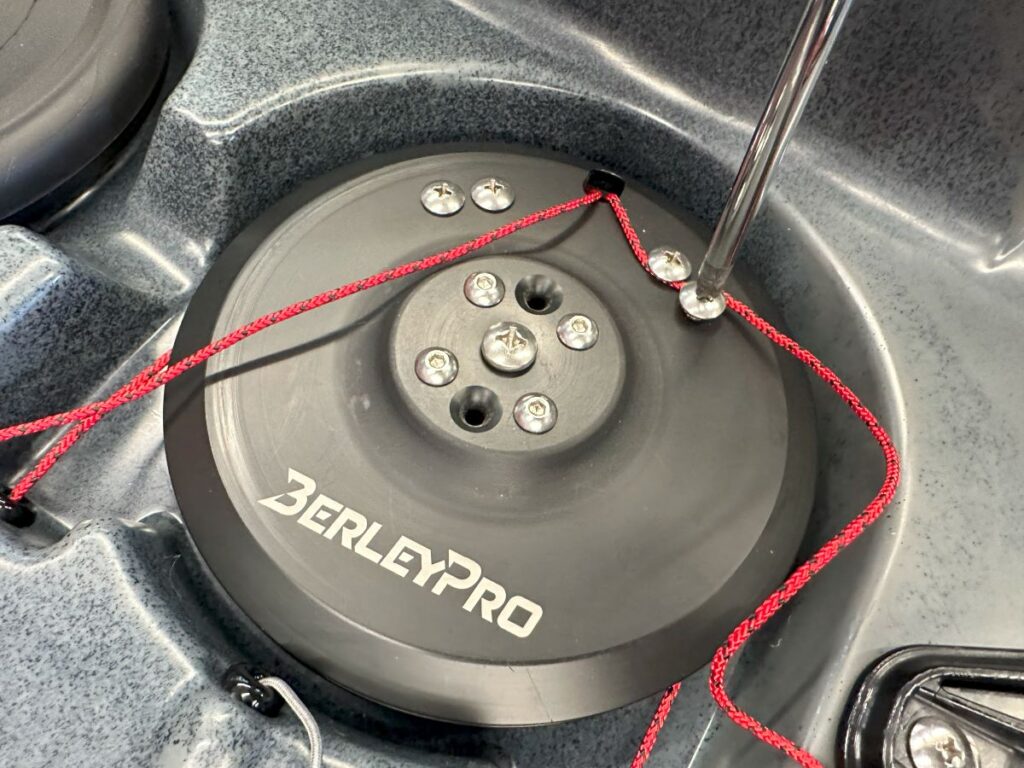
Now thread the rudder pull-up cord through the rearmost hole in the top of the T-Lock Disc. This hole aligns with a slot in the rudder which can then be tied off to the blade. We recommend using the rearmost hole for the greatest leverage. Check your work and the rudder’s operation and you are good to go!
