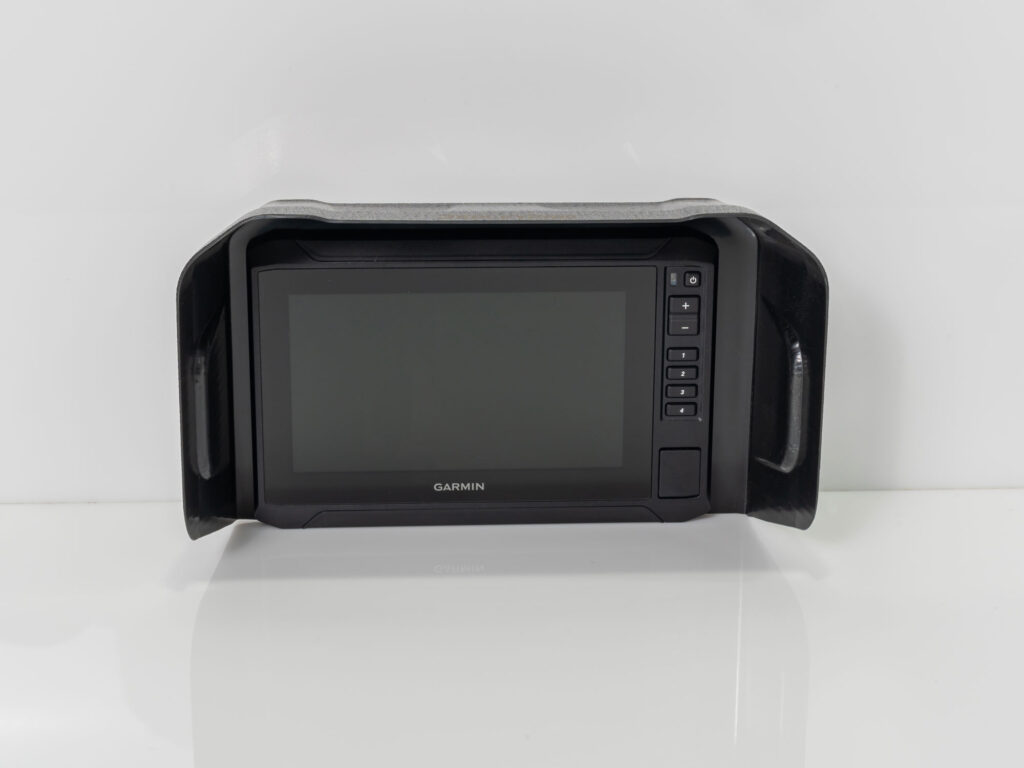
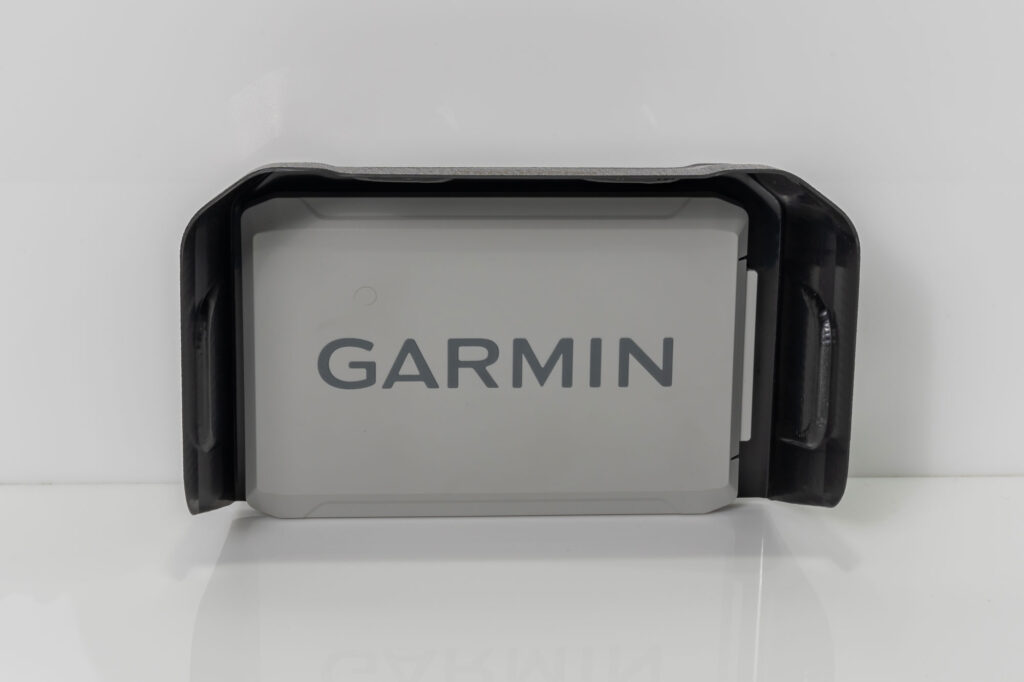
As avid anglers, we know how crucial it is to have a clear view of our fishfinder screens while out on the water. In this comprehensive guide, we will walk you through the process of installing the BerleyPro sun visor on your Garmin UHD2 Touchscreen with keyed assist fishfinder. Designed with convenience in mind, the visor is specially CNC machined with an offset, allowing seamless application and removal of the screen protector. Let’s get started!
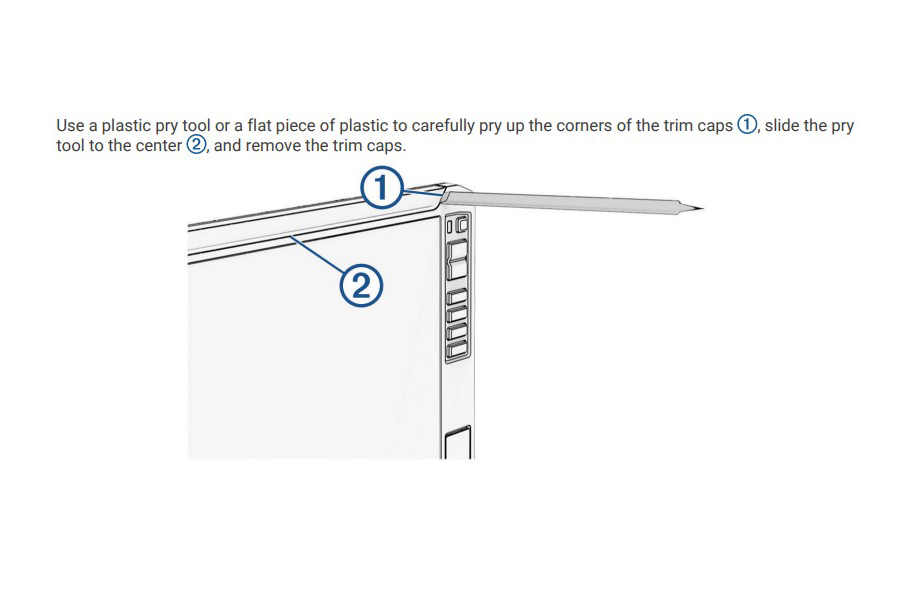
Step 1: Remove Trim Caps: To begin, carefully remove the trim caps surrounding your Garmin ECHOMAP 75SV Touch fishfinder, following the instructions provided in the manual or the accompanying screenshot. Take care to avoid any damage to the unit’s surface or components during this process.
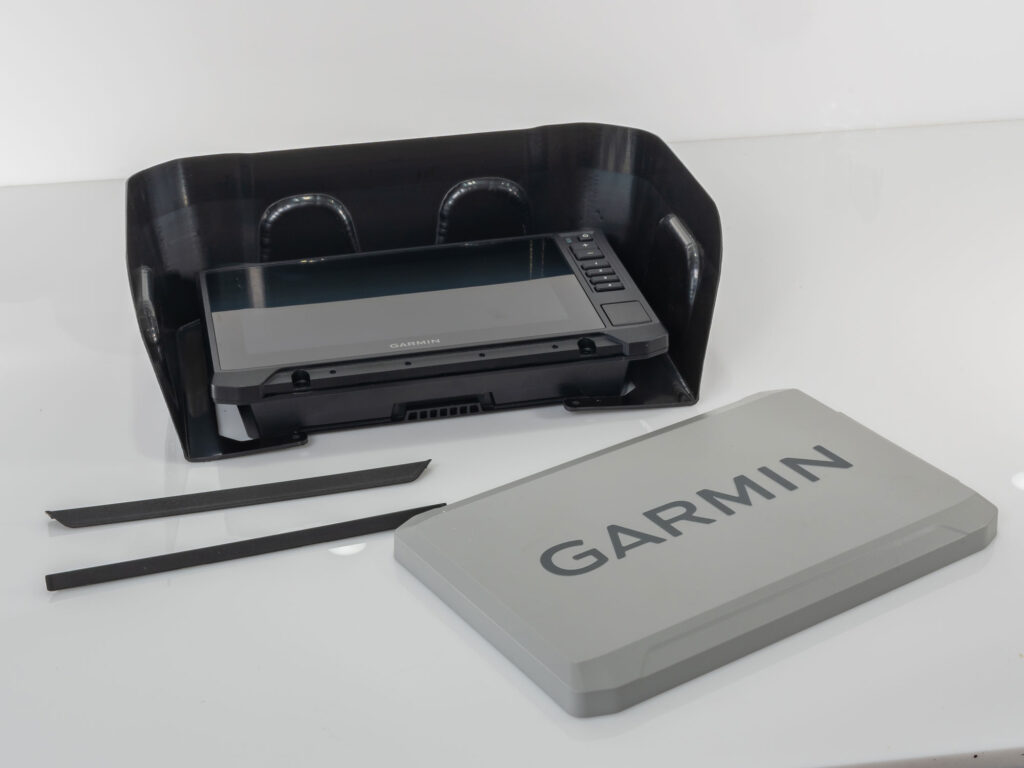
Step 2: Install the BerleyPro Sun Visor:
Place the CNC machined BerleyPro sun visor over the Garmin ECHOMAP 75SV Touch’s screen, ensuring it aligns properly and covers the screen adequately. The visor’s offset design allows easy access for the application and removal of the screen protector.
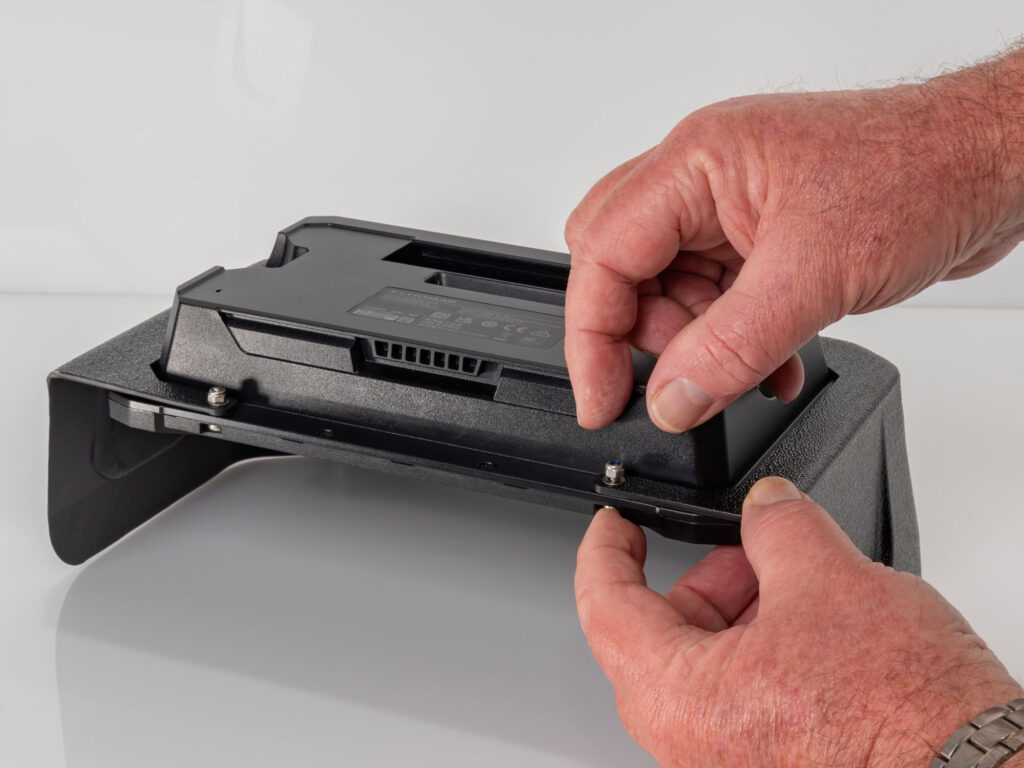
Step 3: Secure the Sun Visor: Using the provided M3 x 12 Phillips head screws, washers, and nuts, fasten the sun visor securely to the fishfinder. Insert the screws through the designated holes on the visor and tighten them with the appropriate hardware. Be careful not to overtighten, ensuring a snug fit without damaging the unit. Refit the trim tabs after assembly by placing them back on and pressing firmly.
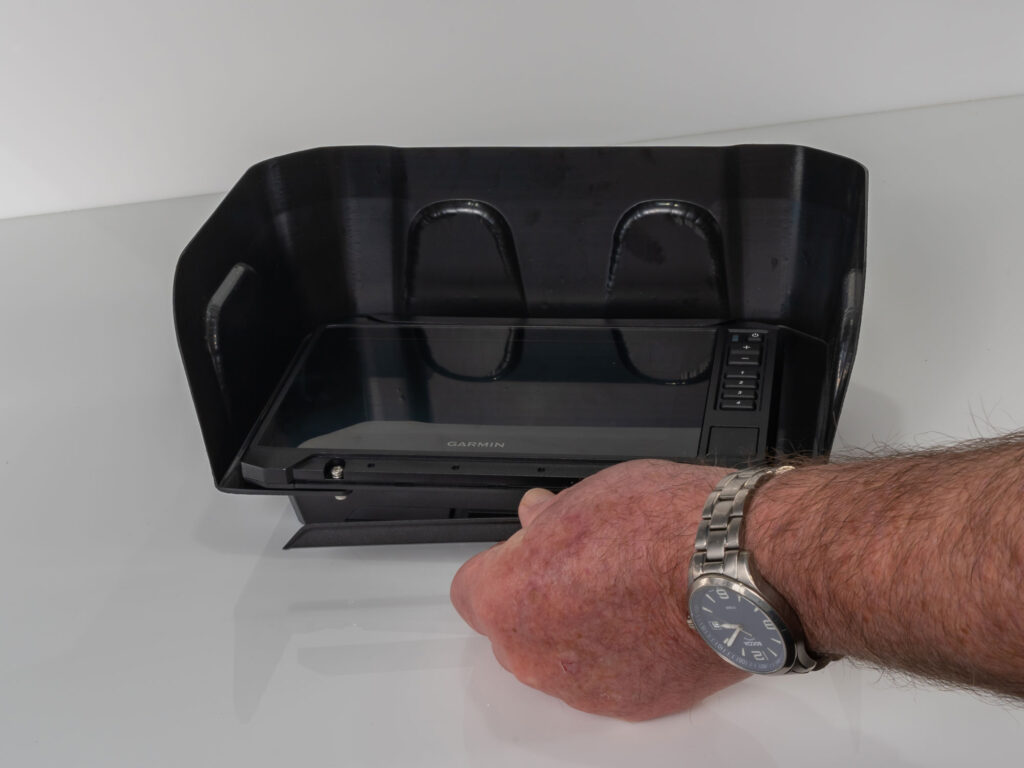
Congratulations on successfully installing the BerleyPro sun visor on your Garmin ECHOMAP 75SV Touch fishfinder! The CNC machined visor’s offset design allows for easy compatibility with the screen protector, enabling convenient application and removal as needed. With the visor in place, you can enjoy enhanced visibility by reducing glare and shielding the screen from direct sunlight. Now, you can confidently navigate the waters with a clear view of your fishfinder’s display and the convenience of the screen protector. Happy fishing!
