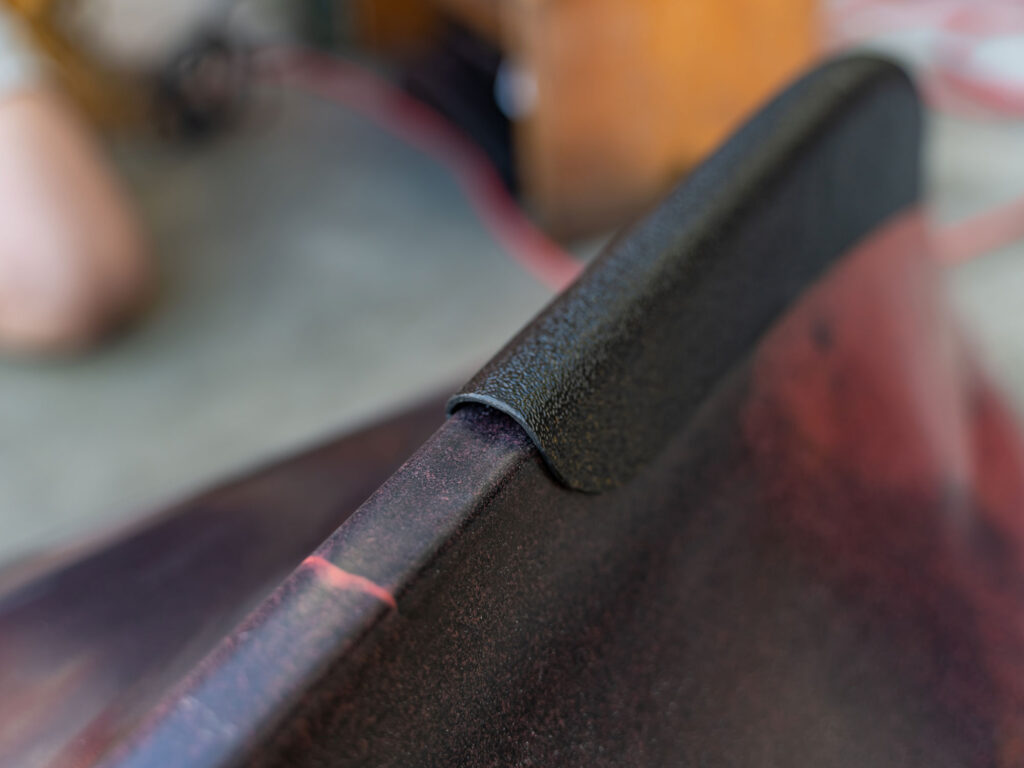
There can be many reasons a Bumper Bro may need adjusting before fitting to your kayak. The most common are small variables in the shape of the kayak itself. Rotationally molded kayaks in particular shrink significantly inside the mold as they cool from the oven, and factors such as rate of cooling and mold release performance impart a uniqueness to the fine shapes of each craft.
Adjusting your Bumper Bro is brilliantly easy, just follow these three steps:

Step 1: Trial fit your Bumper Bro: Fit your Bumper Bro in place to discover if there are any areas needing a small adjustment. This could be sides not closely following the flare from the keel, or a gap on the keel itself.

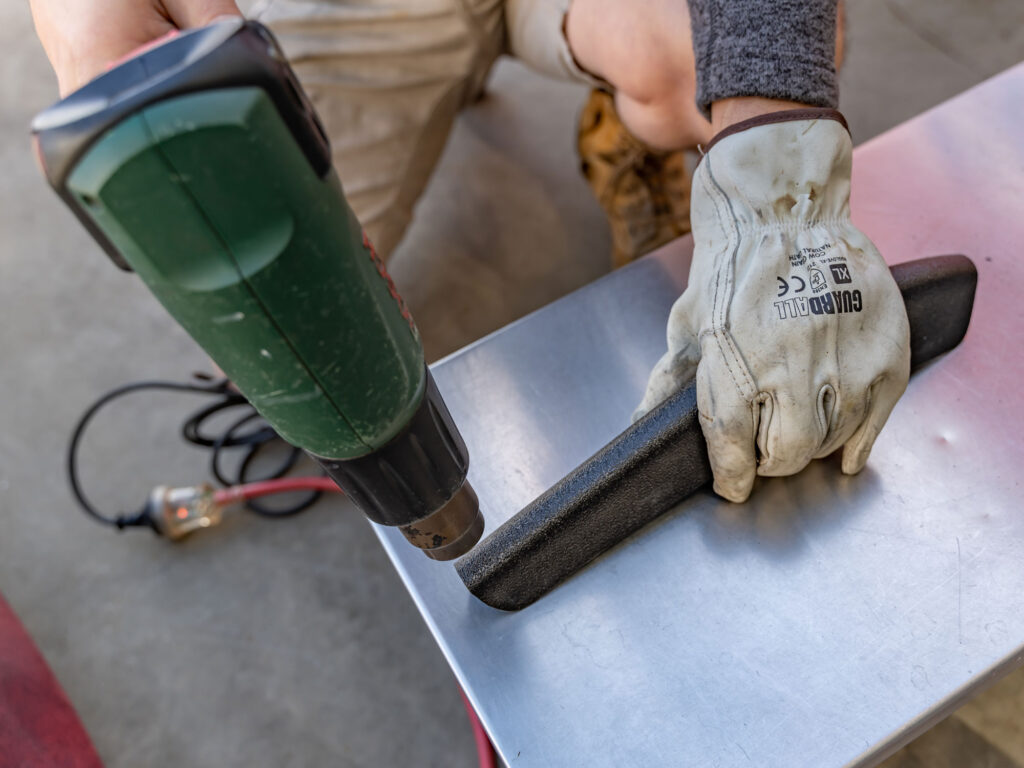
Step 2: Gently warm your Bumper Bro: If you’ve noted a spot needing adjustment gently and slowly warm the area using a heat gun or hair dryer (don’t use a flame as this is too aggressive) until the plastic becomes pliable, but not soft. Suitable heat resistant gloves or a dry cotton cloth should be used to handle the hot plastic.

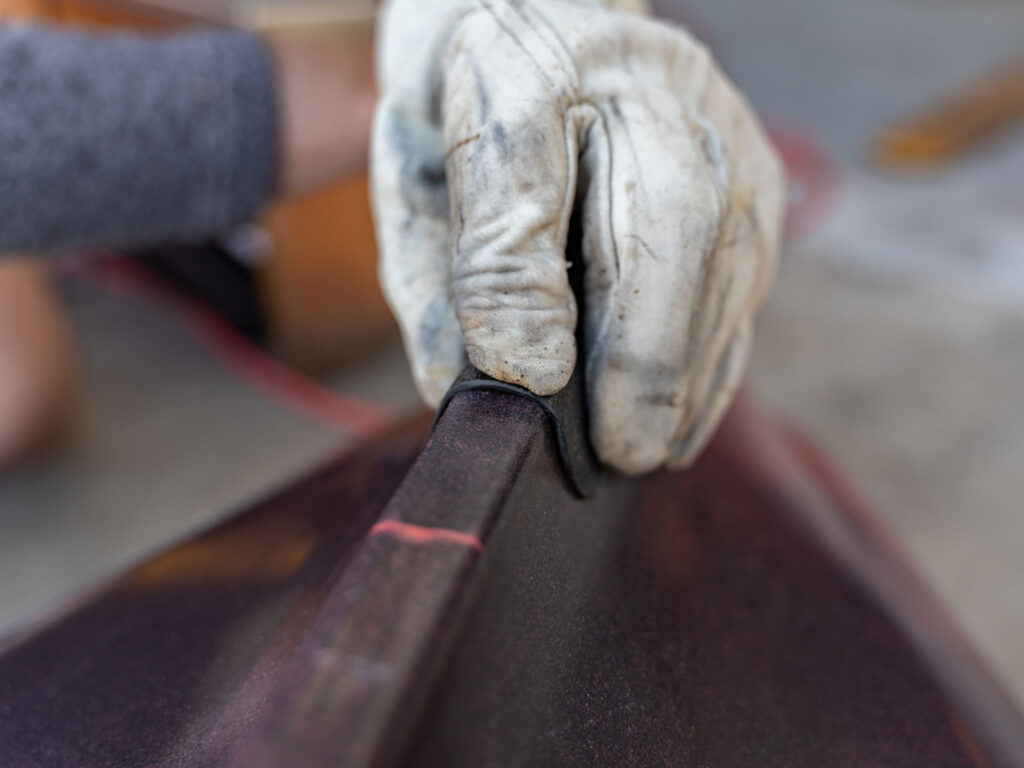
Step 3: Press in place and let your Bumper Bro cool: Once the area needing attention is hot and pliable, use the heat resistant gloves or cotton cloth to press and hold the Bumper Bro in place. It will cool against the kayak as you keep pressing, and will harden to take on the new shape for a perfect fit.

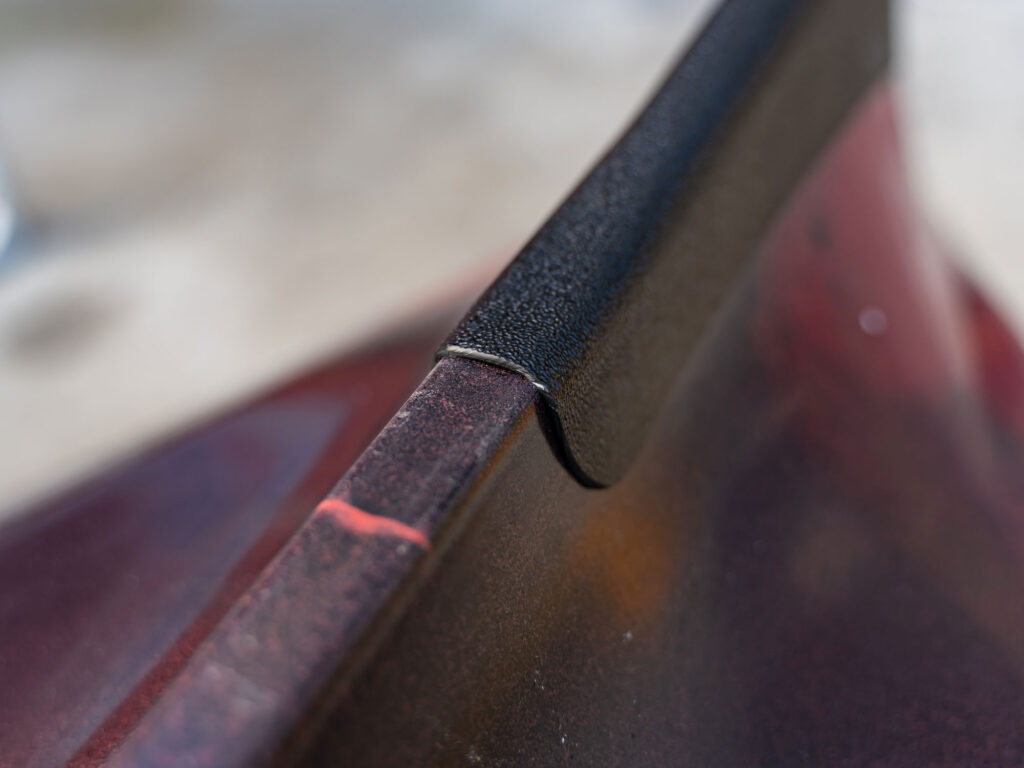
All Done: Your Bumper Bro now fits perfectly and is ready for installation.


