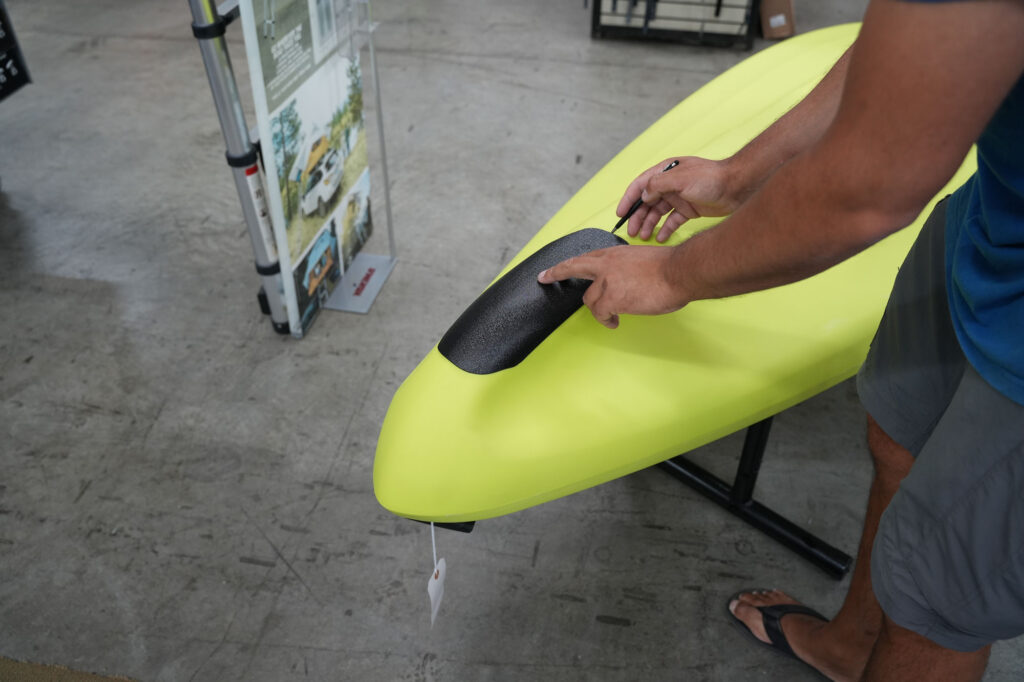
Step 1: Position and Prepare the Keel Protector Begin by positioning the Keel protector on your kayak’s bow or stern. Ensure a snug fit with minimal gaps and mark this spot using masking tape or a pencil. If there are gaps, gently heat the Keel protector with a heat gun while wearing a heat-resistant glove. Apply light pressure to mold it to the kayak’s shape.
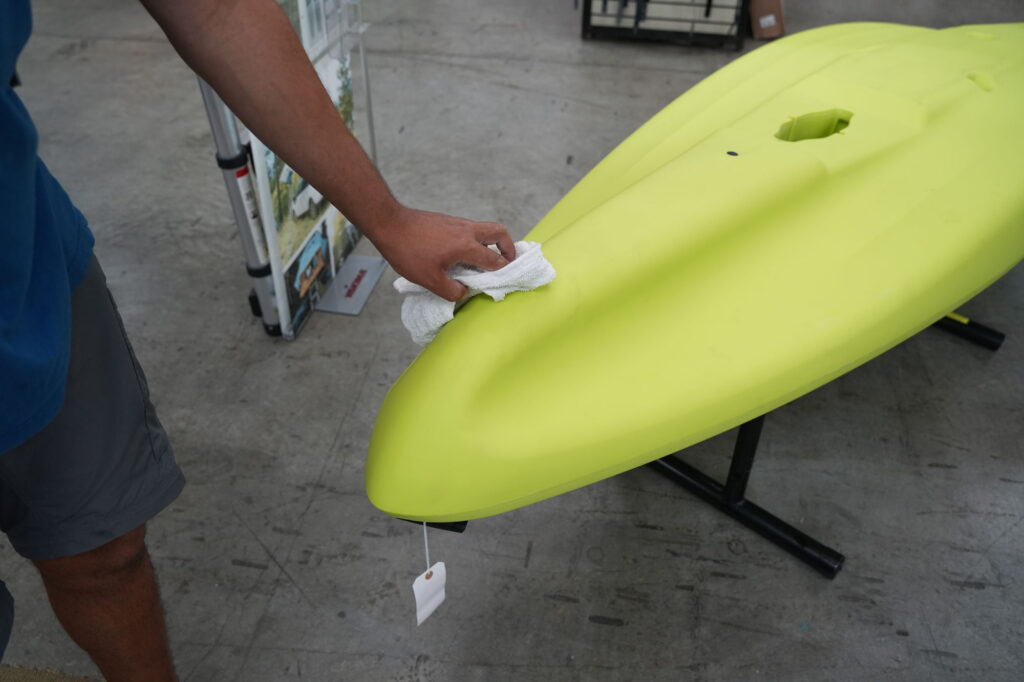
Step 2: Clean and Prime the Surface Thoroughly clean the kayak’s mounting surface with isopropyl alcohol and a clean cloth, removing any dirt or residue. For better adhesion, lightly sand the surface with sandpaper, then wipe it clean with isopropyl alcohol to promote optimal contact for the adhesive.
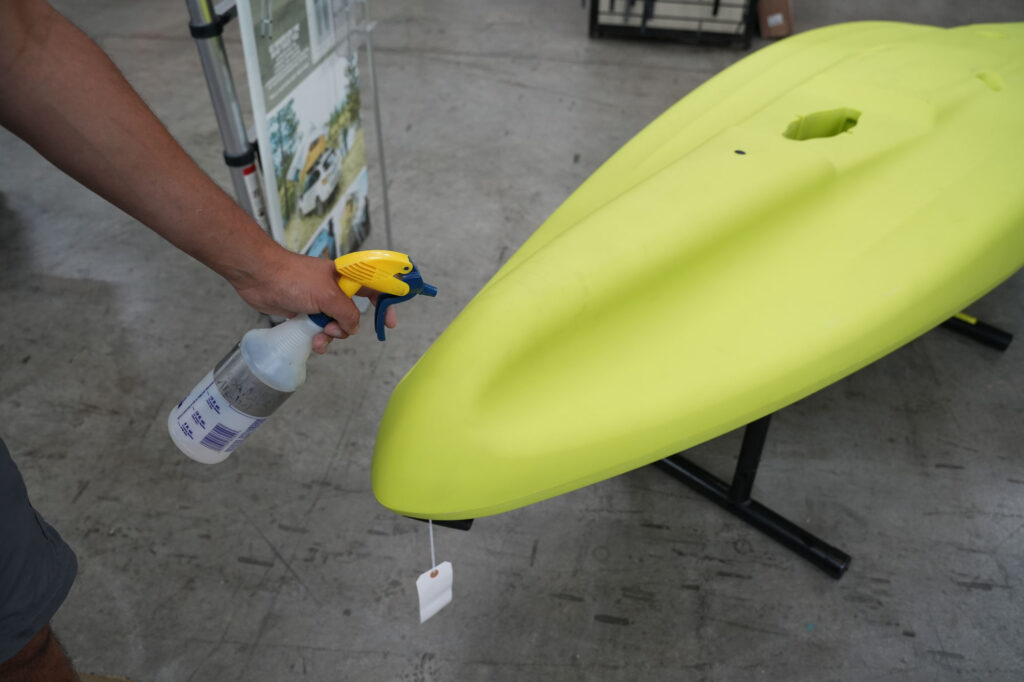
Step 3: Prep the Keel Protector Clean the inside surface of the Keel protector using isopropyl alcohol and a cloth or paper towel. Allow both the Keel protector and the kayak’s mounting surface to dry completely.
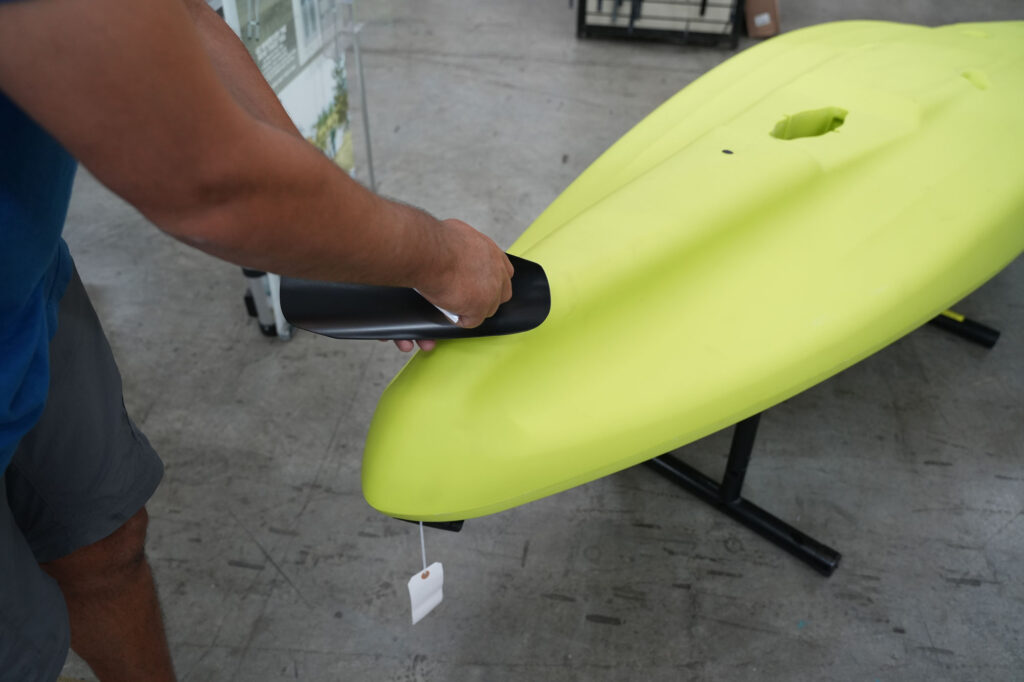
Step 4: Apply Marine Goop or Adhesive Ensure the Keel protector is oriented correctly for fitting onto the kayak. Use tape to mark the keel just beyond the Keel protector’s ends as a guide. Apply a small bead of marine Goop or your chosen adhesive 15mm (1/2 inch) down from each edge of the Keel protector and a generous bead along the kayak’s centerline.
Step 5: Position and Secure the Keel Protector Carefully position the Keel protector on the marked location, aligning it with the kayak’s hull contours. Apply gentle but firm pressure to adhere the Keel protector to the kayak’s surface. If necessary, use masking tape to temporarily secure the Keel protector while the adhesive sets.
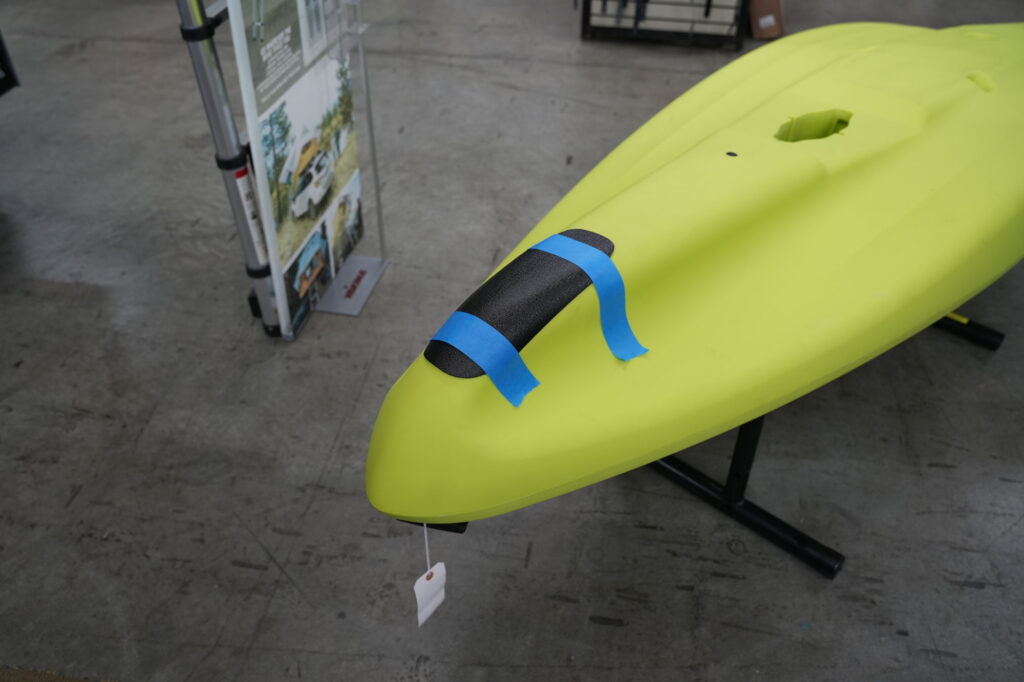
Step 6: Allow Adhesive to Cure After securing the Keel protector, let the adhesive cure undisturbed for a minimum of 24 hours or as per the adhesive manufacturer’s instructions. This curing period ensures a durable and long-lasting bond between the Keel protector and the kayak’s surface.

By following these steps, you can effectively install the Keel protector on your kayak, enhancing your fishing experience and safeguarding your watercraft investment.


