Look no further if you’re wanting to find out how to install your new Humminbird Compact SI transducer mount onto your Hobie Passport or Lynx.
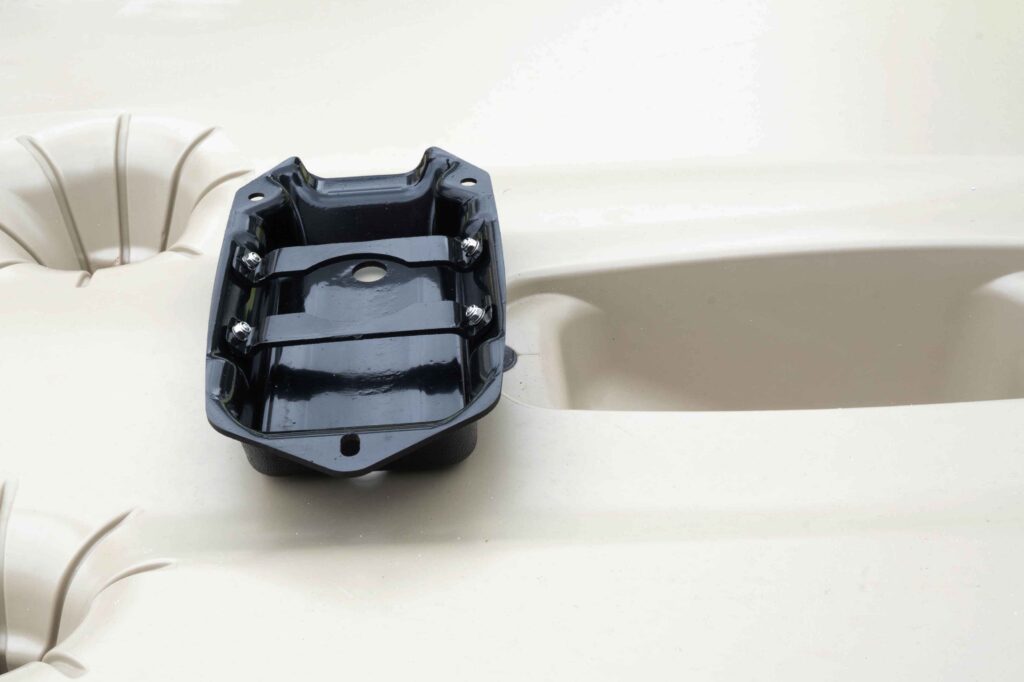
Once your Hobie is upside down and ready to go, begin by attaching the plastic tabs across your cover to secure the transducer inside it. For this installation guide we’re demonstrating without a transducer, but the Compact SI transducer fits perfectly. Using the supplied four M3 x 10 Pan Philips Head Screws, attach the tabs diagonally so that they sit as shown below. Make sure to use the provided flat washers and nylock nuts to secure these in place.
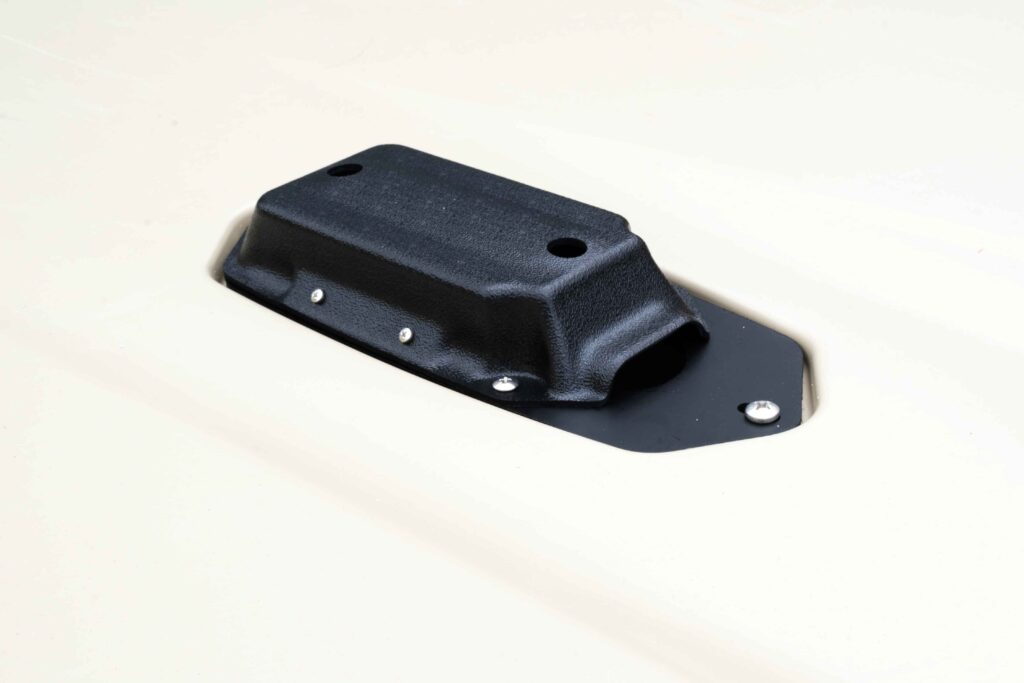
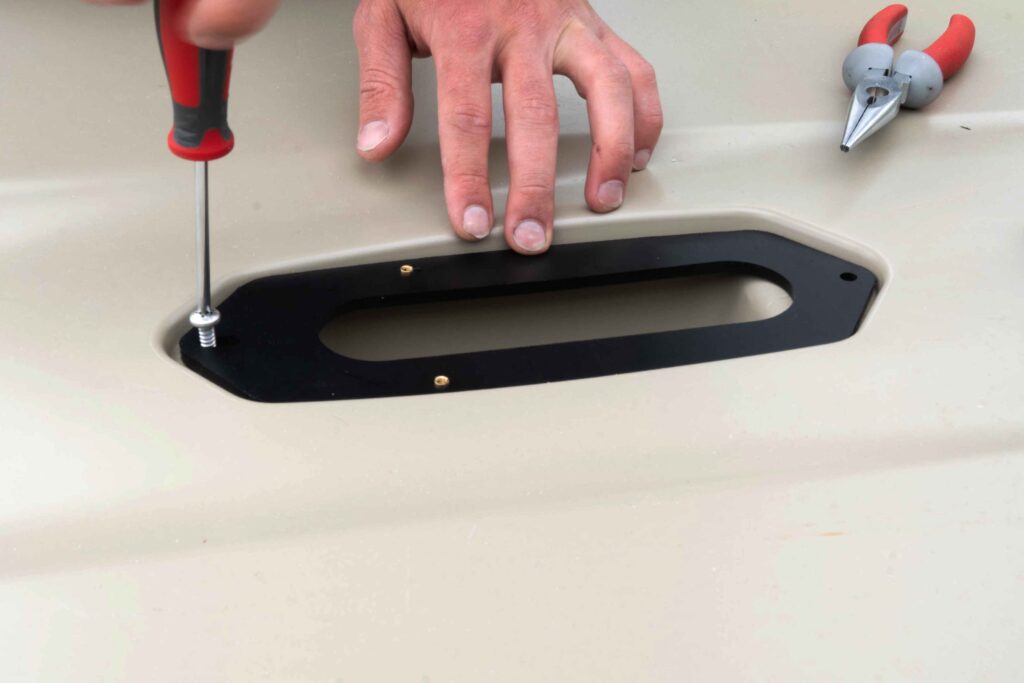
Then, put your backing plate into place in the underside of the kayak and secure it with the 14G x 1Pan Phillips Head Self Tapping Screws. The end of the transducer mount which remains uncovered is secured first. Once that is done you can move the cover over the top, securing it in place with the other 14G screw.
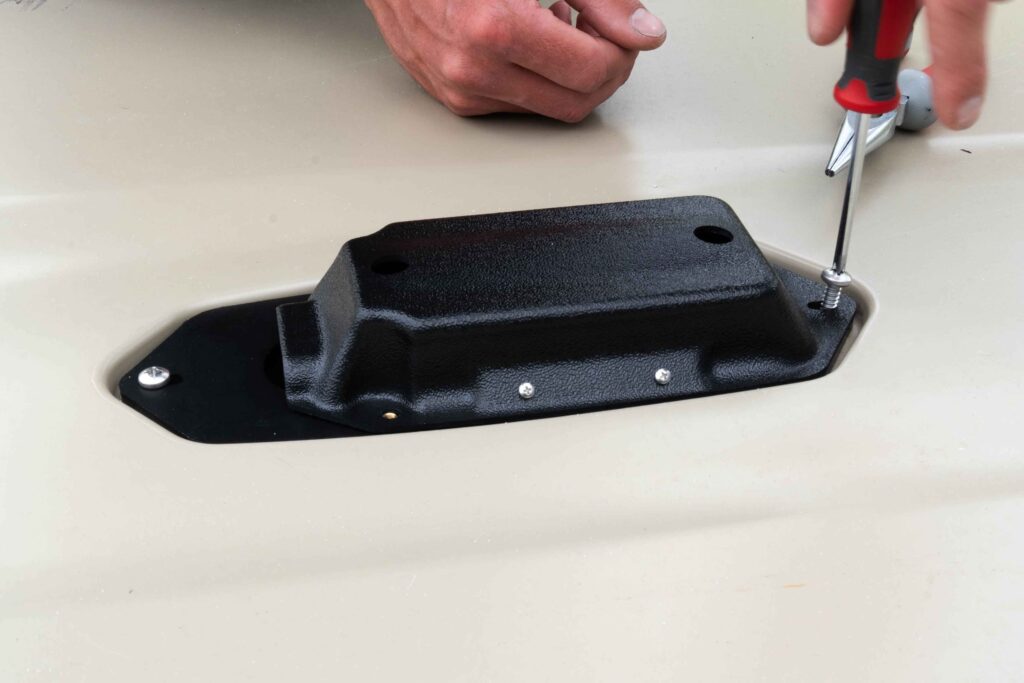
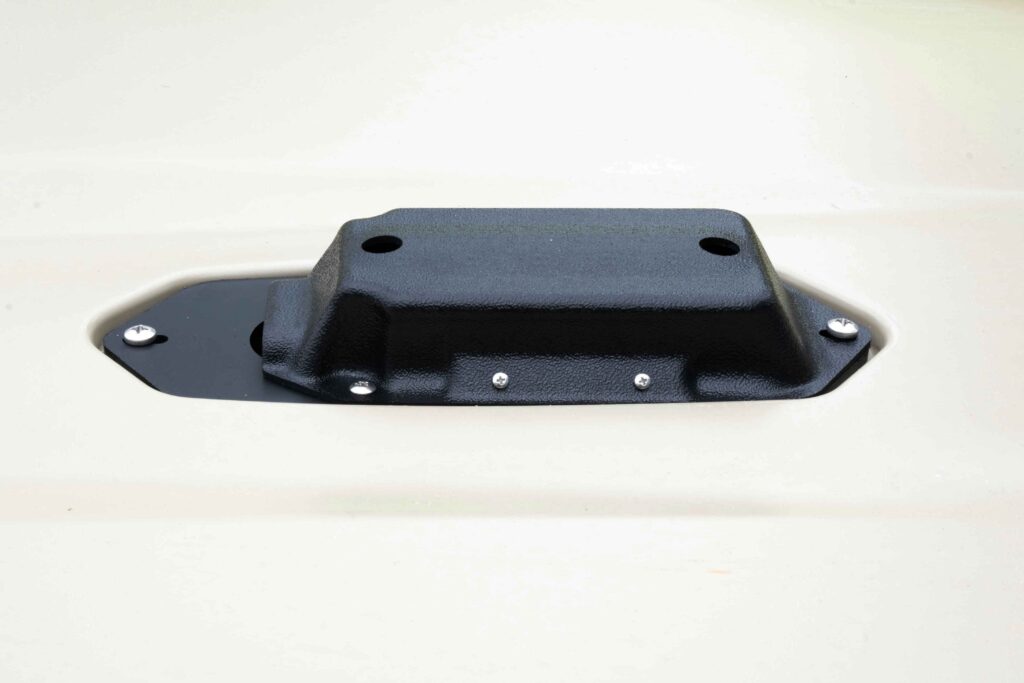
And for the final step in securing your mount, you will fasten the two bottom corners either side of the cover using the two 8/32 x 1/2 inch Mushroom Screws.
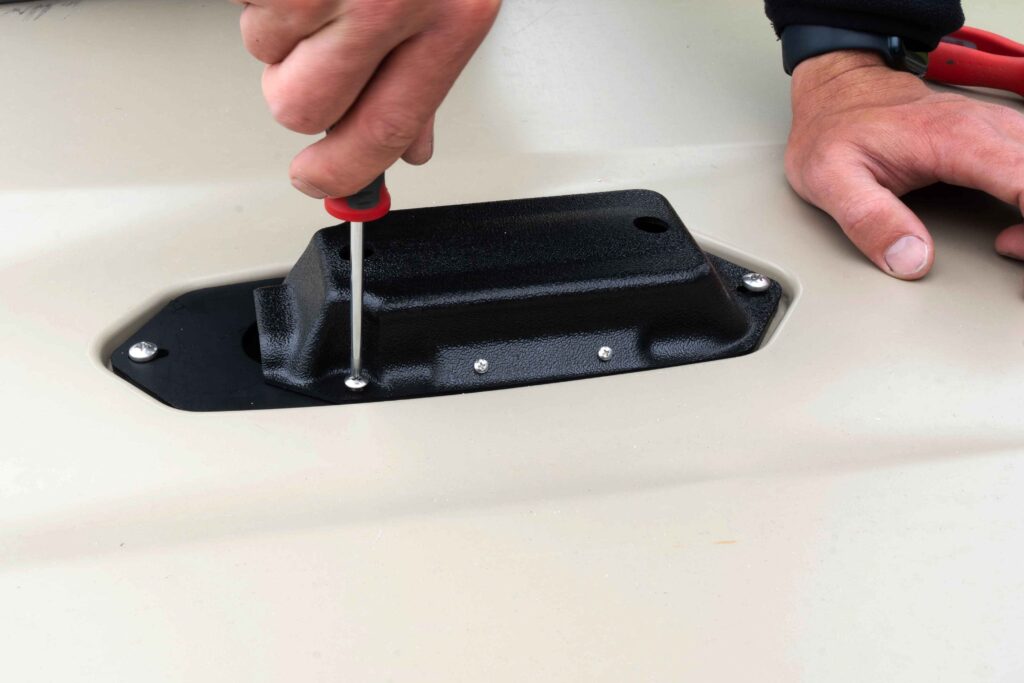
Voila! You’re all set flip the kayak to then continue routing the transducer cable.


2 comments
George Fleszar
How does the transducer get mounted?? The sonar manufacturer states that side imaging transducer cannot be mounted within the hull. So is the transducer supposed to go below those cross braces?? Mounting instructions without having the actual transducer involved is not particularly helpful.
Also, the description stating that: The end of the transducer mount which remains uncovered is secured first is also not clear. Since it appears that the cover would fit either way, is the open end supposed to be facing forward or aft?? It might better be stated that the screw closer to the rear end of the kayak is put in first as I presume that is the direction that the opening should be facing.
Dave
The sidescan transducer need to be clear of any obstructions, hence it’s important to have them under hull.
Thanks for your feedback about instructions, we’ll change it to make more sense.