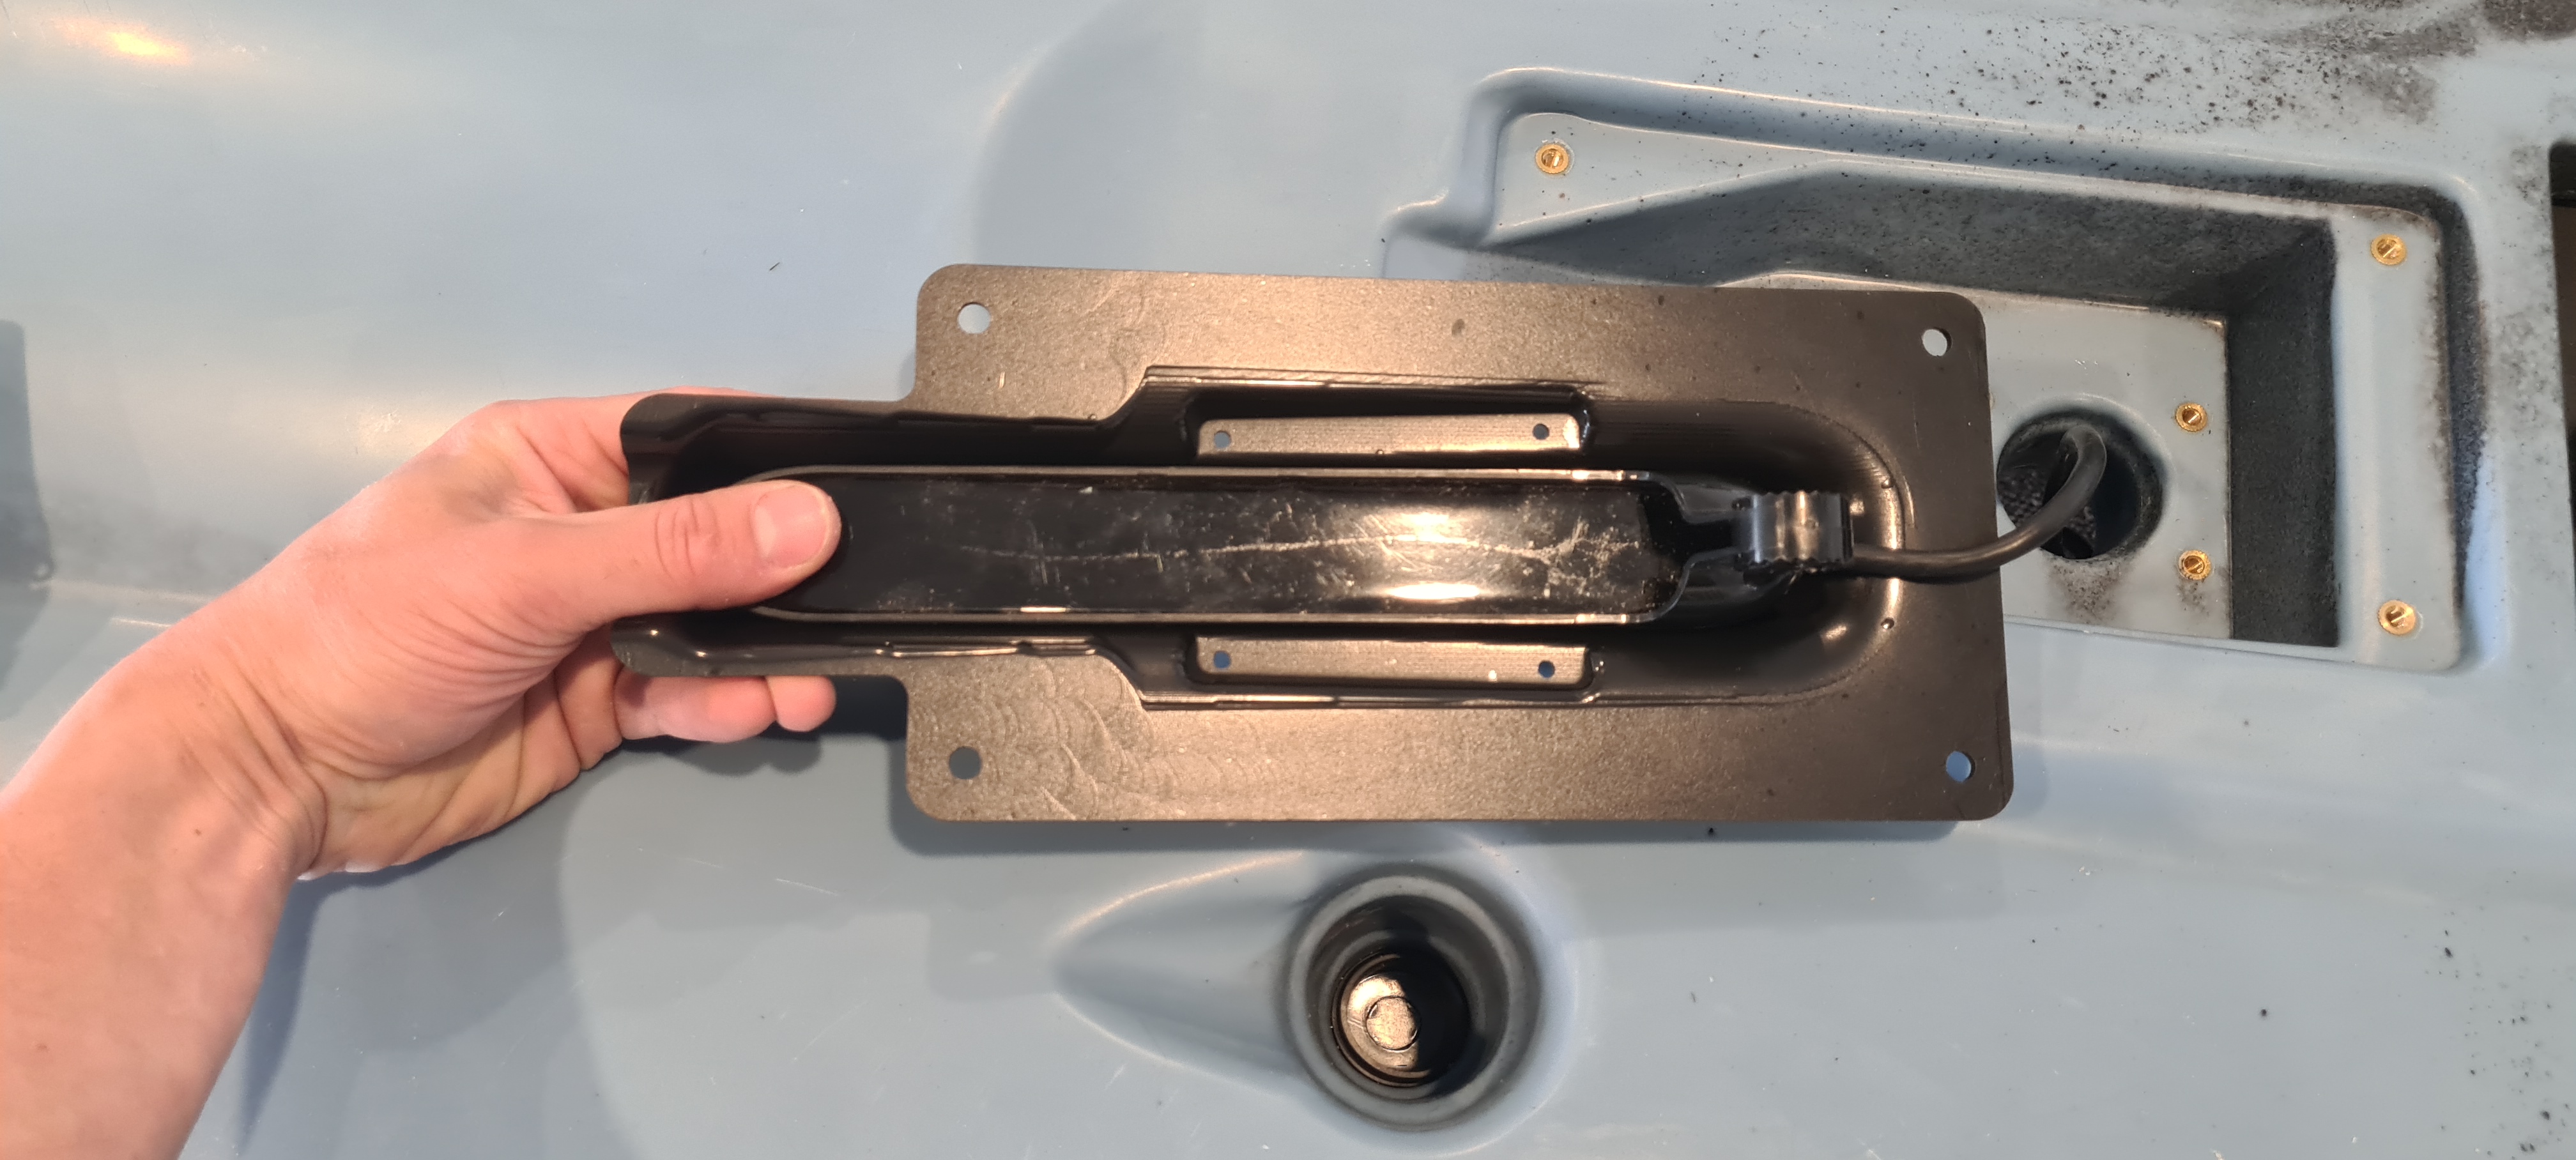
Place the trippleshot transducer into the cover as shown
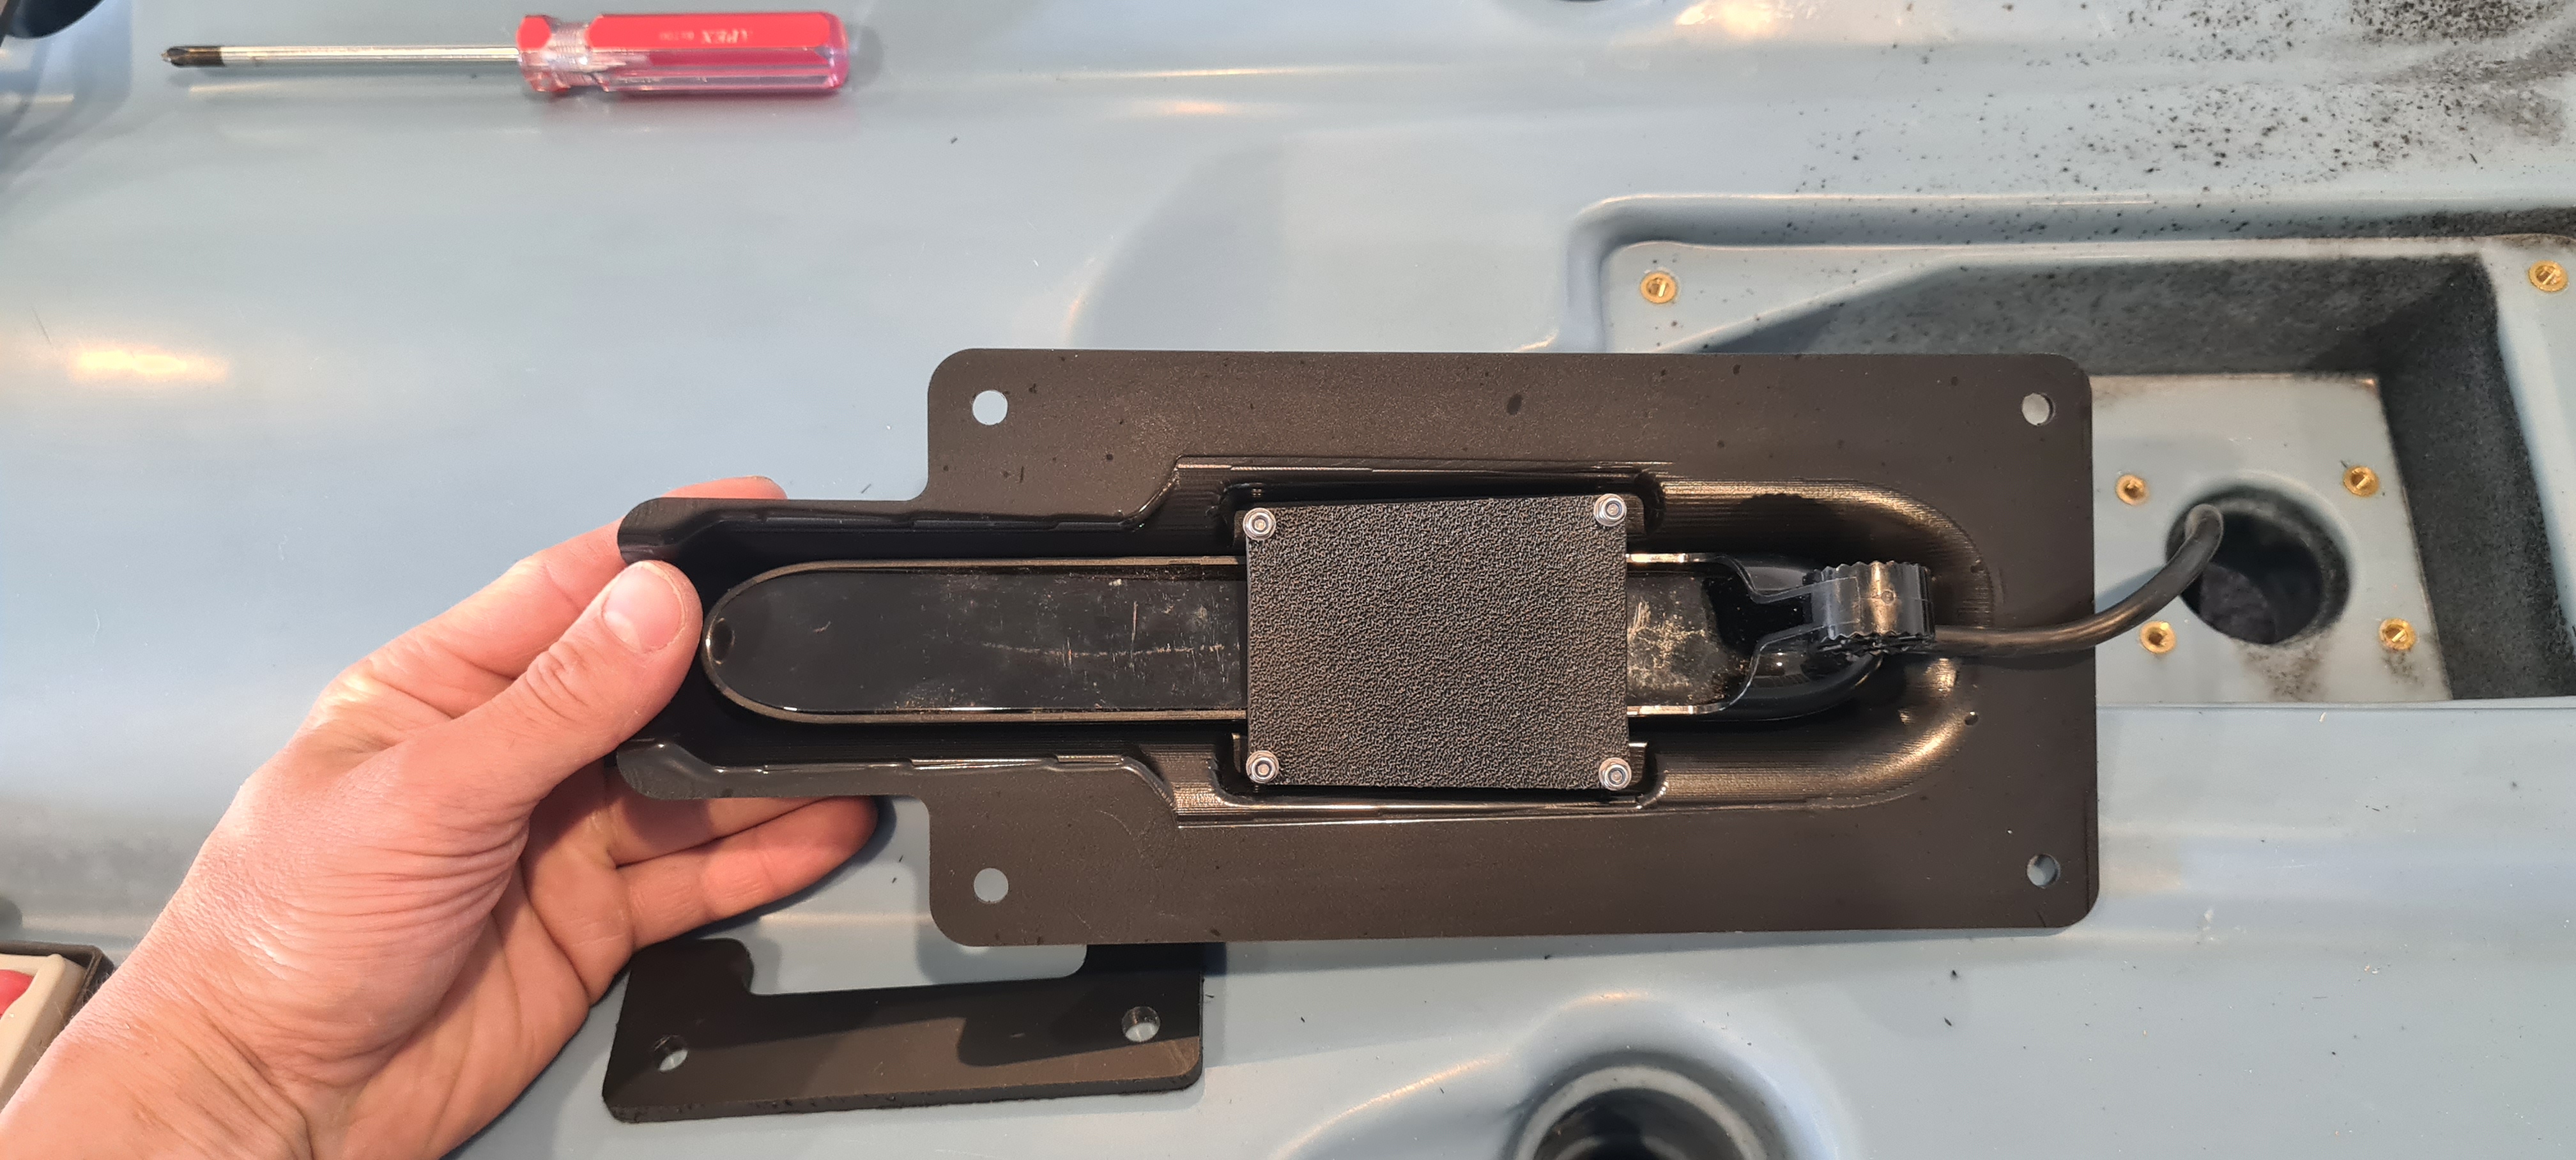
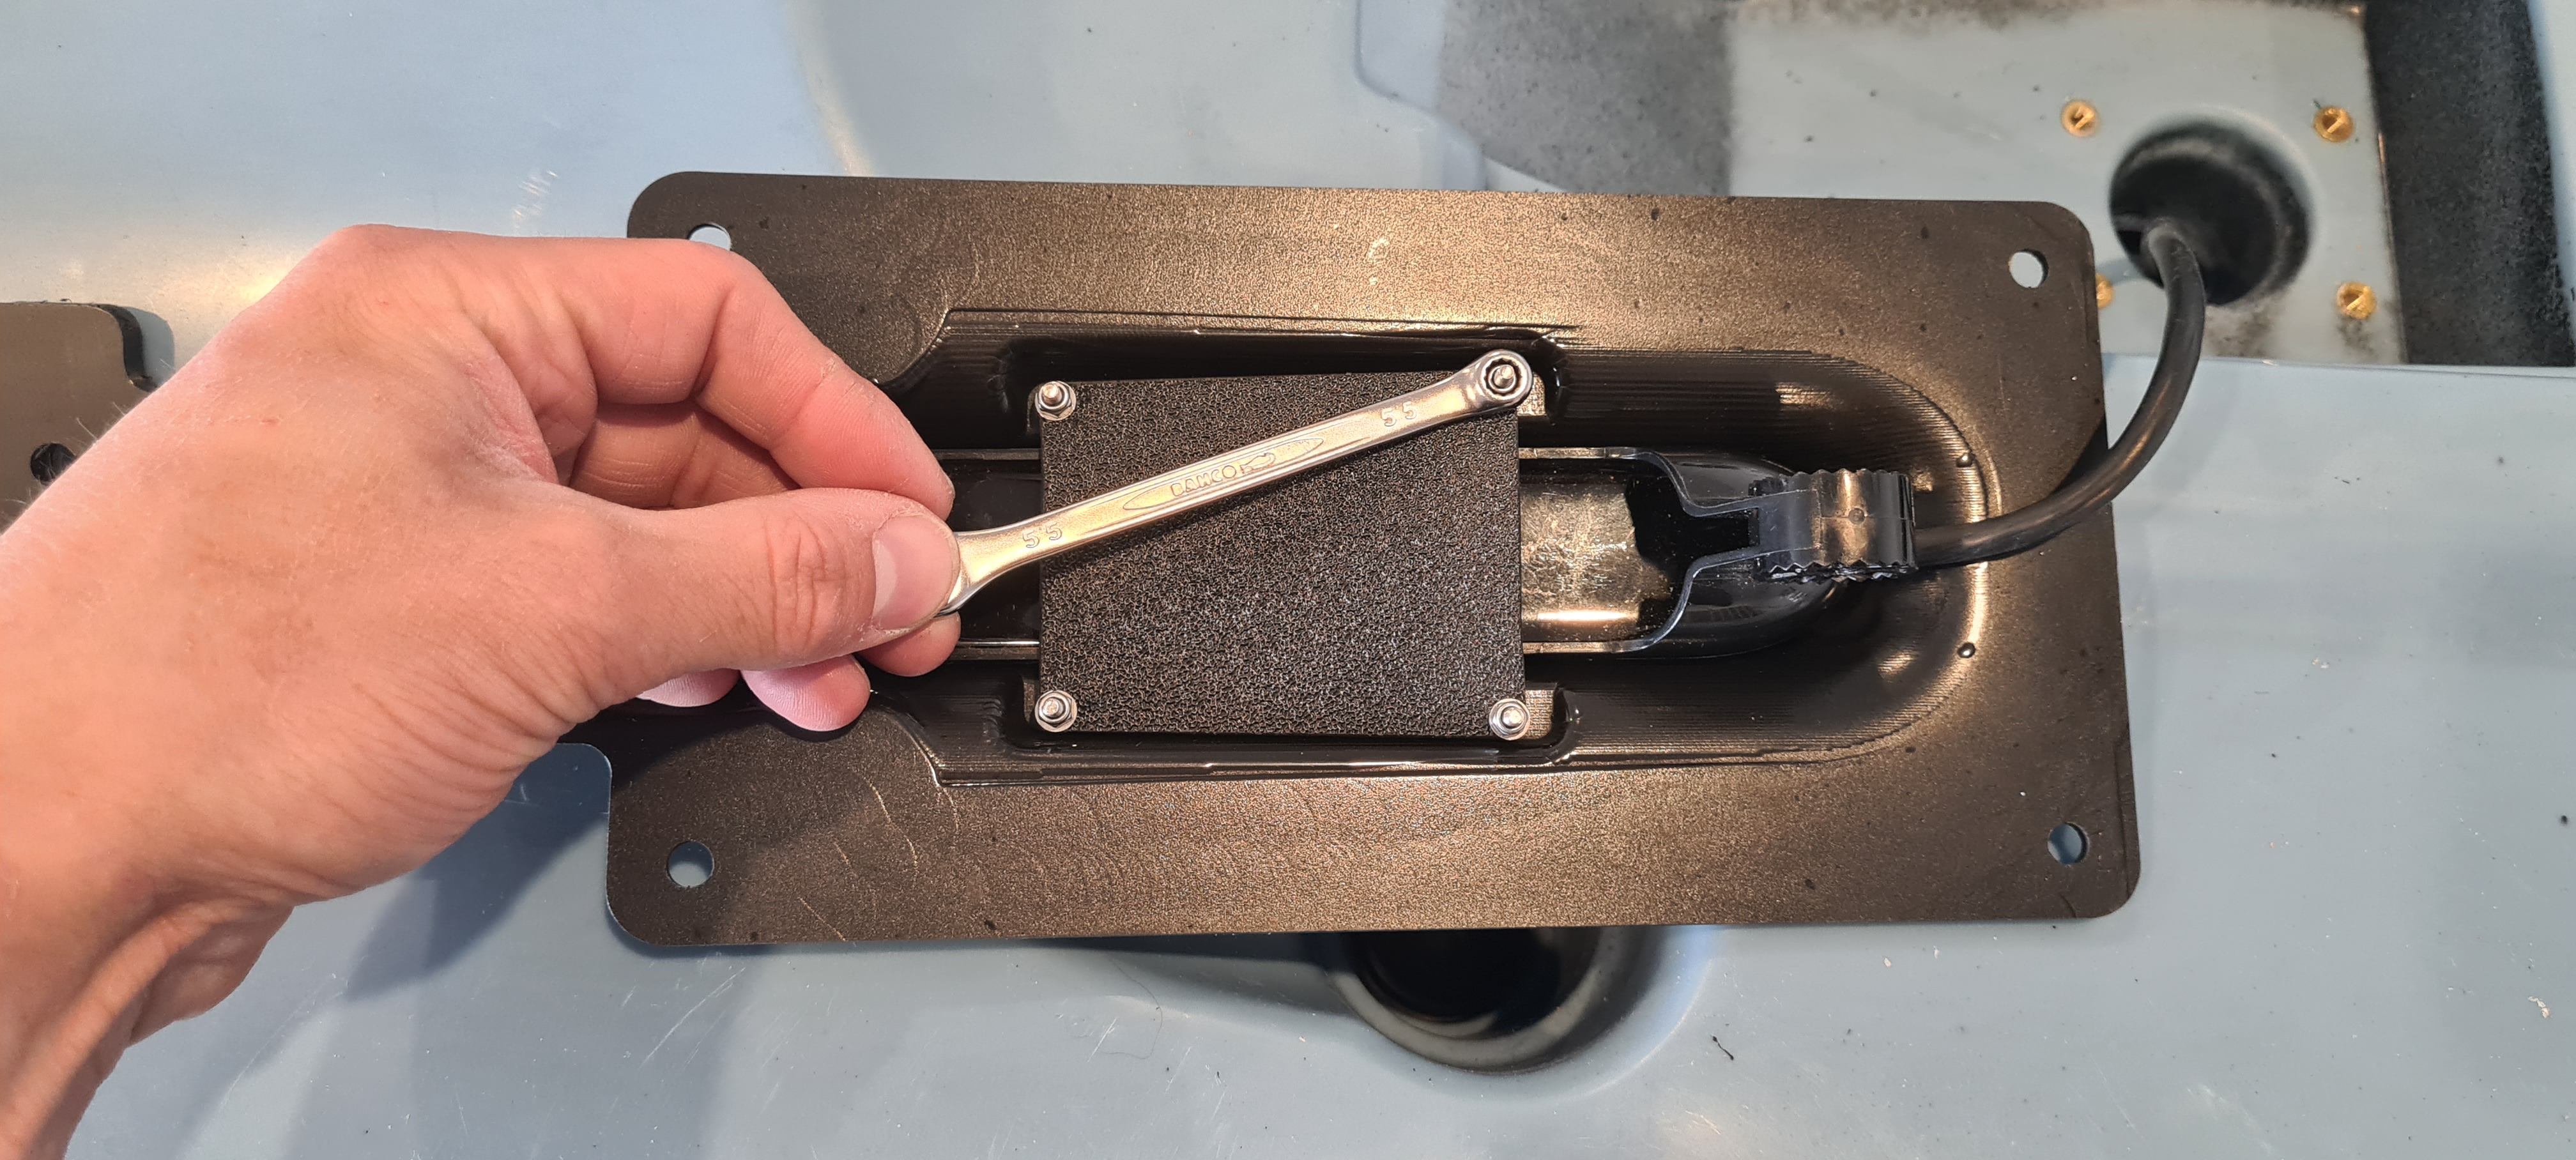
Place the clamp onto the top of the transducer secure with the m3 hardware provided, and tighten finger tight ensuring not to damage your transducer
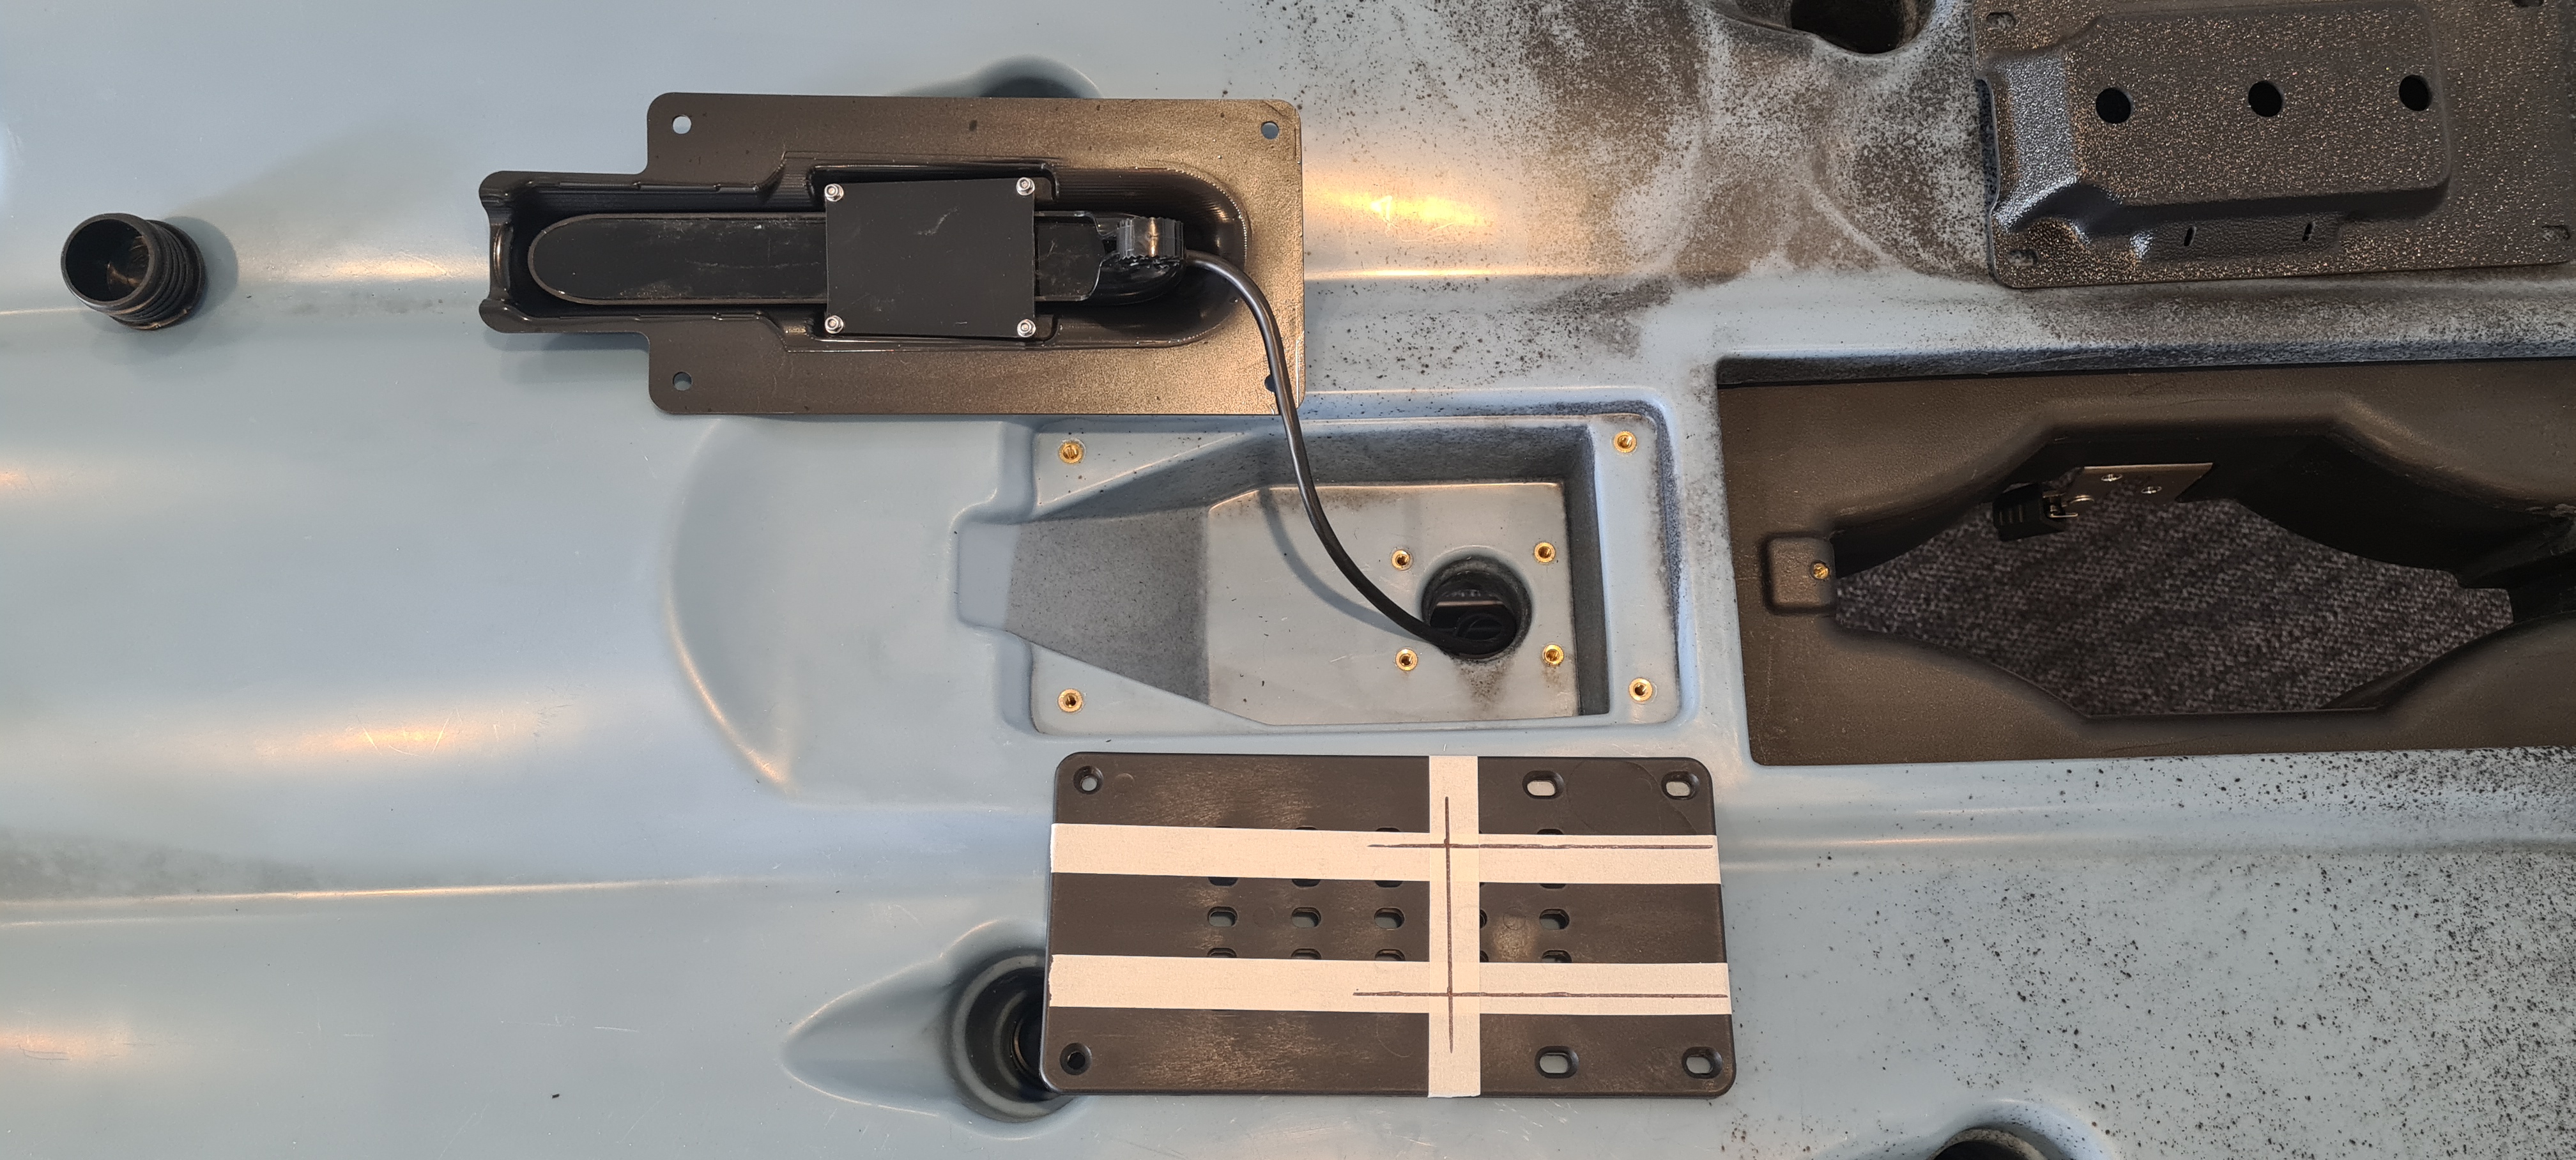
On the plate supplied with the kayak you will need to cut a 70mm x 110mm rectangle out to allow for the transducer slot to pass through, as per the measurements shown below
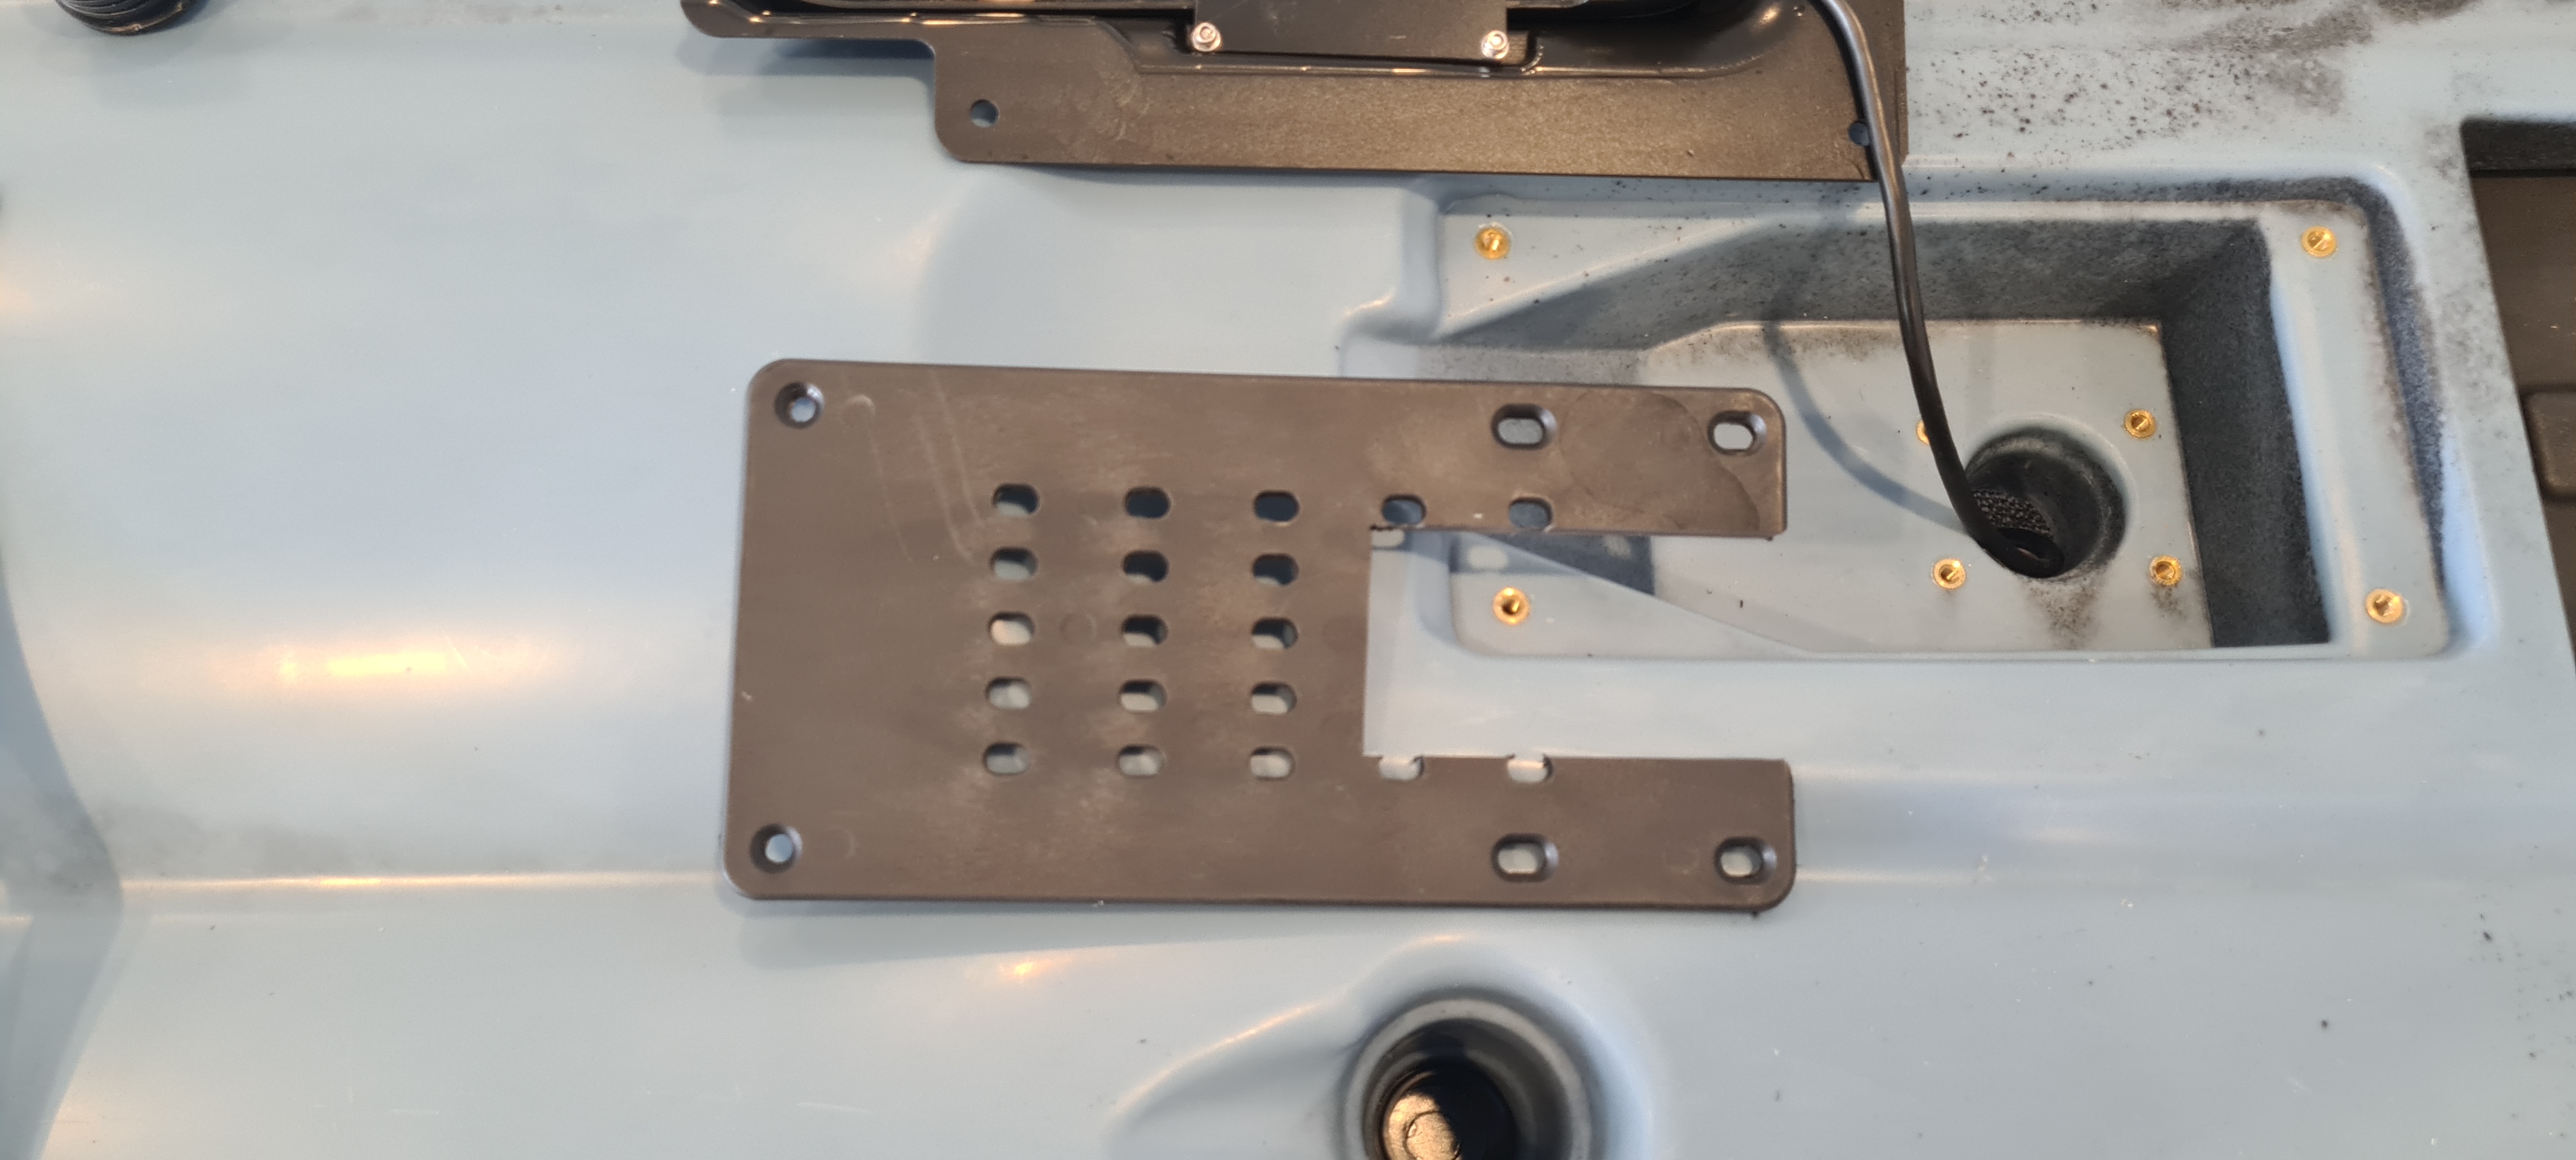
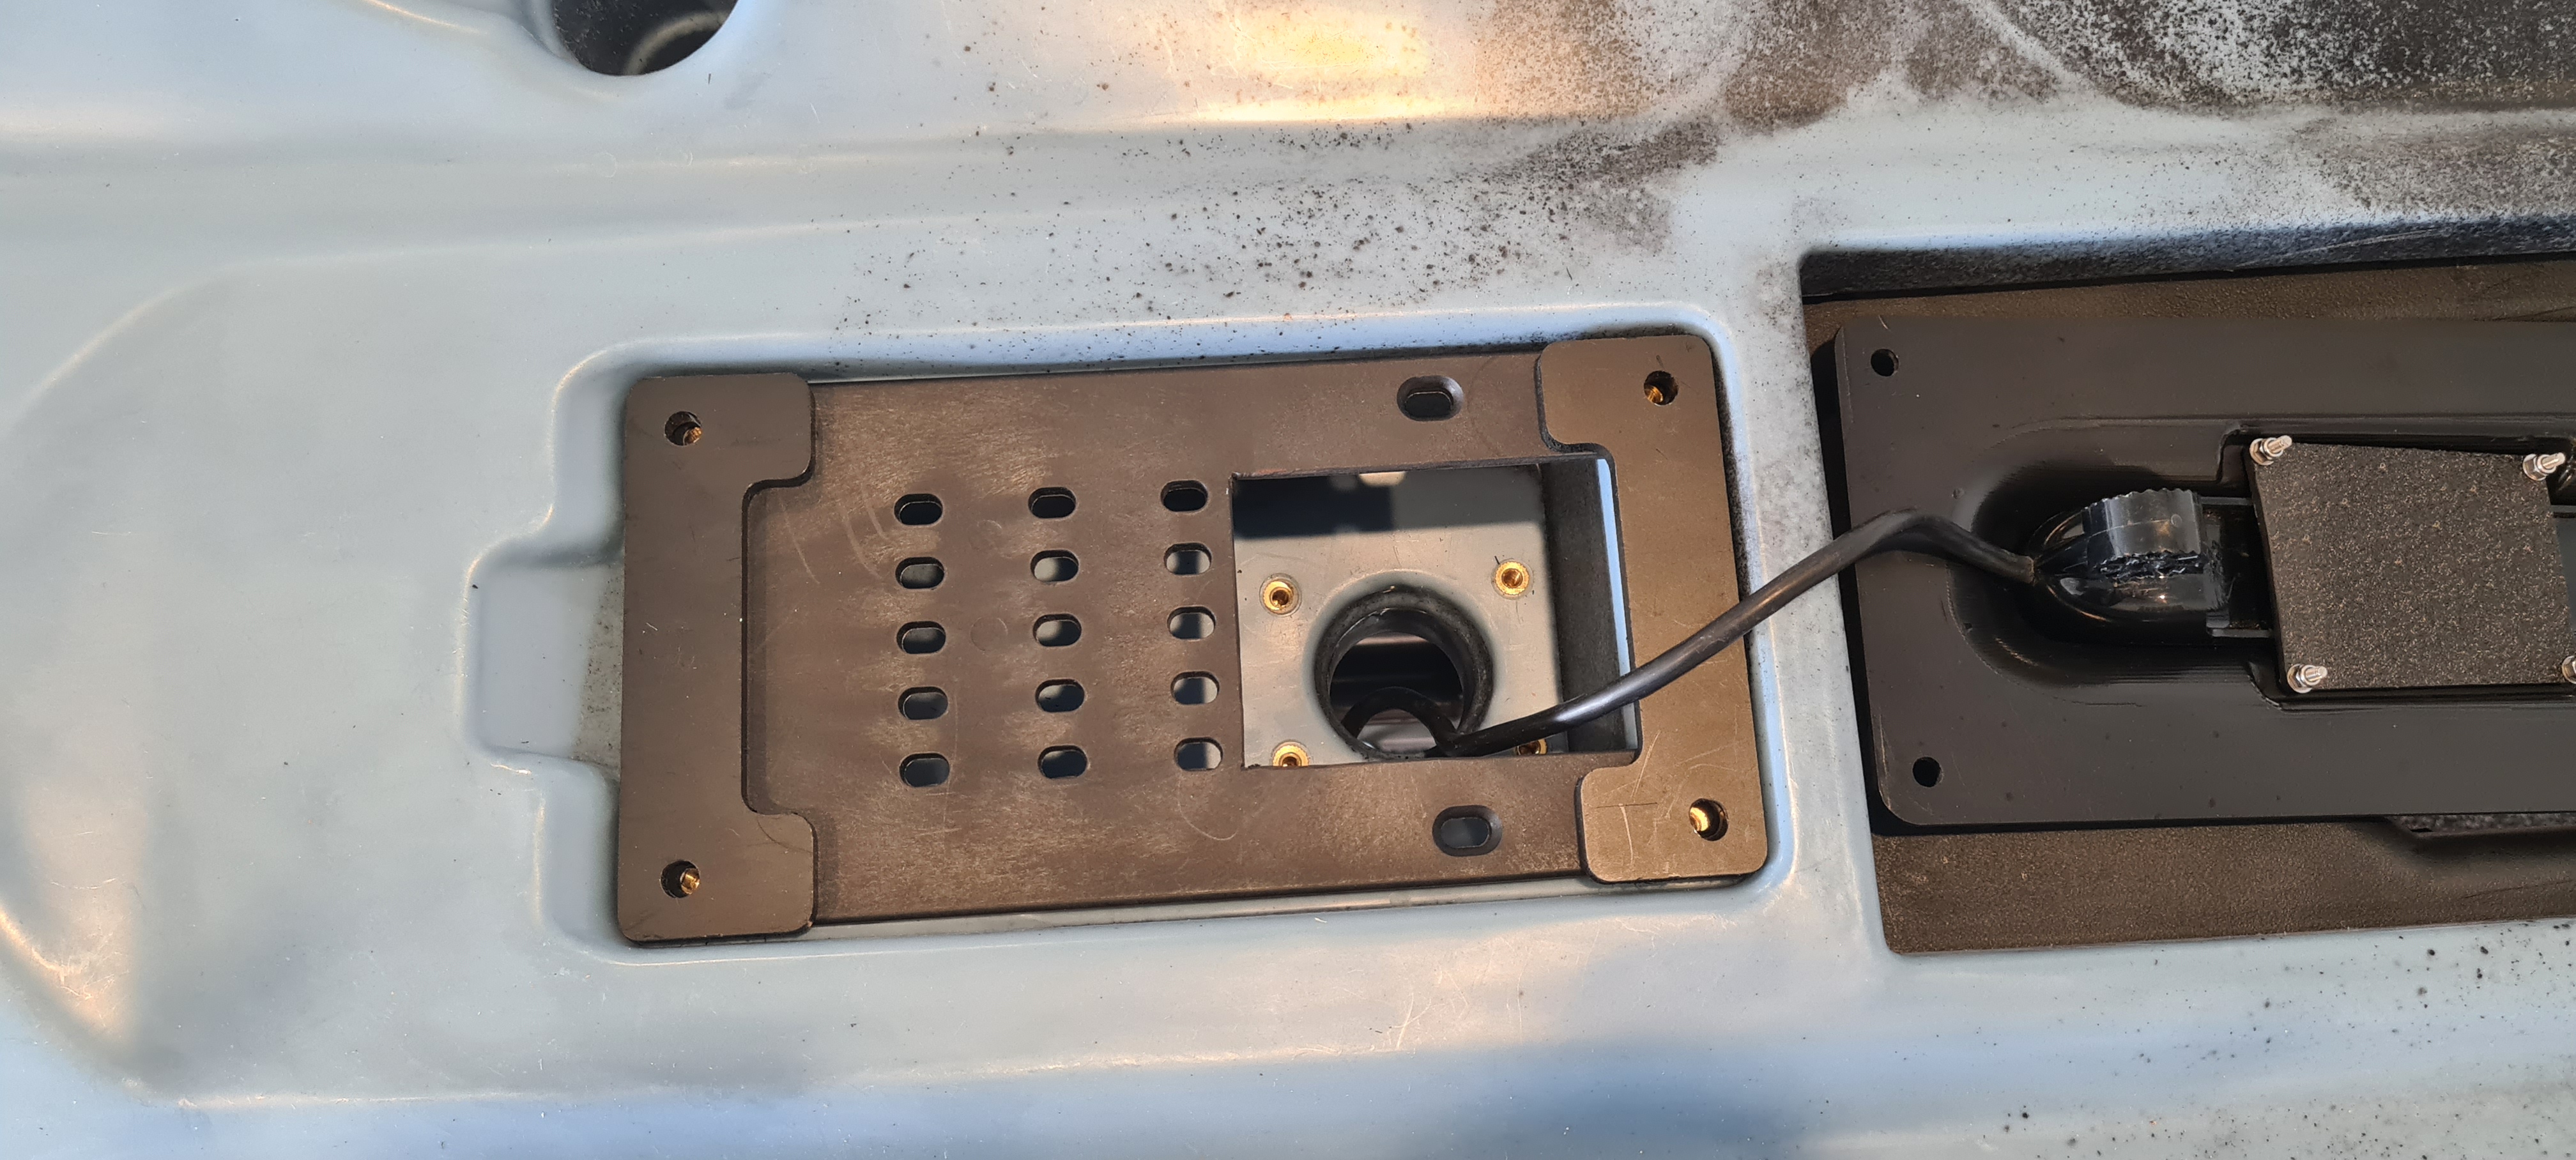
Once you have cut the slot out place the plate onto your kayak along with the spacers supplied
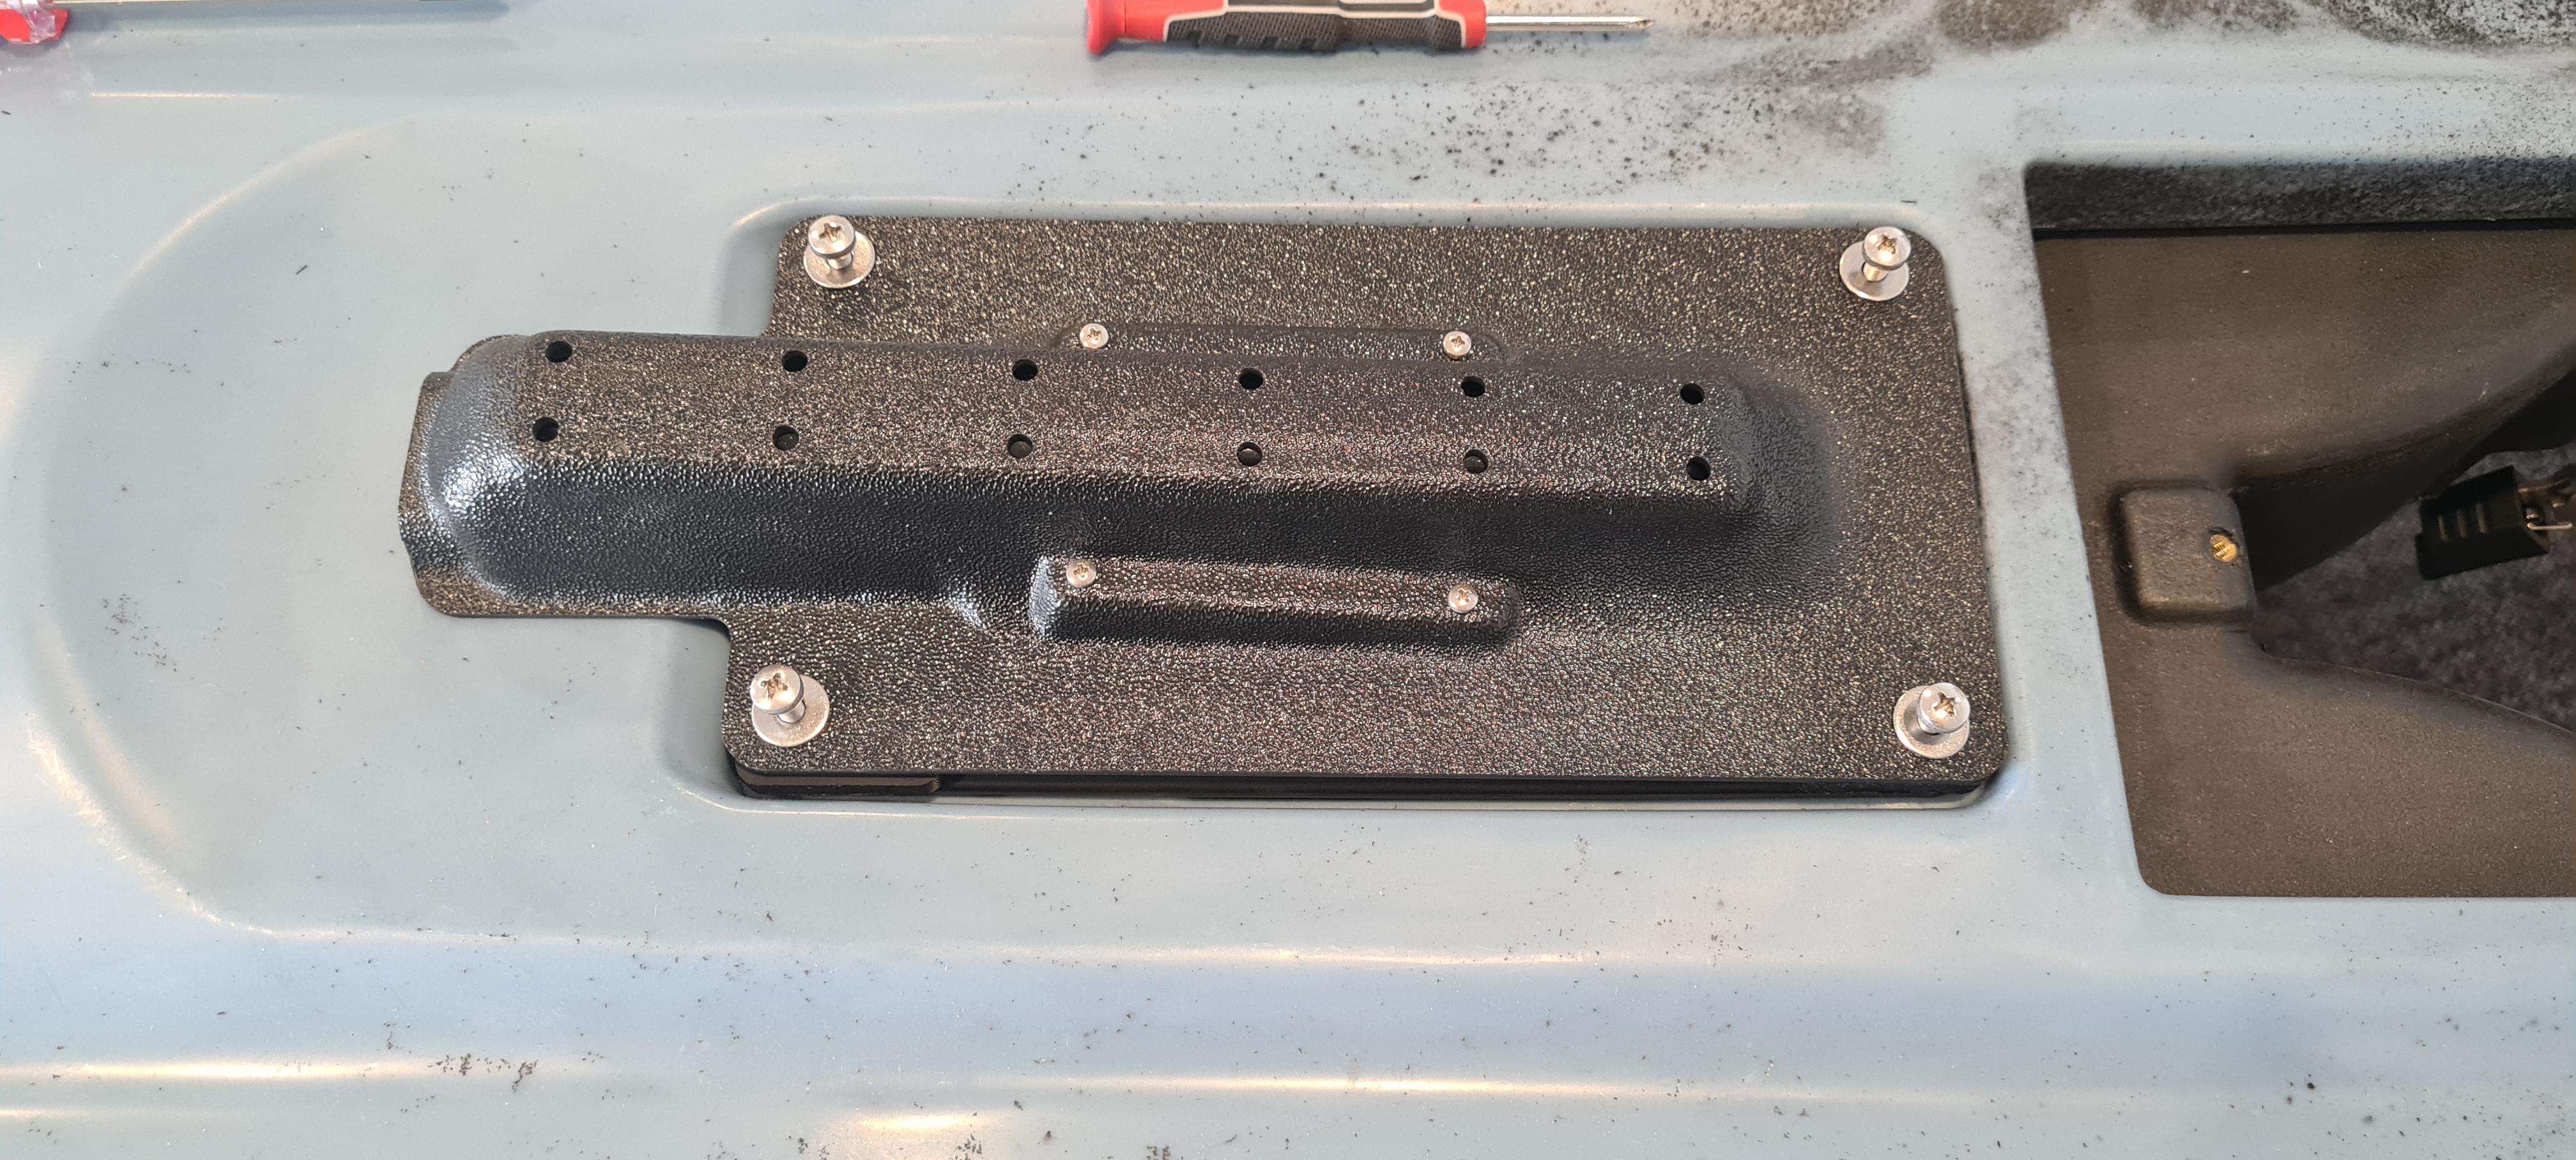
Place the transducer onto the kayak and fasten with the m5 hardware supplied


