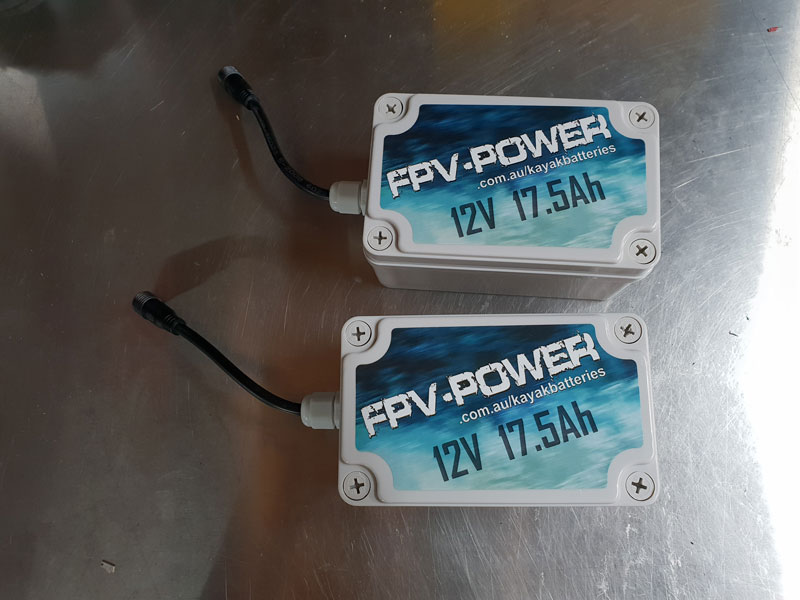
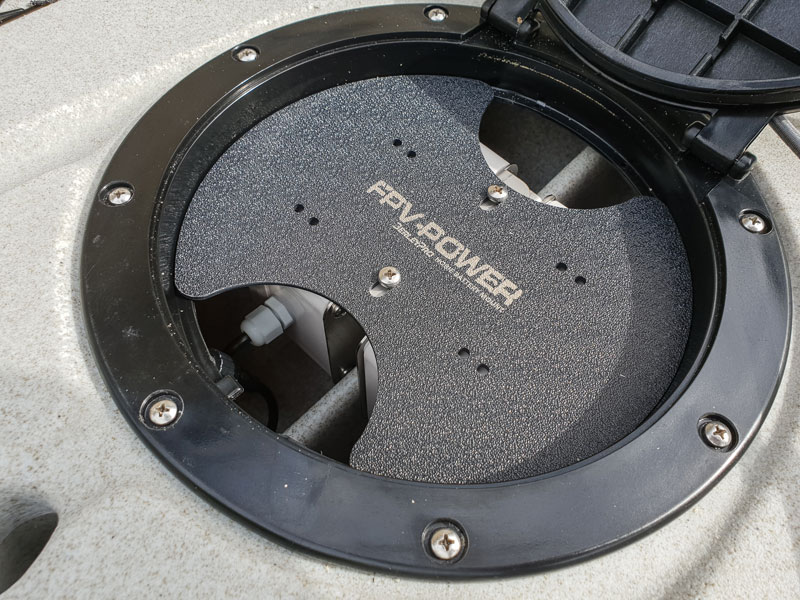
I’ve put together this blog to show you how to install the Active Imagining 3-in-1 transducer from Lowrance on your Hobie kayak in the Lowrance ready position. We are using the BerleyPro adaptor and powering this with 2 17.5ah FPV Lithium batteries.
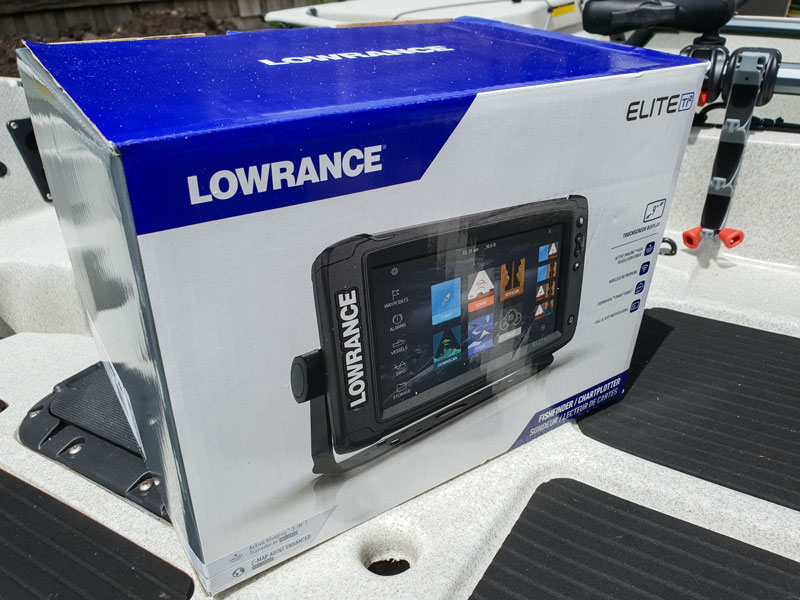
The new Lowrance TI2 and HDS Live range both come with the 3-1 transducer. This is a bit taller than the totalscan meaning it won’t fit in the old totalscan mount.
Firstly grab the transducer from the box
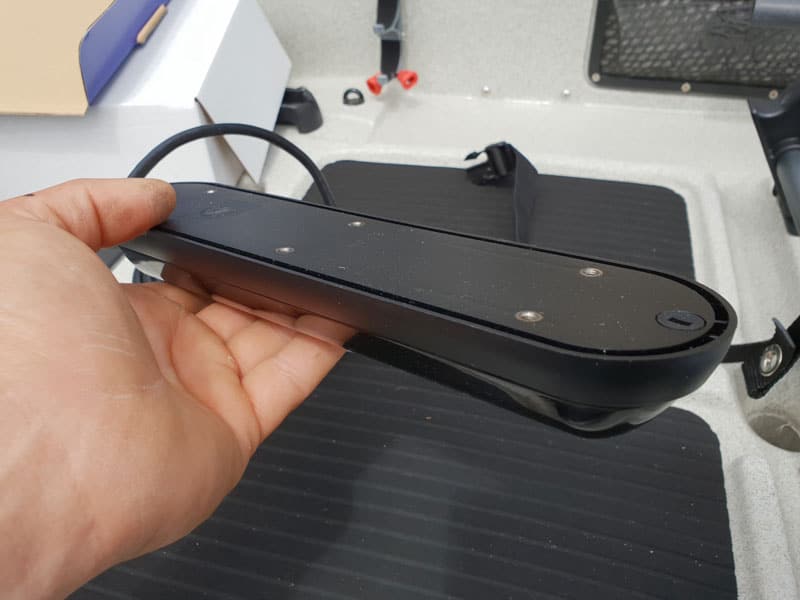
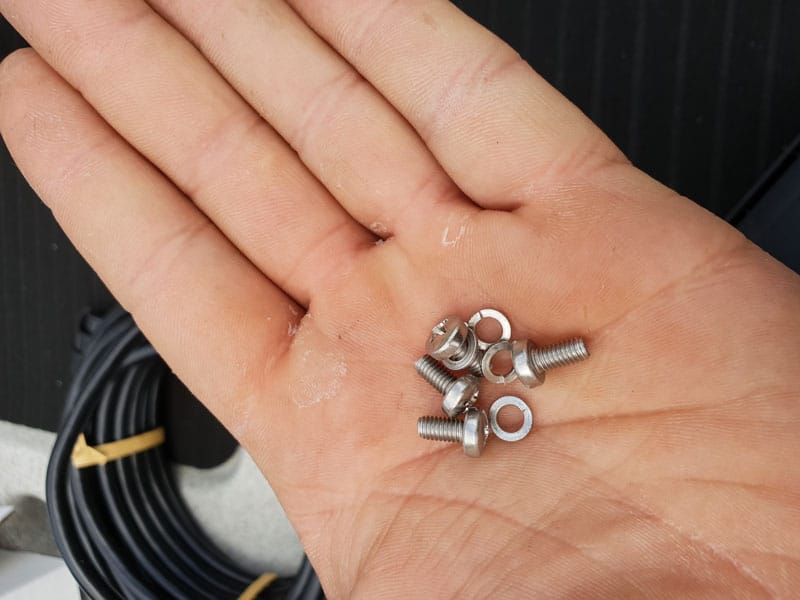
Use 4 of the m4 screws and washers.
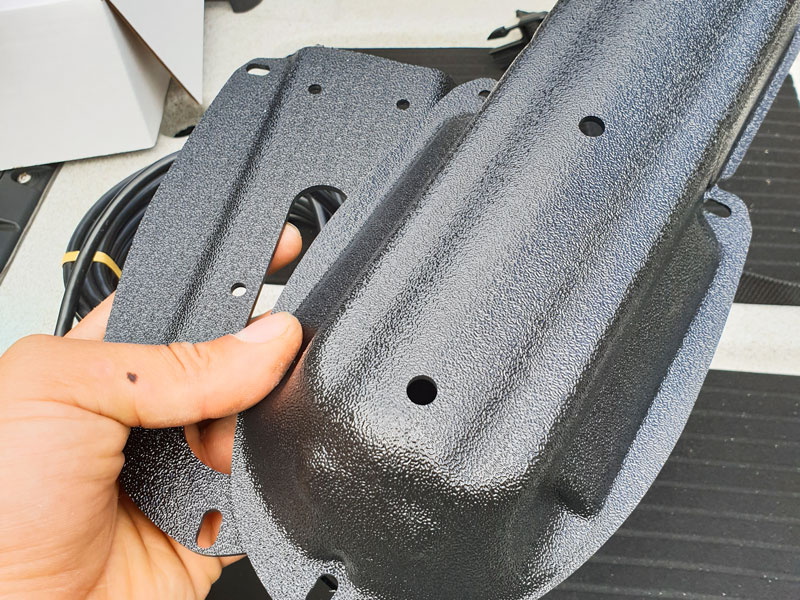
Open the BerleyPro adaptor and get out the base plate.
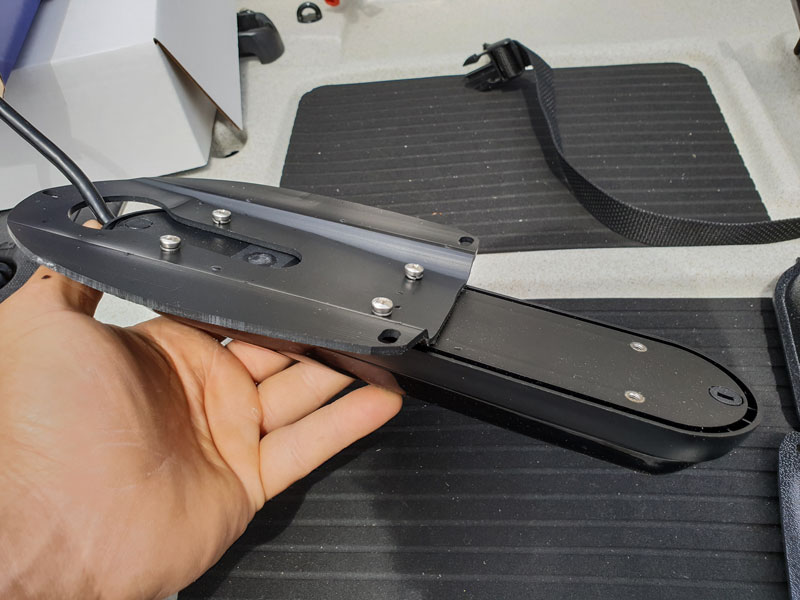
Use a phillips head screw driver and install the transducer onto the base plate.
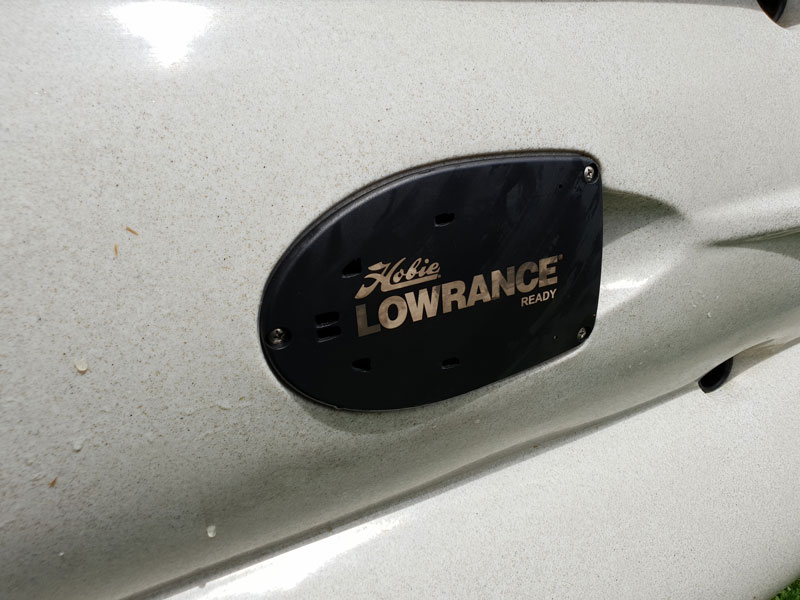
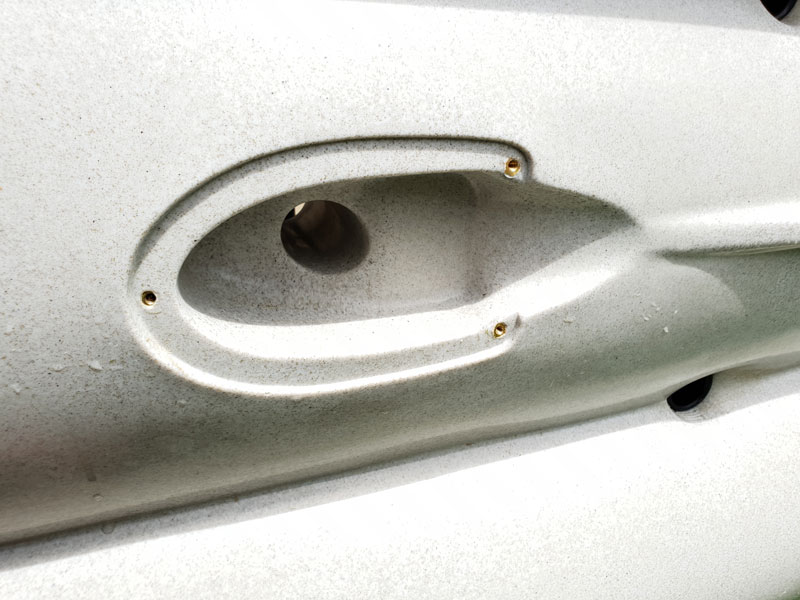
Flip the kayak over and remove the Lowrance ready plate.
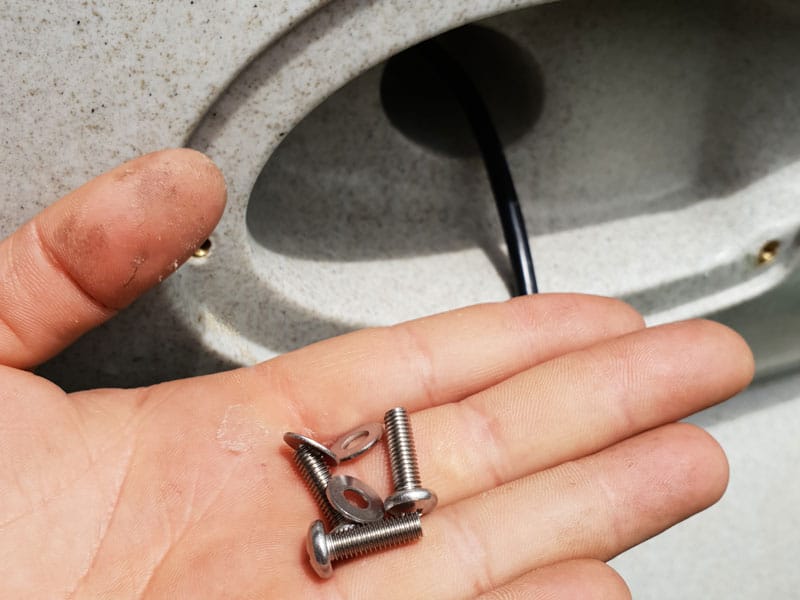
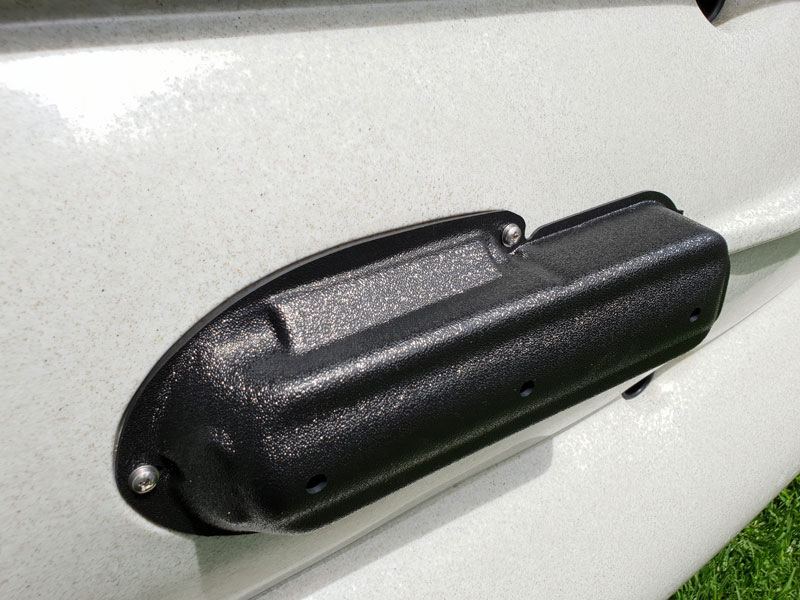
Run the transducer cable up through the scupper and then use the screws provided with the new adaptor to attach the transducer to the kayak. There are two different sizes of screws so make sure you use the right one by checking it against the screws that came out.
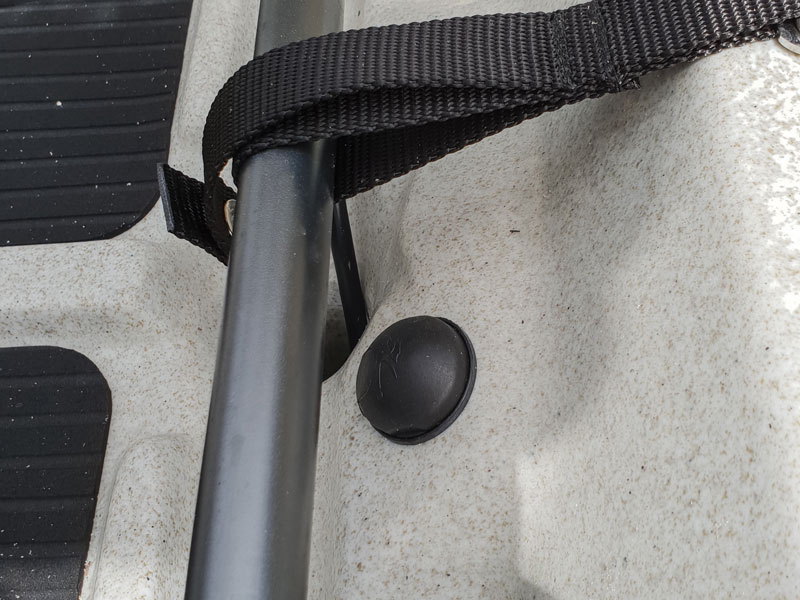
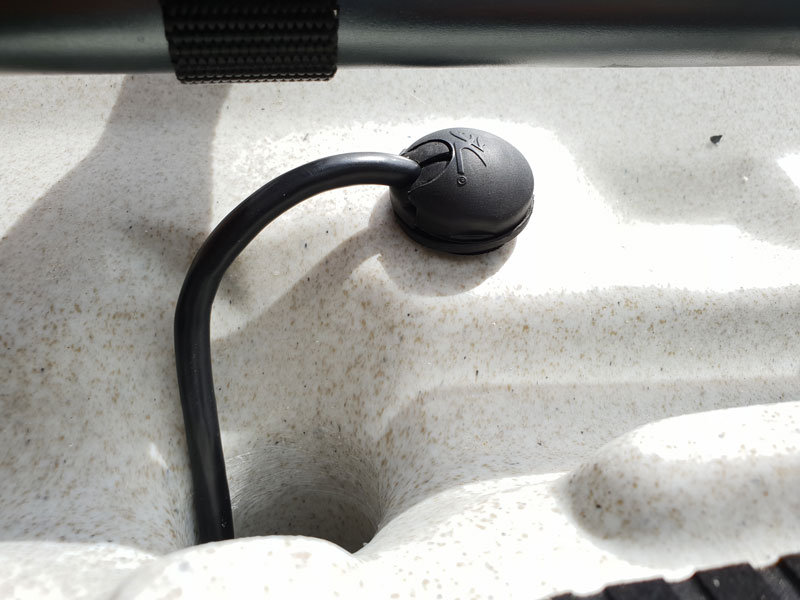
You need to remove this gland by undoing the nut on the back and using a new grommet provided with the Hobie kayak.
It should look like this with the cable run through and the new insert with a single hole installed. You just need to use an insert that fits snug around the cable and run the cable through the center of the nut then tighten it down.
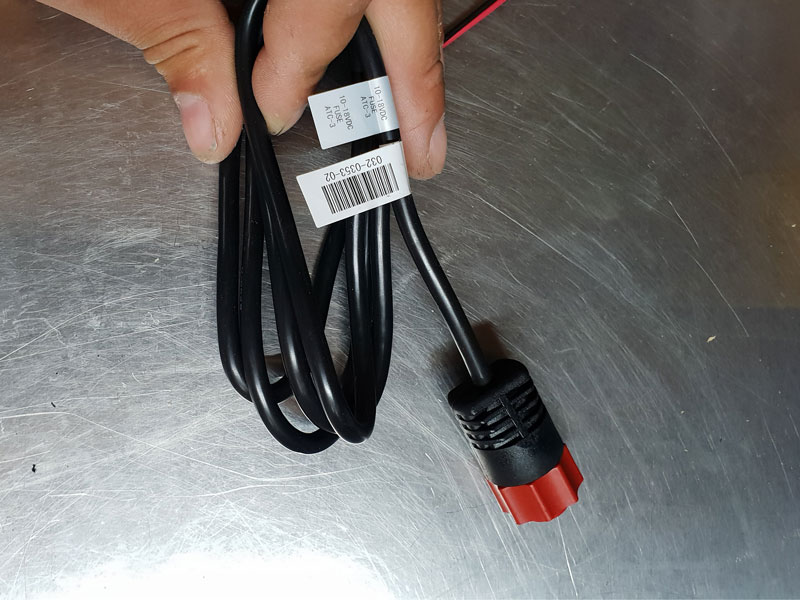
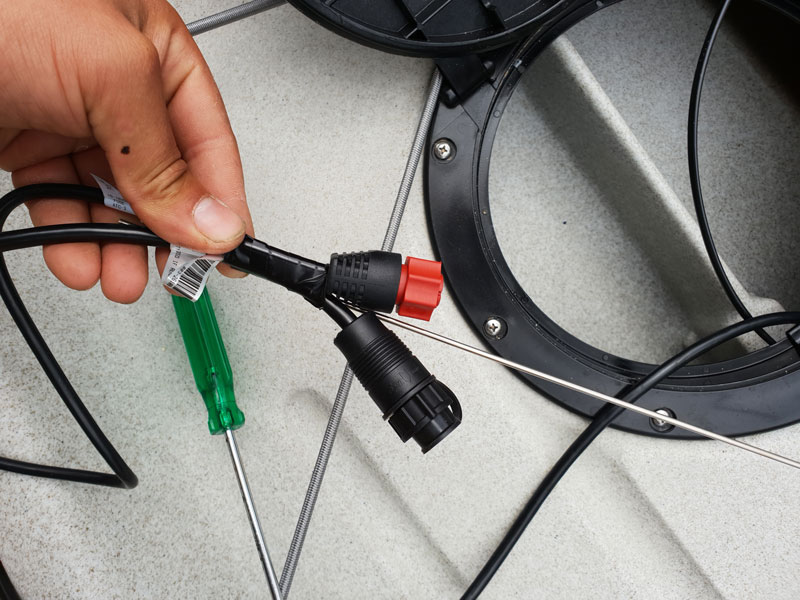
We then prepare the power cable that comes with the unit. We are running 2 lithium batteries in the rear round hatch so we need to extend it.
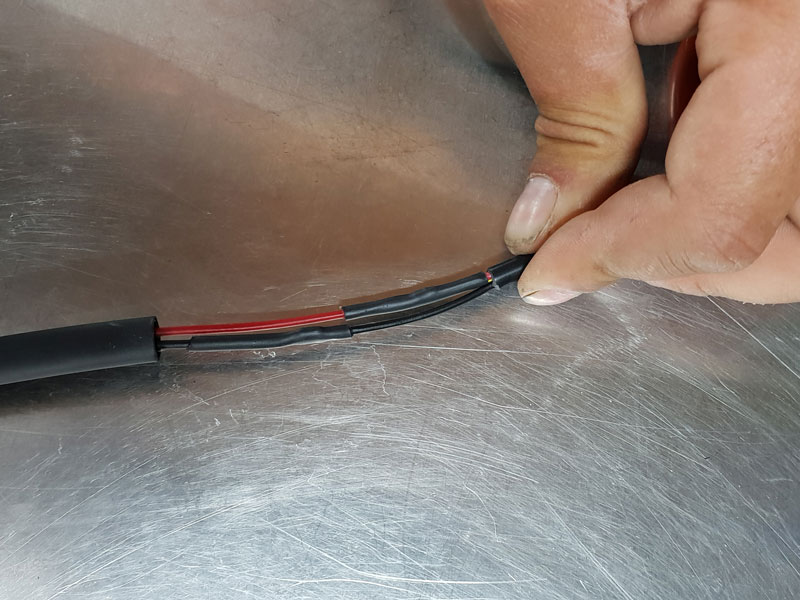
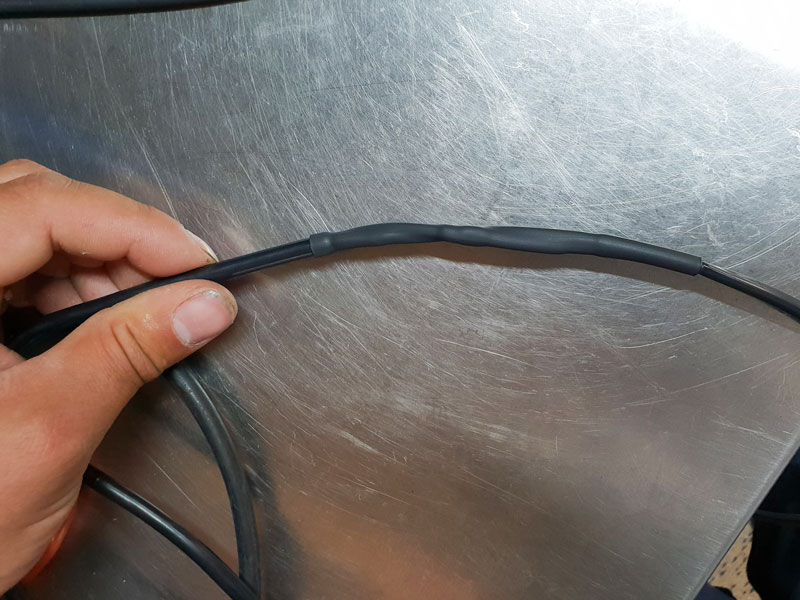
To do this we just extend the black and the red wire. We stagger the joins to ensure no chance of contact and seal them with glue line heat shrink. We crimp instead of soldering as these kayaks are normally put on trailers or rooftops and are subject to a lot of vibrations. Solder forms a stiff join on the wire that can cause it to fail in these conditions. We also cover the whole joint since this can be sitting on the base of the kayak and submerged (We normally tuck this join over the top of a foam block).
I tape the power cord and the transducer cord to a piece of wire to pull it through to the front.
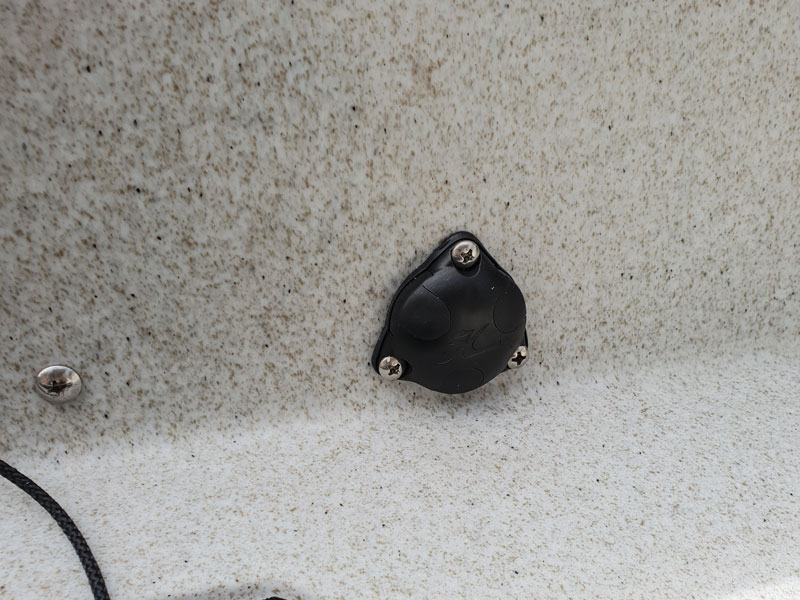
The two cords then are to come out one of the front glands. This one will be on the left. You just unscrew the 3 screws and use the grommets that fit the cord and then refit it.
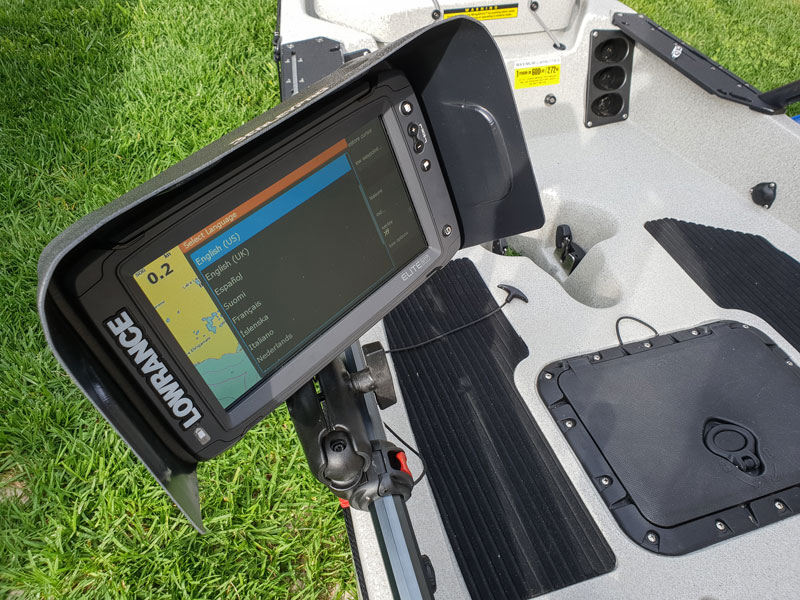
We mount the head unit using the following.
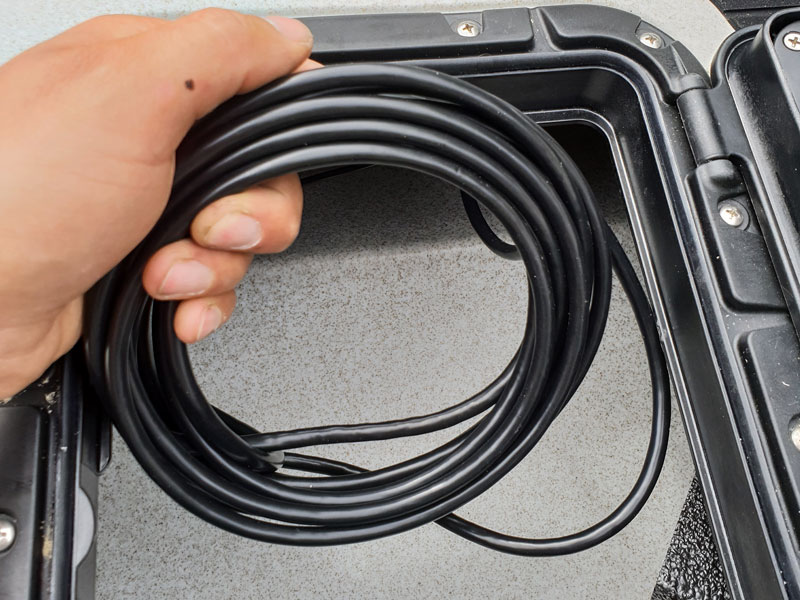
The excess transducer cable is coiled up and then cable tied to a scupper tube so it is out of the way.
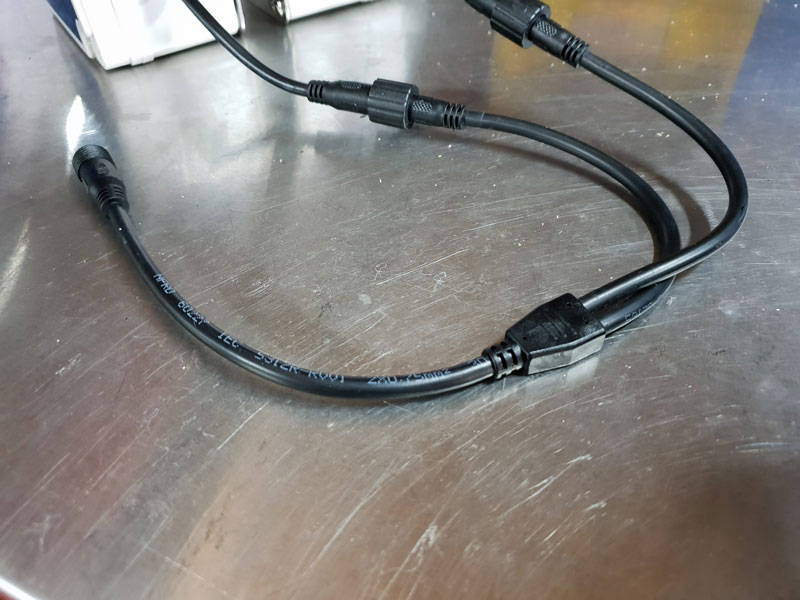
The battery setup we are using is a Twin FPV battery mount for the rear hatch and two 17.5ah FPV batteries. We are using the Y Joiner to join the two batteries.
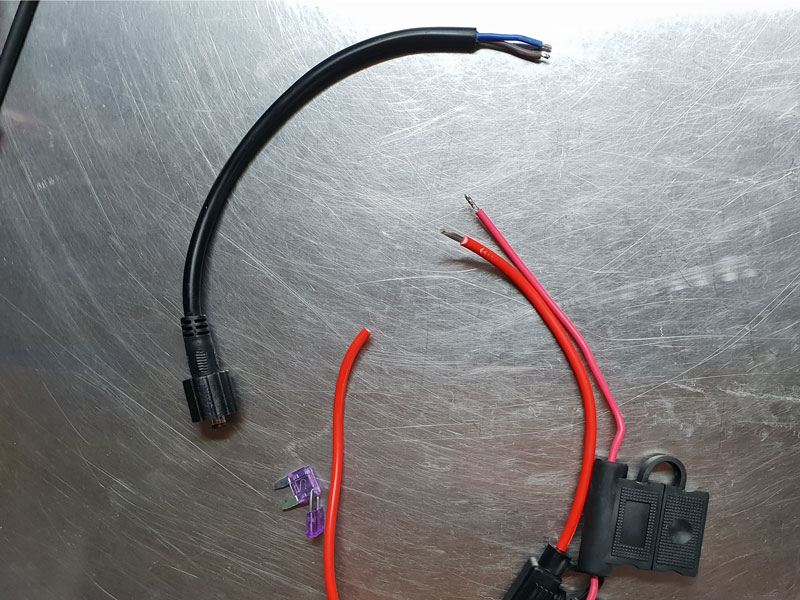
We then just have to join the waterproof connection provided with the battery to the fuse holder provided with the fish finder and the extended power cable. This installation is also getting a Orb light so we use two fuse holders (one for each circuit).
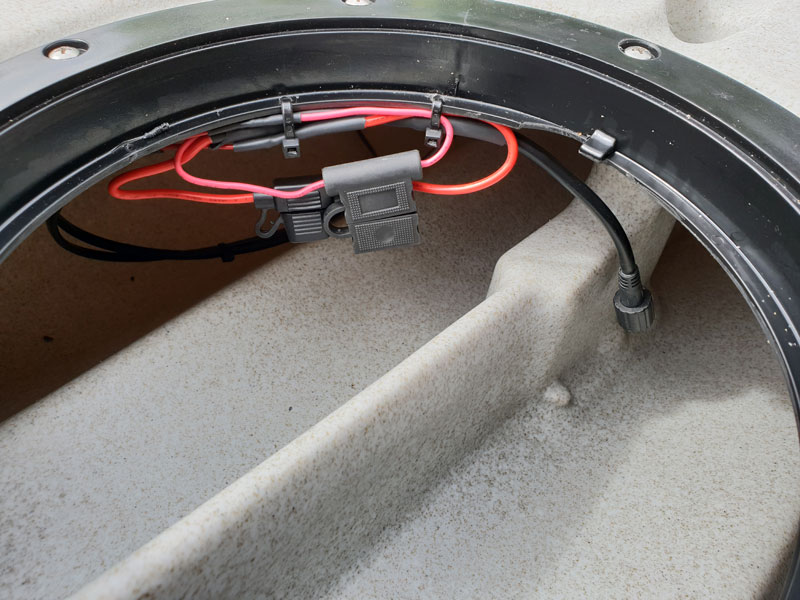
I drill two small holes and cable tie the fuses up off the base of the kayak and so the connection to the battery can’t sit on the bottom if not in use. The loops are so you can just roll the fuse holder up and replace if needed.
The batteries can then be connected and installed and job done.
