Here’s a step-by-step guide on installing a Lowrance HDS Live
Step 1: Gather the Necessary Components: Before you begin the installation, make sure you have all the required components. These include the Lowrance HDS Live unit, M3 x 10 screws, a screwdriver compatible with M3 screws, and the user manual. Ensure that all the components are in good condition and ready for a smooth installation process.

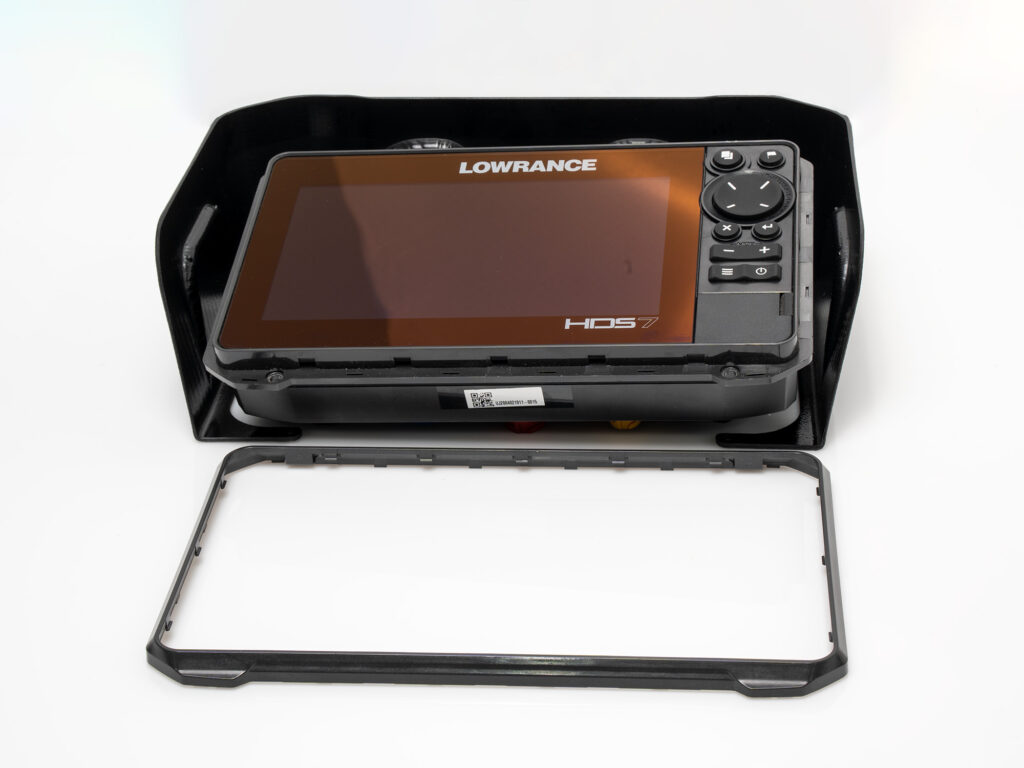
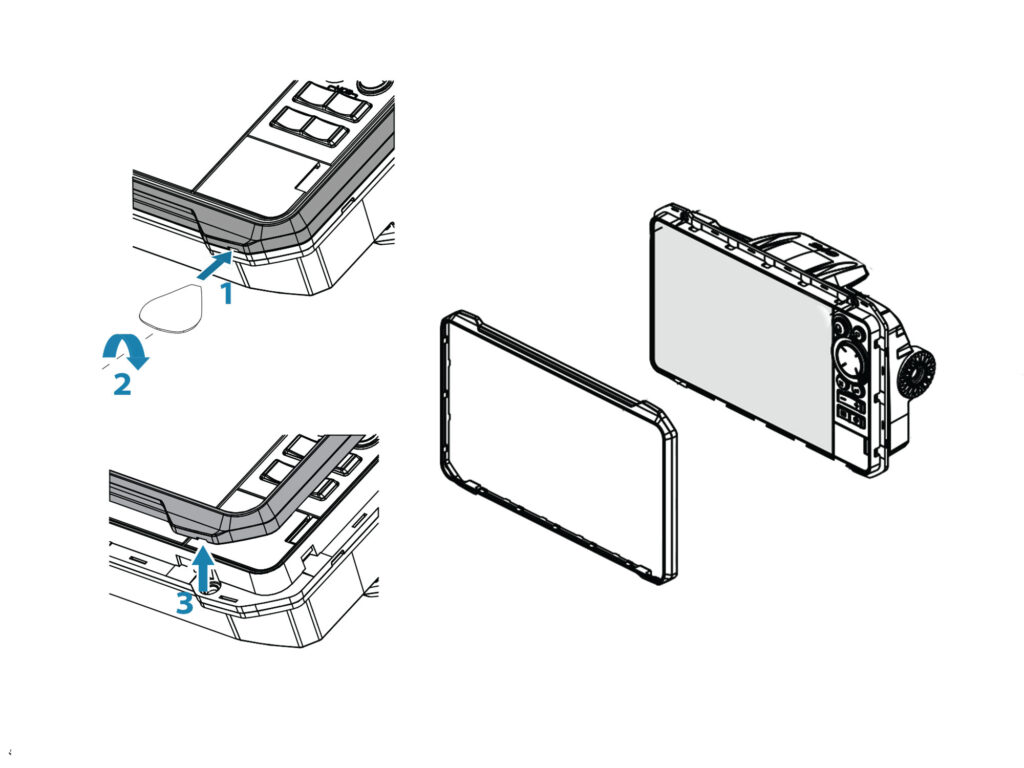
Step 2: Remove the Bezel: Follow the instructions in the user manual to remove the bezel from your Lowrance HDS7 Live unit. This step is necessary to proceed with the installation of the BerleyPro visor. Be careful to follow the manual’s guidelines precisely to avoid damaging the device.

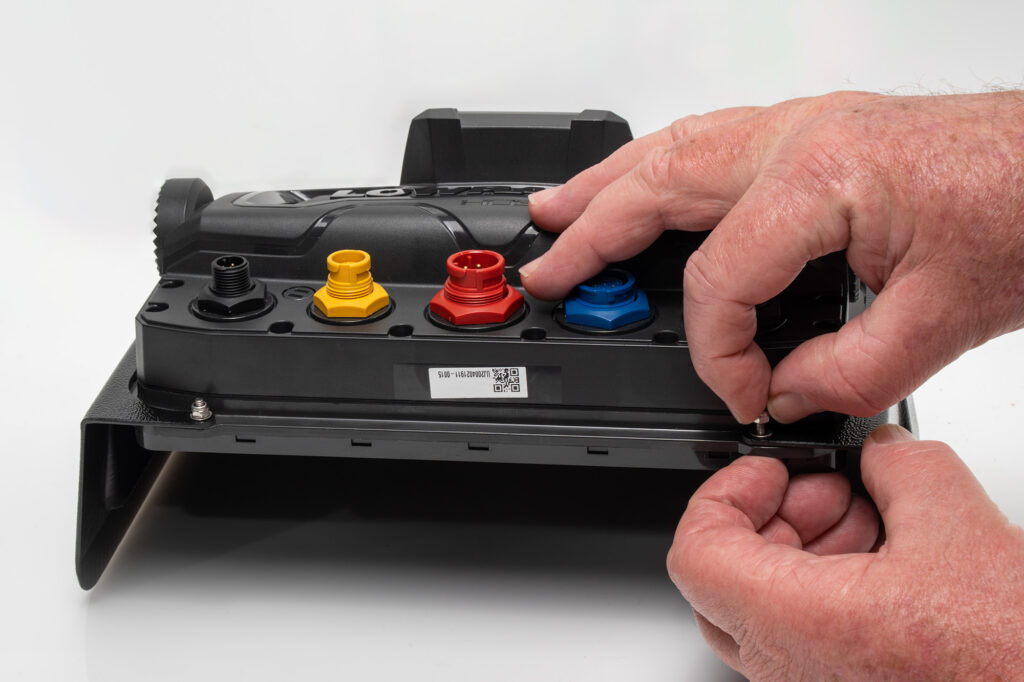
Step 3: Position the BerleyPro Visor and Secure with Screws: Place the BerleyPro visor on the rear of the Lowrance HDS7 Live unit, ensuring it is level and properly aligned. There is only one location where it can go. Take the M3 x 10 screws and insert them one by one through the designated holes on the visor and unit, ensuring a secure fit. Tighten the screws firmly but avoid over-tightening to prevent any damage.

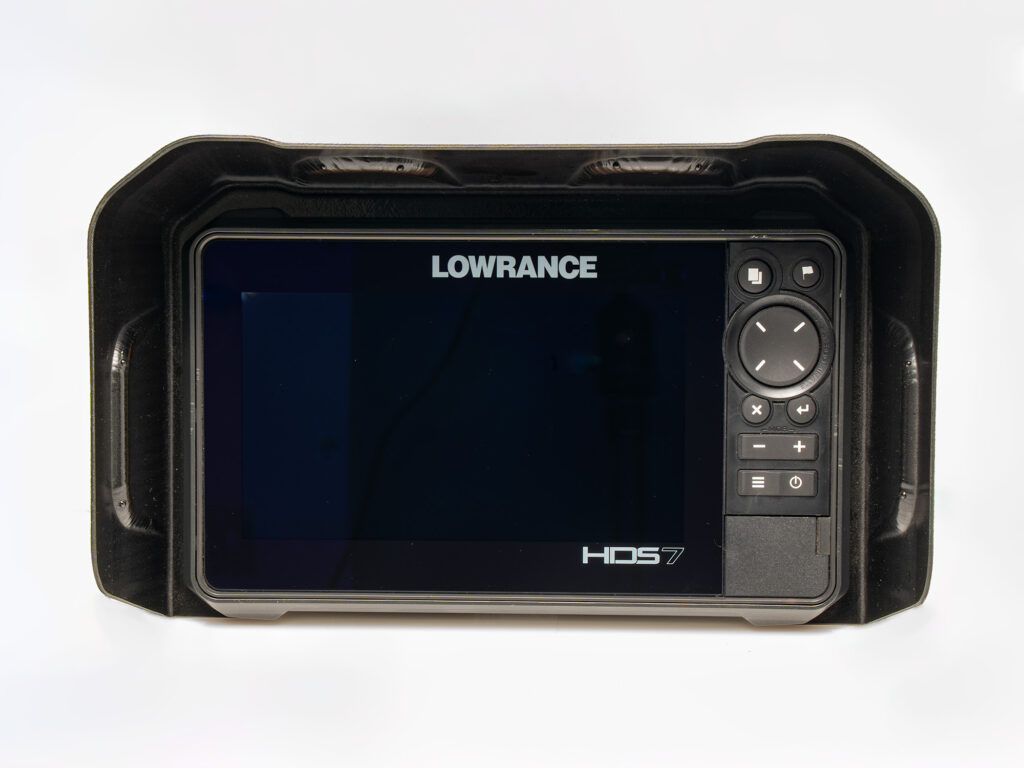
Step 4: With the screws securely fastened, take a moment to appreciate the successful installation of your BerleyPro visor on the Lowrance HDS7 Live unit. Enjoy the enhanced functionality and features that the visor provides for your fishing or navigation needs. Utilize the user manual to explore the full range of capabilities offered by the unit, making the most of your time on the water. Congratulations on completing the installation!


