Here’s a step-by-step guide on installing a Lowrance HOOK Reveal 7″ and 9″ unit.
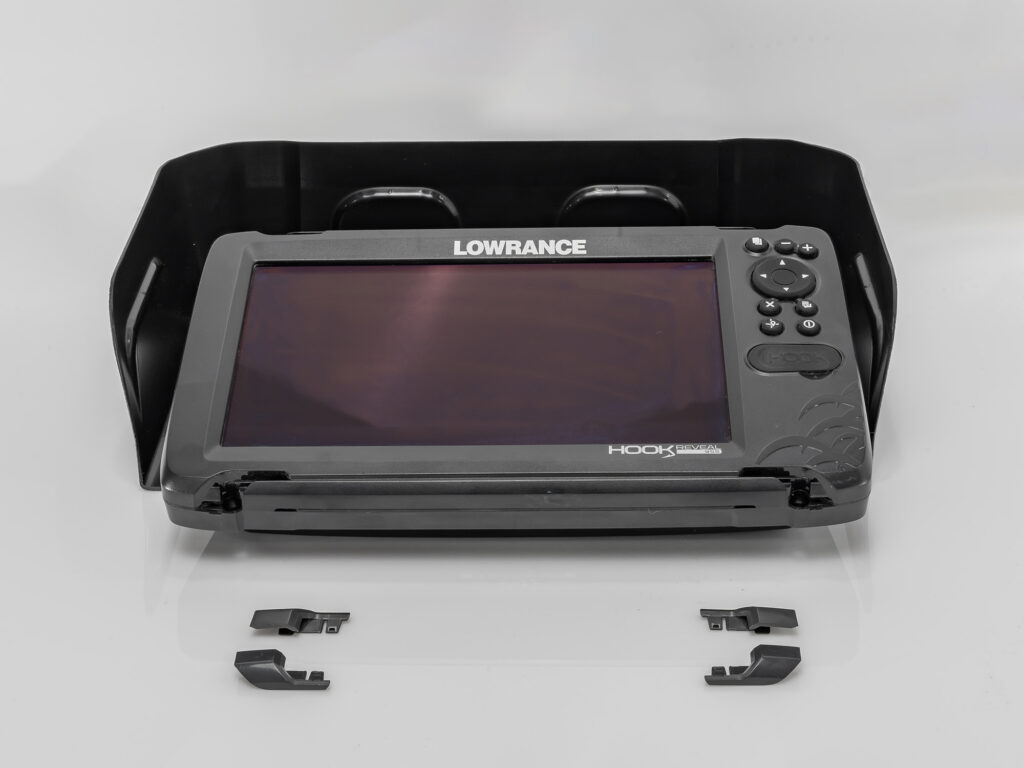
Step 1: Gather the Components: Before you begin the installation, ensure you have all the necessary components readily available. You’ll need the Lowrance Hook/Reveal unit, BerleyPro Visor, M3 x 10 Phillips pan head screws, flat washers, nylock nuts, a screwdriver compatible with Phillips screws, and the user manual. Verify that all the components are in good condition, ready for a smooth installation process.

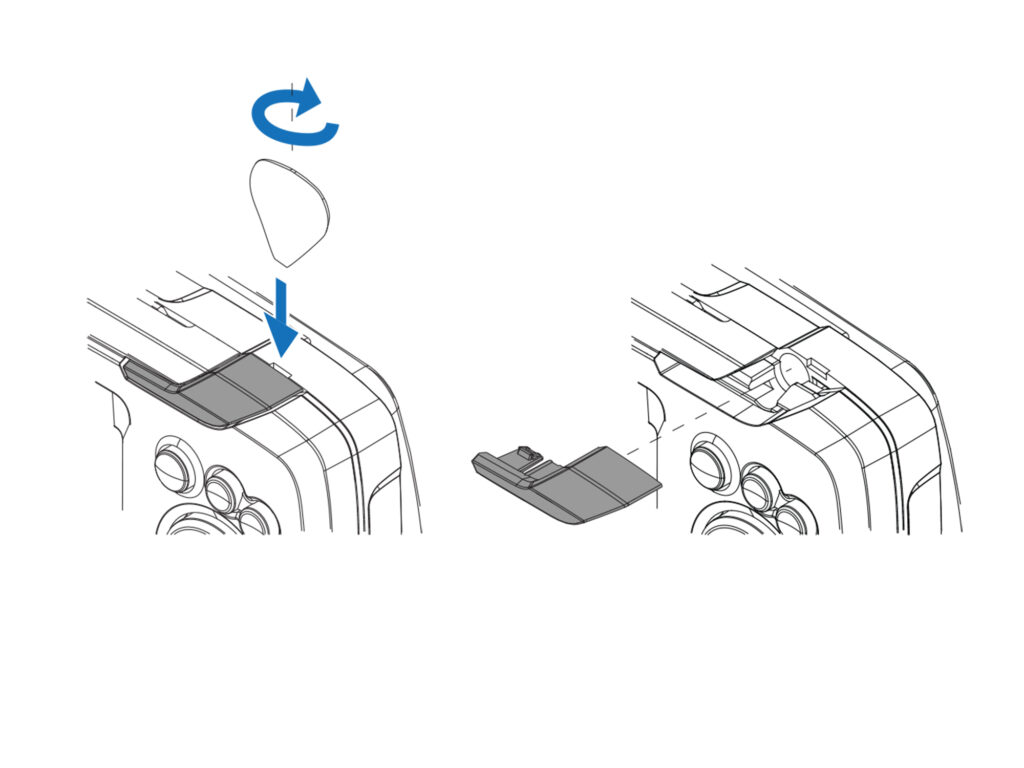
Step 2: Removing the Corner Tabs: Refer to the user manual for instructions on removing the corner tabs from your Lowrance Hook/Reveal unit. These tabs may hinder the installation process or interfere with the proper fit of the unit. Follow the manual’s guidelines carefully to detach the tabs without causing any damage to the device.

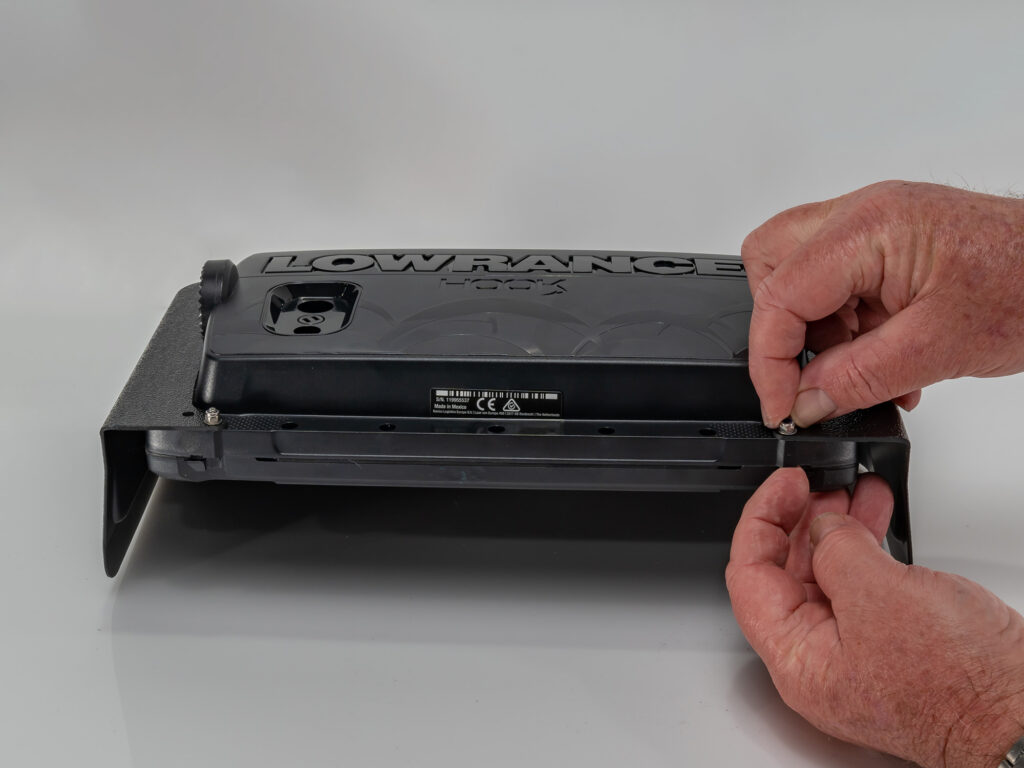
Step 3: Attaching the Screws, Washers, and Nylock Nuts: Using the appropriate screwdriver, take the M3 x 10 Phillips pan head screws and insert them one by one through the designated holes on the unit. Place a flat washer onto each screw for added stability. On the backside of the mounting surface, secure each screw with a nylock nut, ensuring a tight fit. Tighten the screws and nylock nuts securely, but avoid over-tightening.

Step 4: With the screws, washers, and nylock nuts securely fastened, take a moment to appreciate the successful installation of your Lowrance Hook/Reveal unit. Enjoy the enhanced functionality and features that the unit provides for your fishing or navigation needs. Utilize the user manual to explore the full range of capabilities offered by the unit, making the most of your time on the water. Congratulations on completing the installation!


2 comments
Pat Cerrone
What do I do with the lack of access to the micro chip on the side of unit ( Lowrance hook 7xts)? The cover covers the access point on the side of unit.
Martyn
Hi Pay, we would recomend keeping this covered as the card slot is the main spot for water ingression in units.