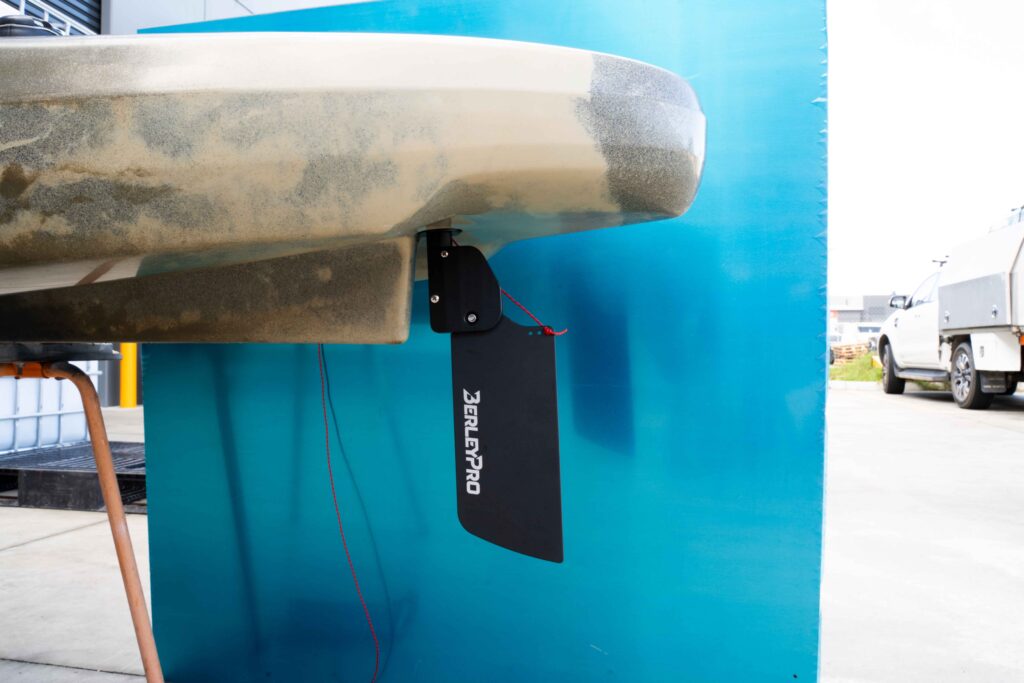
Your 3” Native Watercraft Rudder Upgrade suits older model kayaks and will be an excellent addition, making travel smooth and turning effortless. Here’s how to install it along with a BerleyPro T-Lock Steering Upgrade.
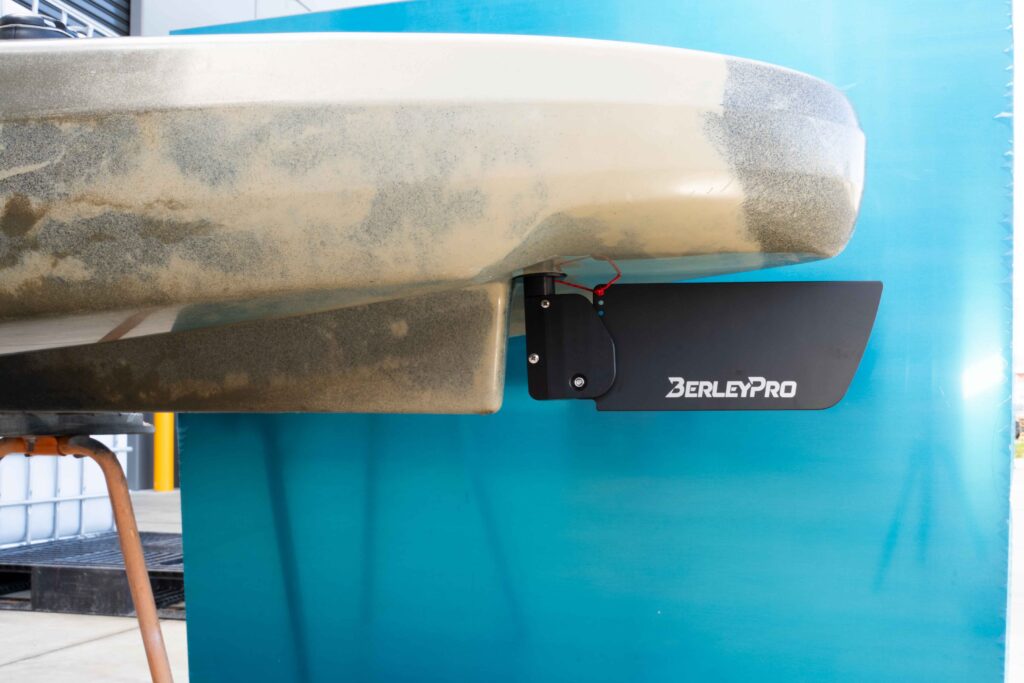
Firstly, remove the steering cords from your previous rudder assemblage. Remove the top screw and pull the rudder out from underneath.
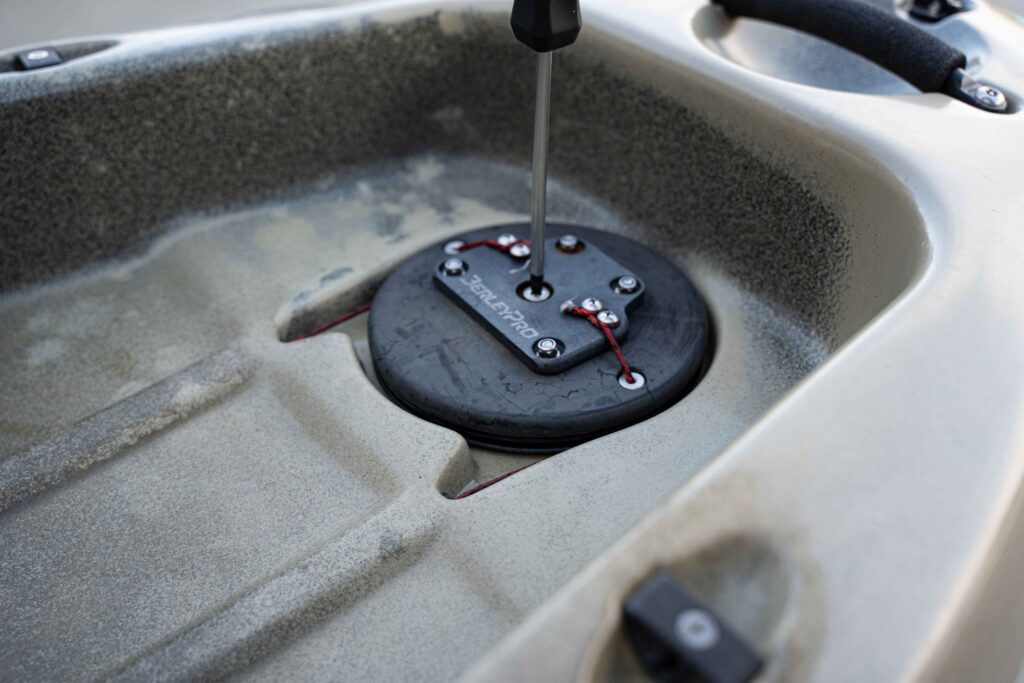
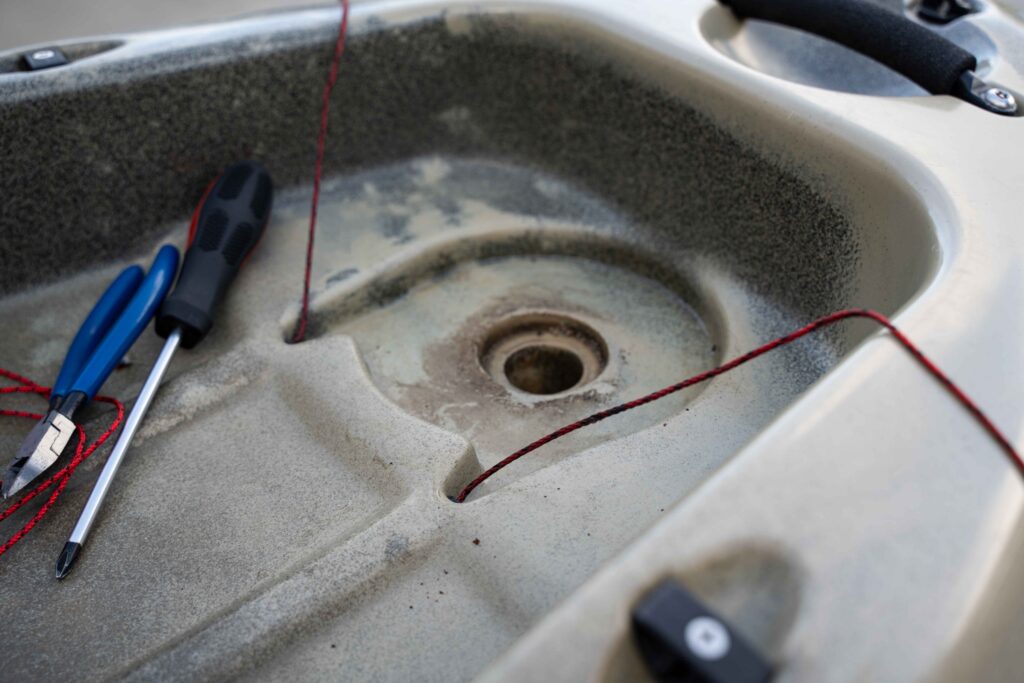
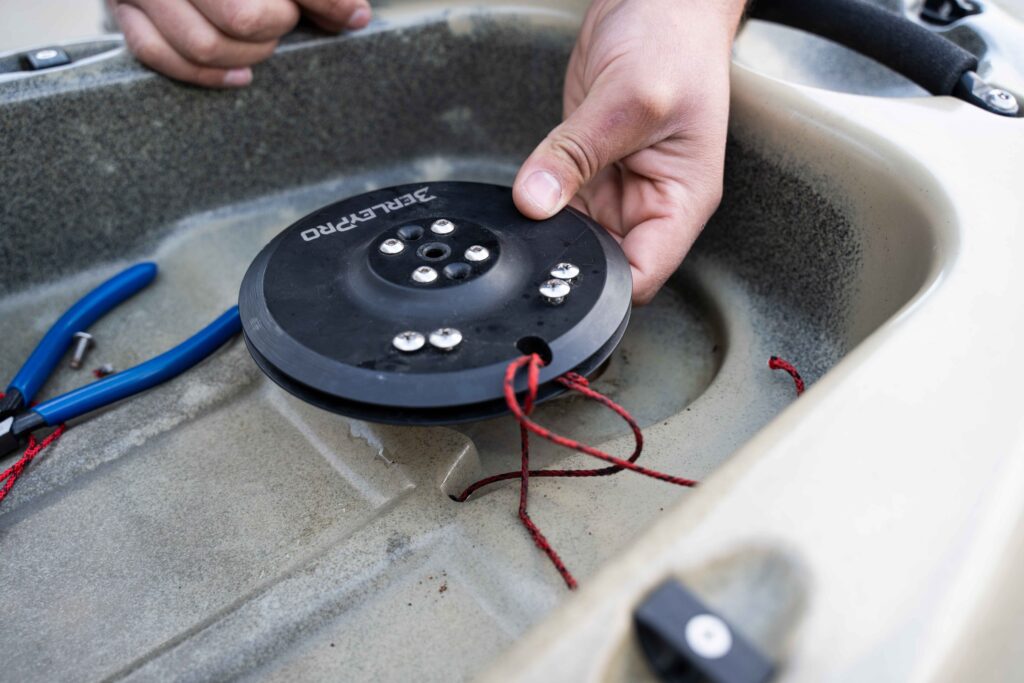
Remove the rudder disc from the top of your kayak and take a second to clean the area before it is re-assembled. Then, install the T-Lock rudder disc in place with the cords running around the back and top to secure it as shown:
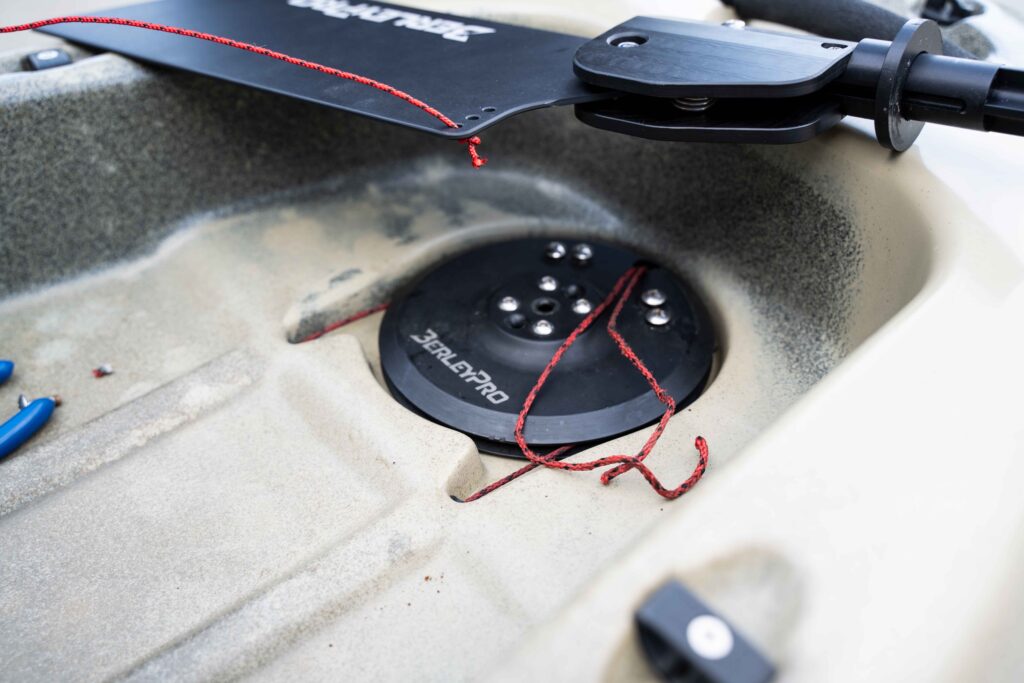
Install the pull-up cord through the T-lock disc before moving under the nose of your kayak, where you will thread the same cord through the slot onto your new rudder, inserting it. When doing so, ensure that the T-Lock disc screws are loose so that the rudder is able to be installed through the teeth of the disc.
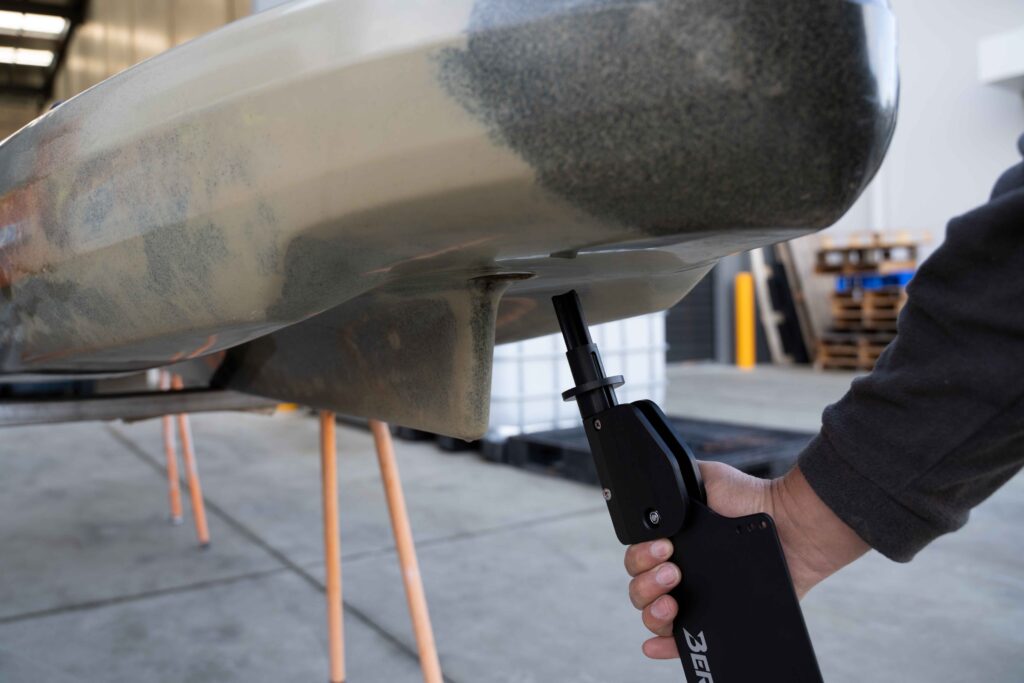
Push the rudder upwards into place and tighten the M6 x 20mm Philips Pan Head Screw, taking care to ensure that it is just touching the hull to ensure the rudder has a full range of motion for turning and does not foul up. We suggest the steering tension be set through an aftermarket handle assembly.
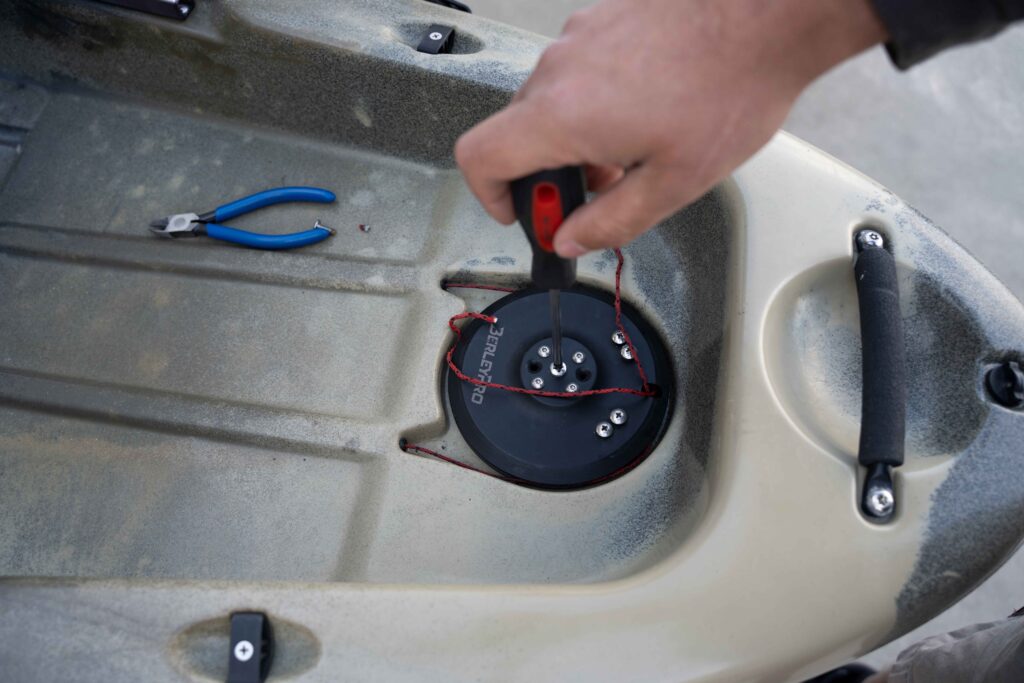
Tighten the T-Lock fasteners using the allen key, locking the rudder in. Then, install the steering cords in the two locking screws as shown, wrapping around the rear screw in a figure of 8 so that it locks down on the other cord. Pull the second cord to make sure this is tight. Attach the pull cord to the rudder.
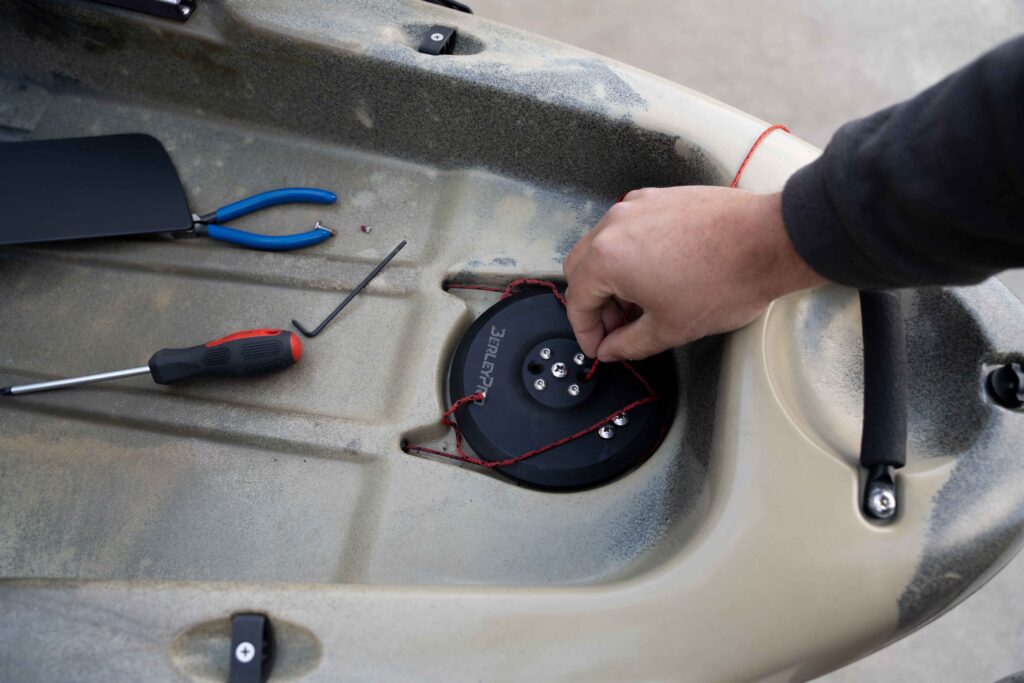
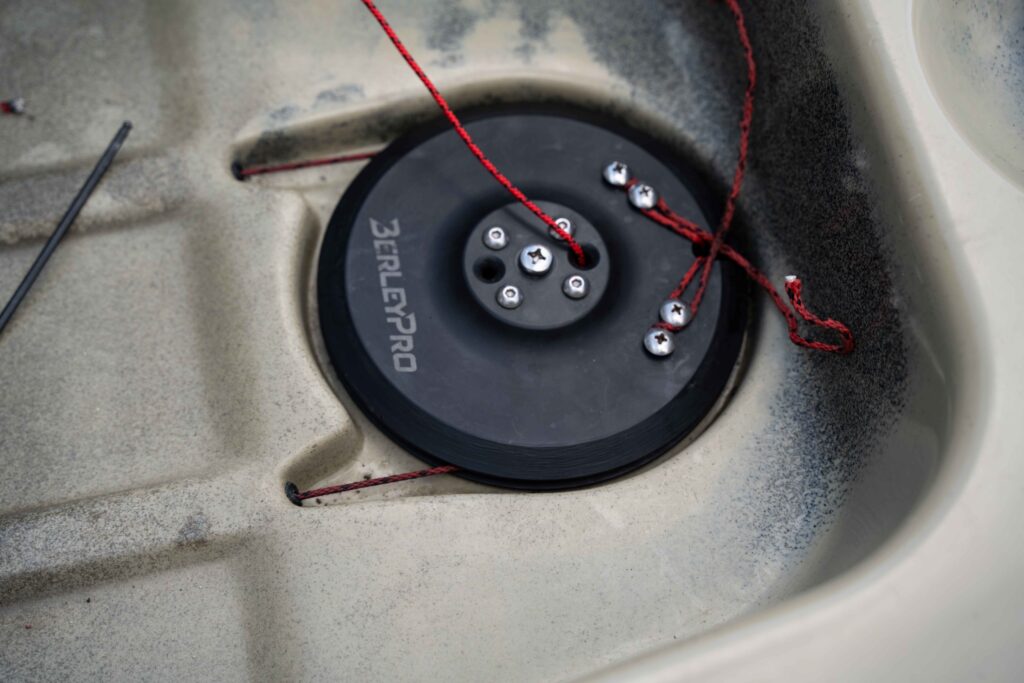
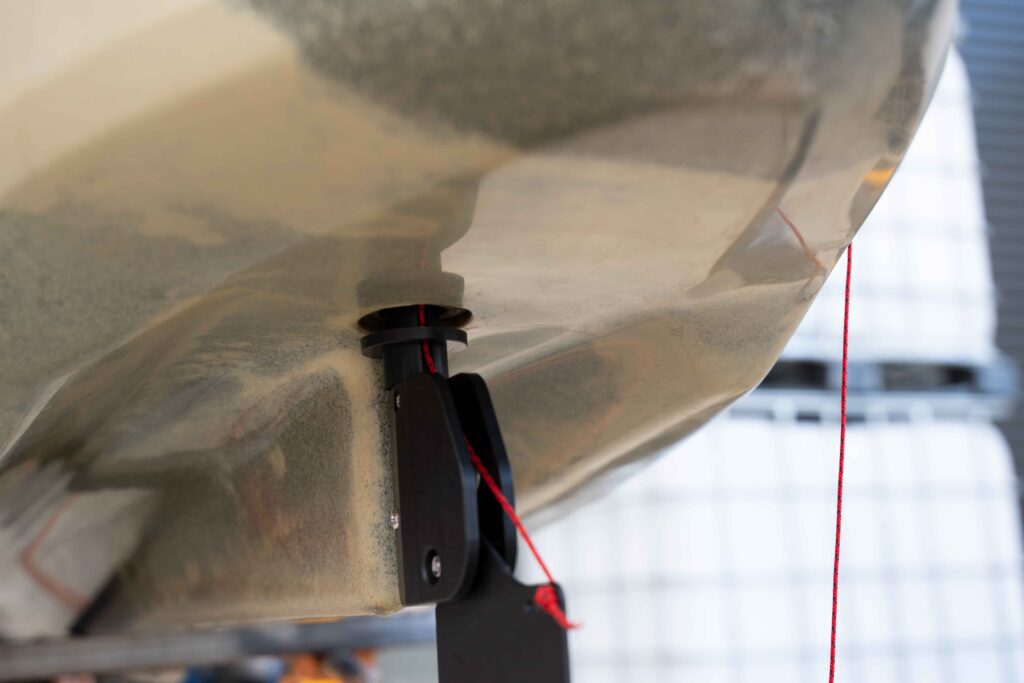
Run your pull cord to your desired length on your kayak, and add a cleat or locking mechanism if you do not already have one.
