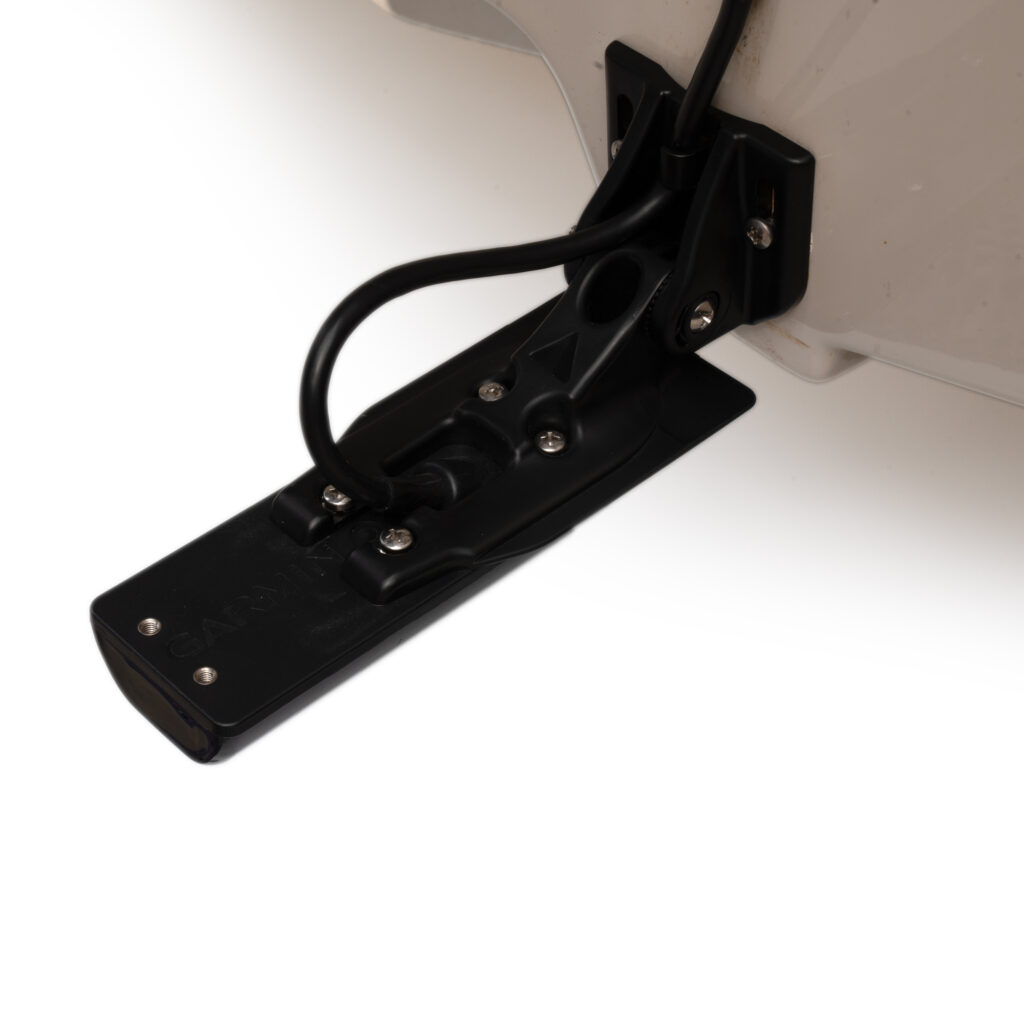
Installing the Garmin Rooster Rooter is easy and can be done in minutes.

Firstly remove the transducer from the bracket using a Phillips Head Screw Driver. Be sure to keep the star washers as these will be reused but the m4 screws will be replaced with slightly longer screws provided.

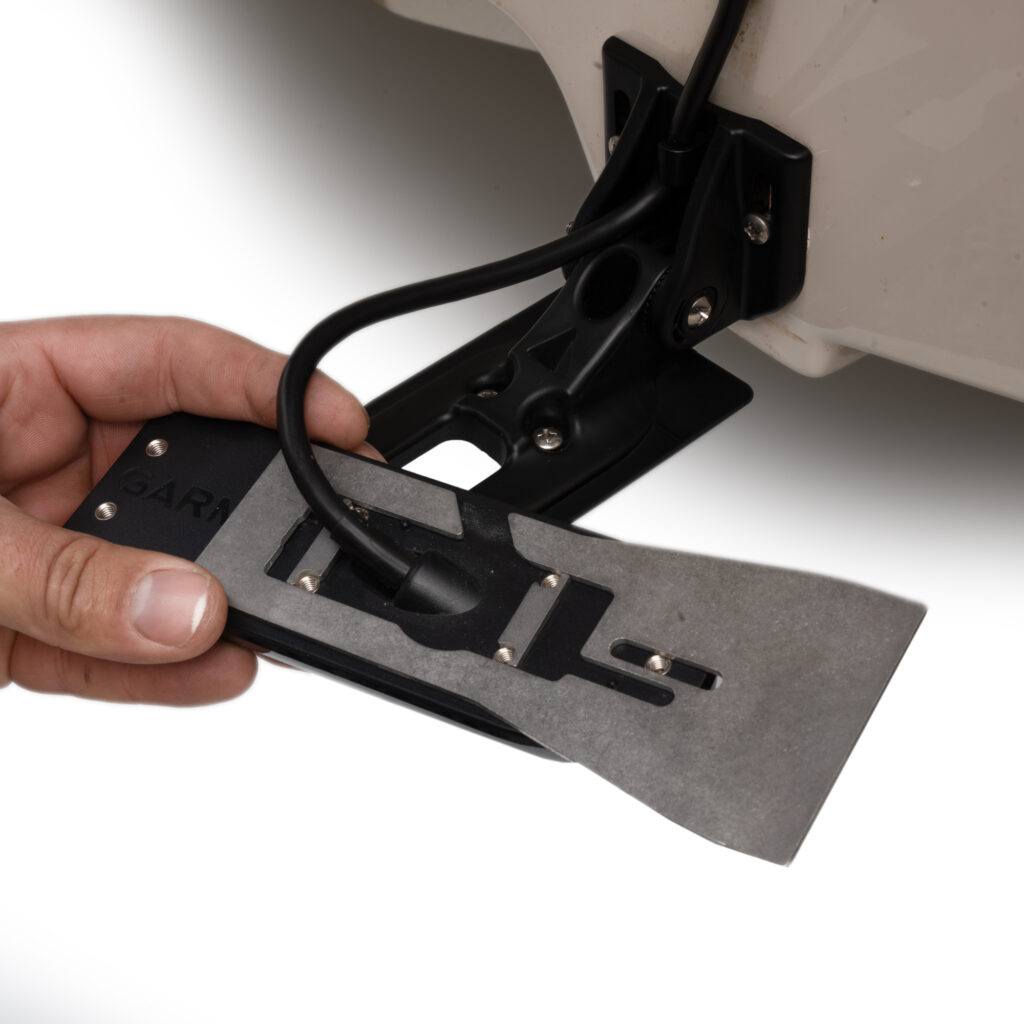
Place the stainless steel components over the transducer as shown in the image. It’s easier to start with the rooster rooter adjusted all the way forward to help line up the screws.

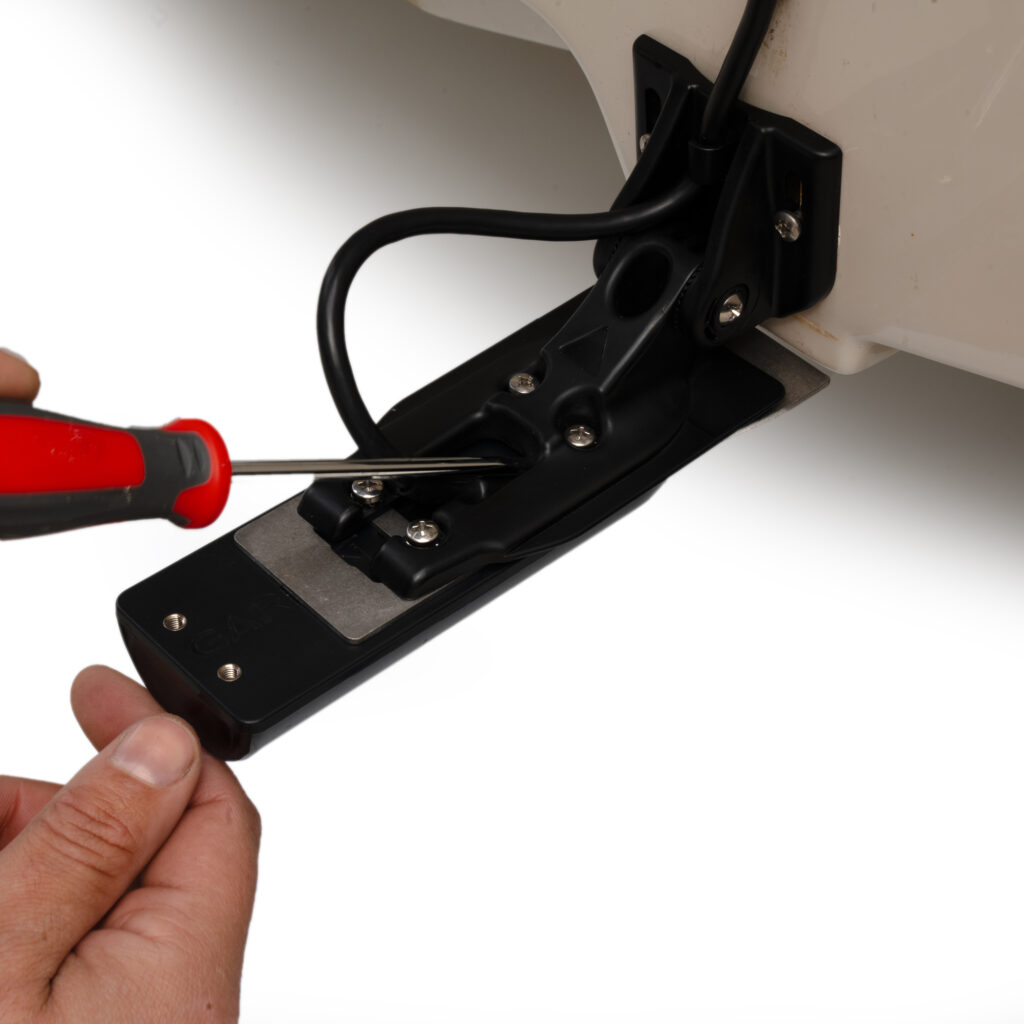
Loosely install the new m4 x 10 Phillips Pan Head Screws and star washers in the same orientation as before. Adjust the rooster rooter to remove the gap between the plastic mount and the hull as shown. Ensure the screw tabs are sitting parallel and under the screws before the next step. This can be done with a small flat head screwdriver.

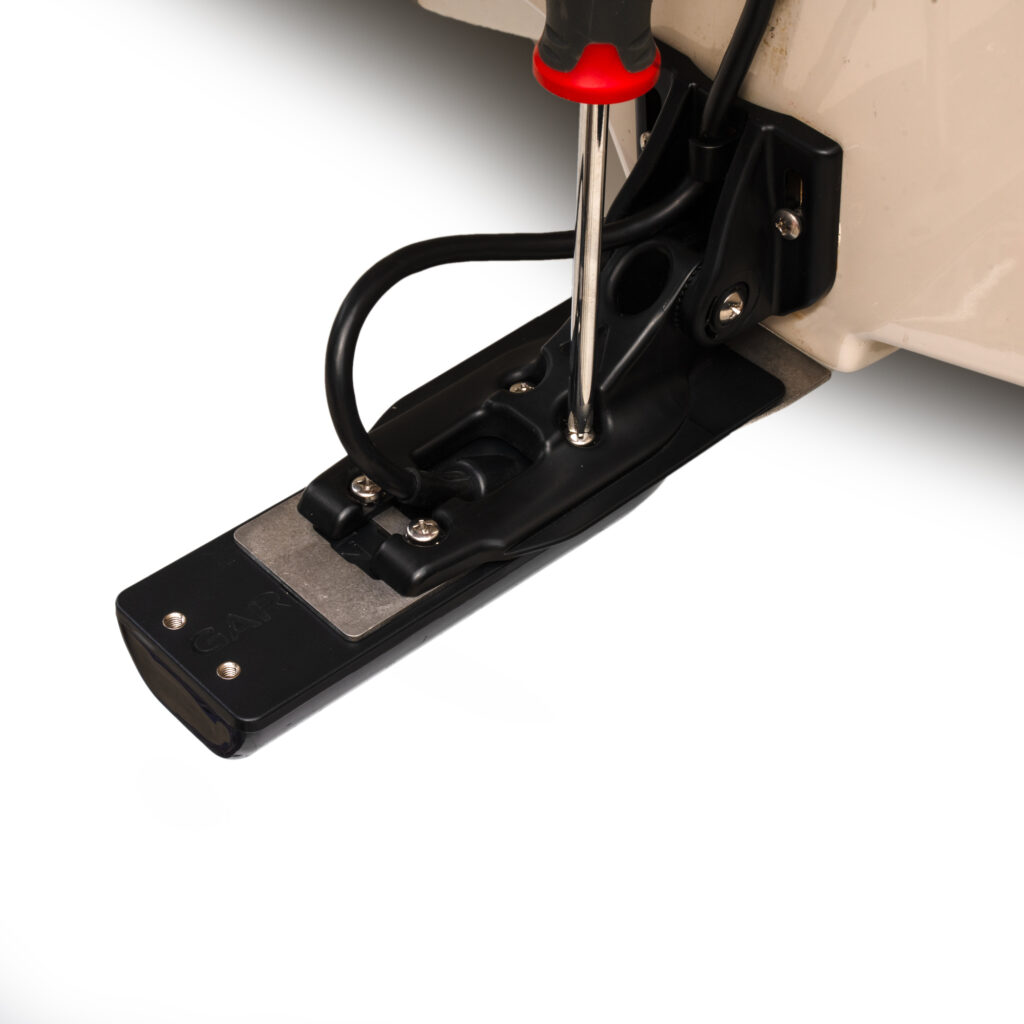
Tighten the top screws back to the manufacturer’s specification. The rooster tail should now be gone 🙂


