Congratulations on your new Rooster Rooter, you won’t be sorry you said goodbye to the endless spray emitting from your transducer! It’s super simple to install, let’s get started, all you need is a medium-sized Phillips Head screwdriver.
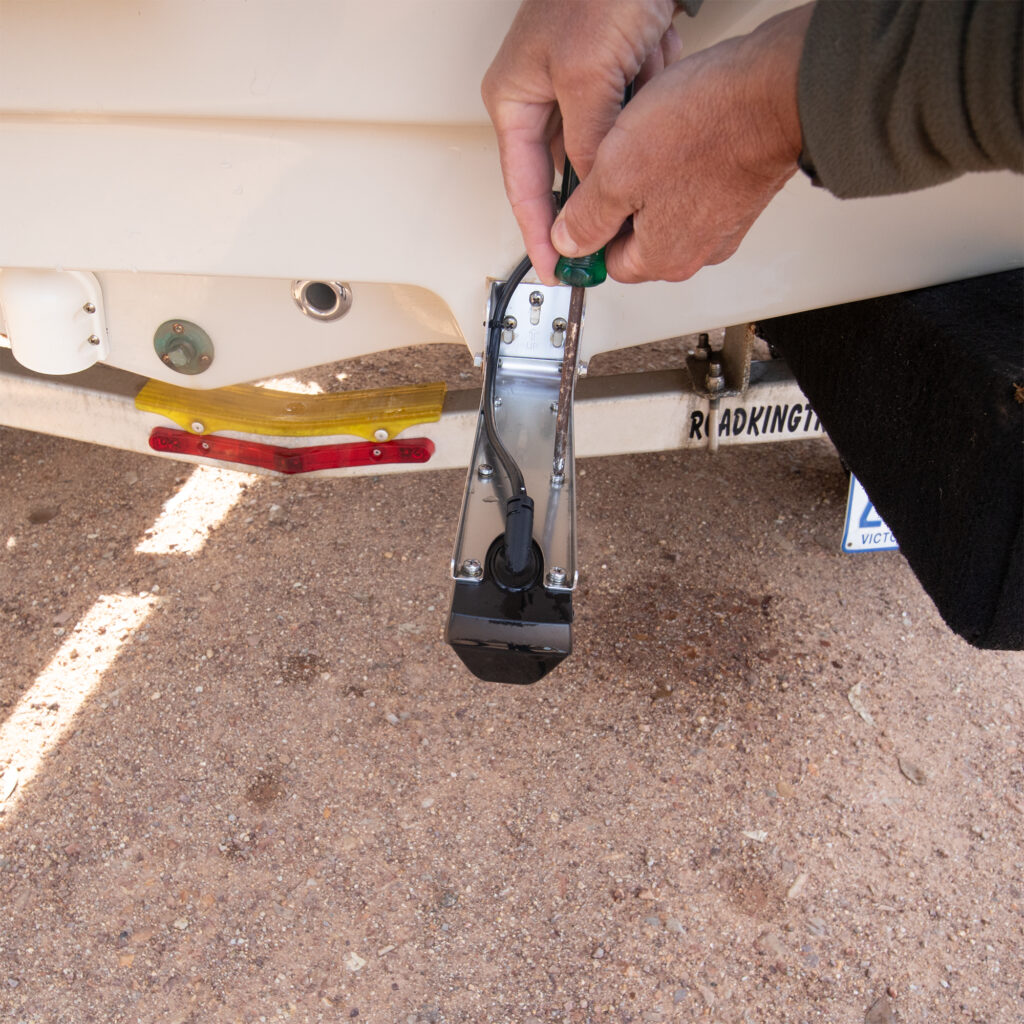
Use a Phillips Head screwdriver to loosen and remove the 6 screws between the mounting bracket and the transducer. Retain the spring washers.
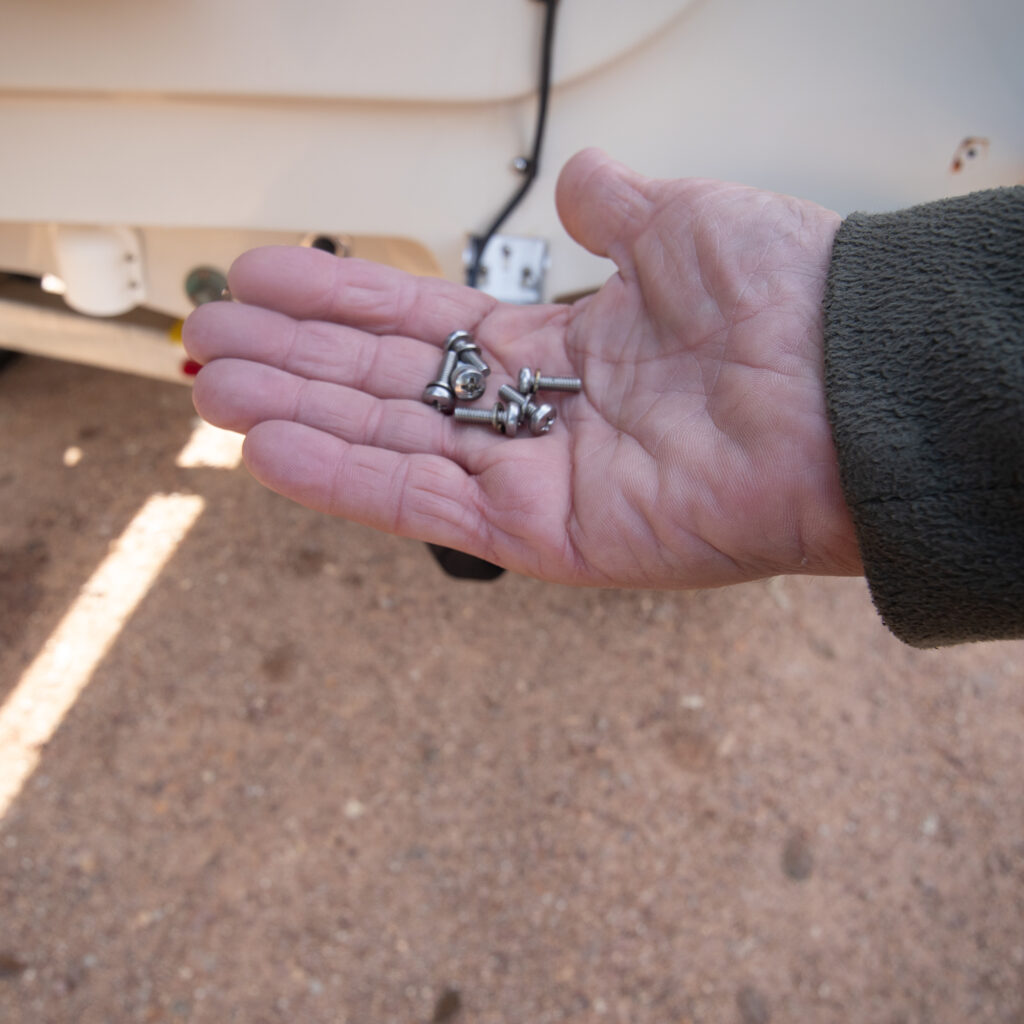
Place the original spring washers on the 6 supplied M4 x 12 pan head screws
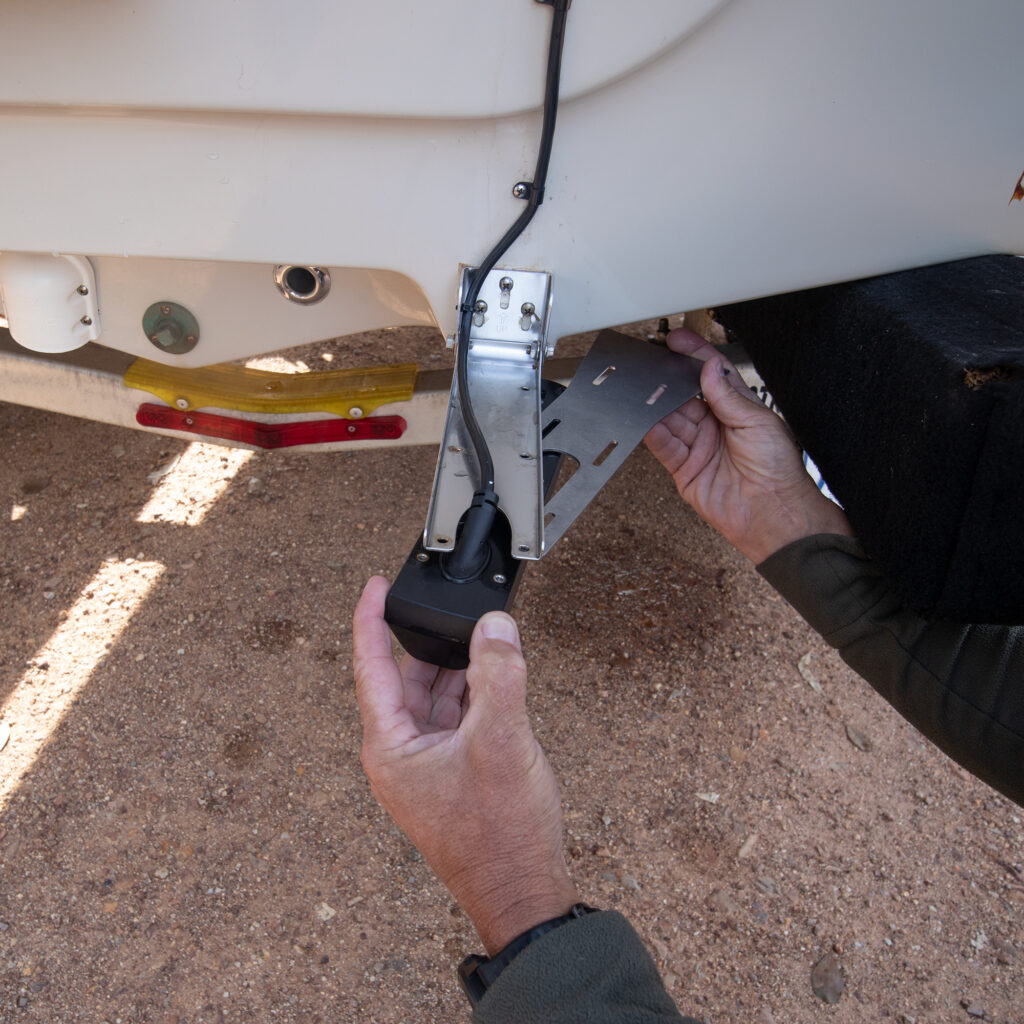
Orient and insert the Rooster Rooter between the original bracket and the transducer as shown
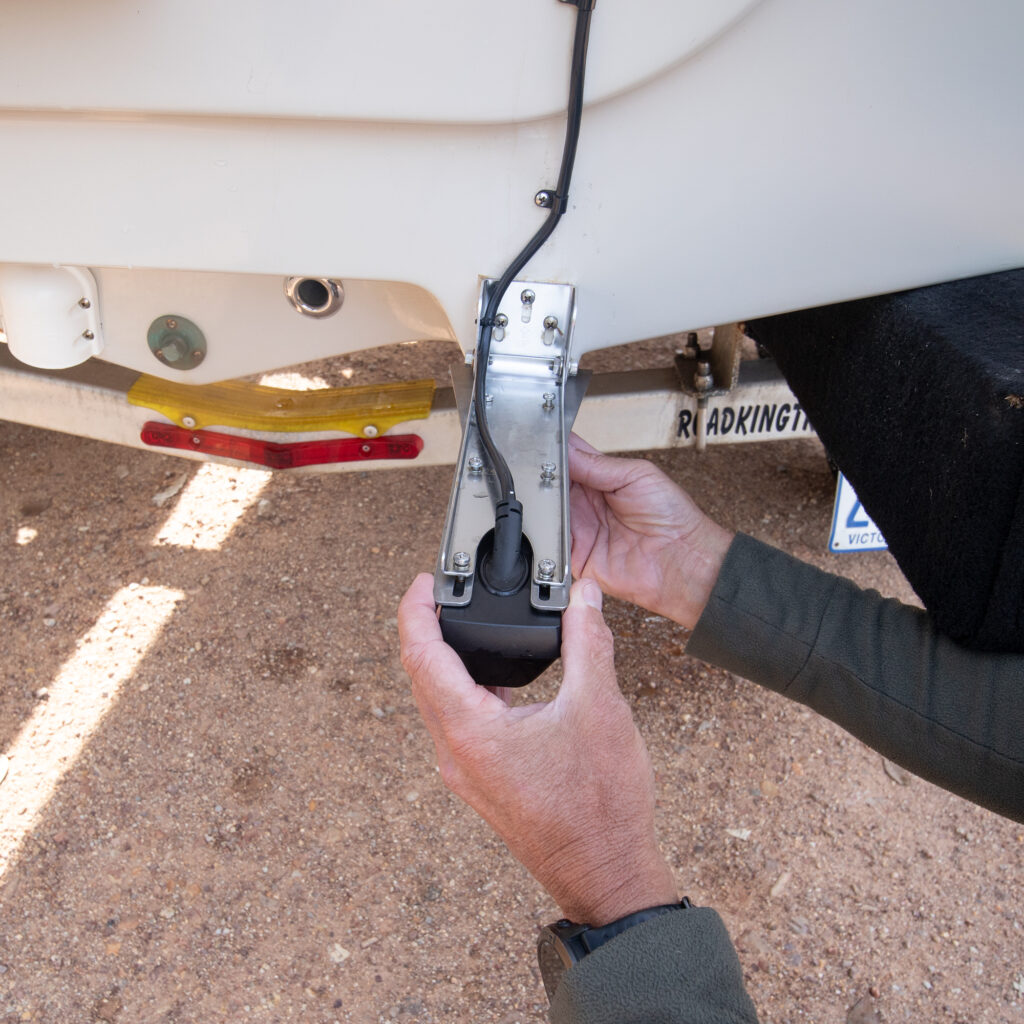
Orient the screw holes between the bracket, Rooster Rooter and the transducer. Insert all 6 screws finger tight.
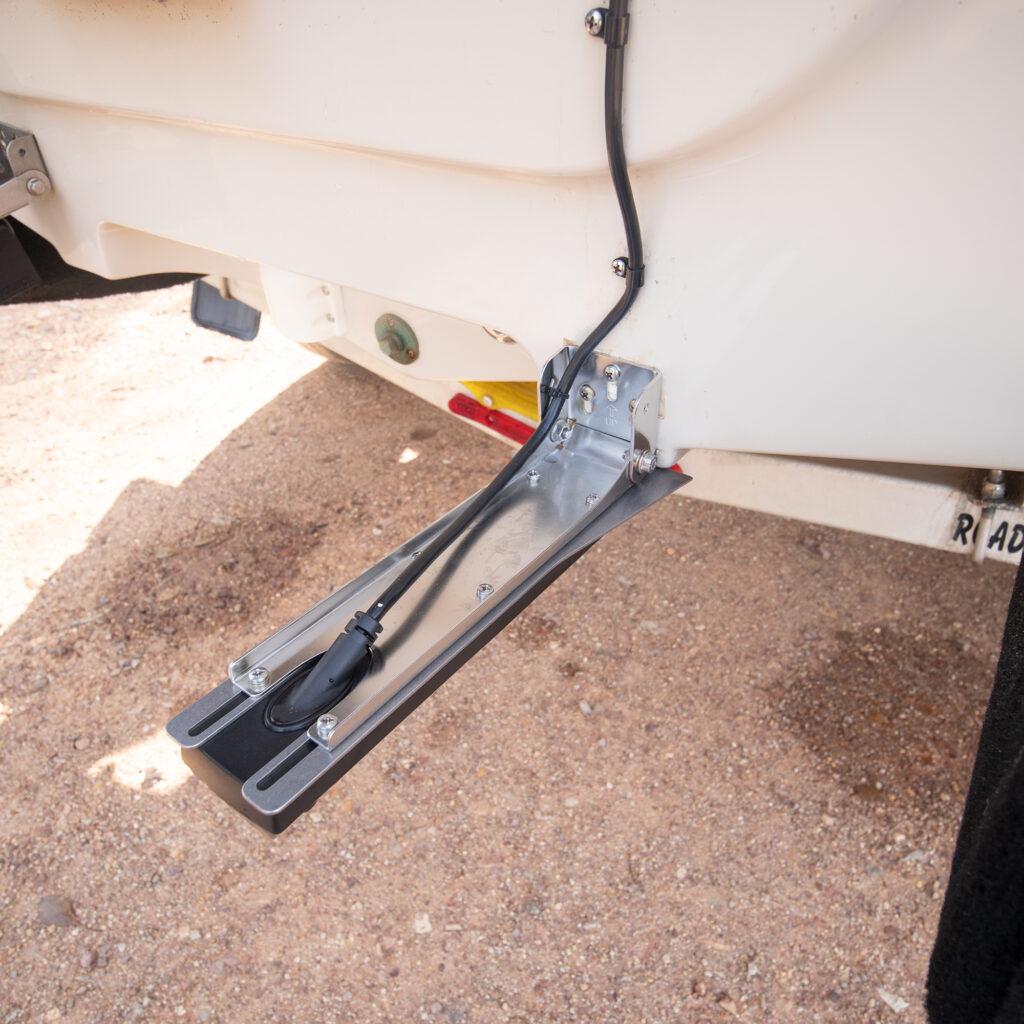
Slide the Rooster Rooter to achieve a 1 – 2mm gap from your hull, tighten all 6 screws down and water test.


