This Guide is to show you how to install your new Brudder on your Hobie Outback. The brudder is designed to give the rudder a larger surface area on the water and also to drop down deeper into the water. This results in sharper turning at low speeds, better tracking, and the ability to turn in a following sea.
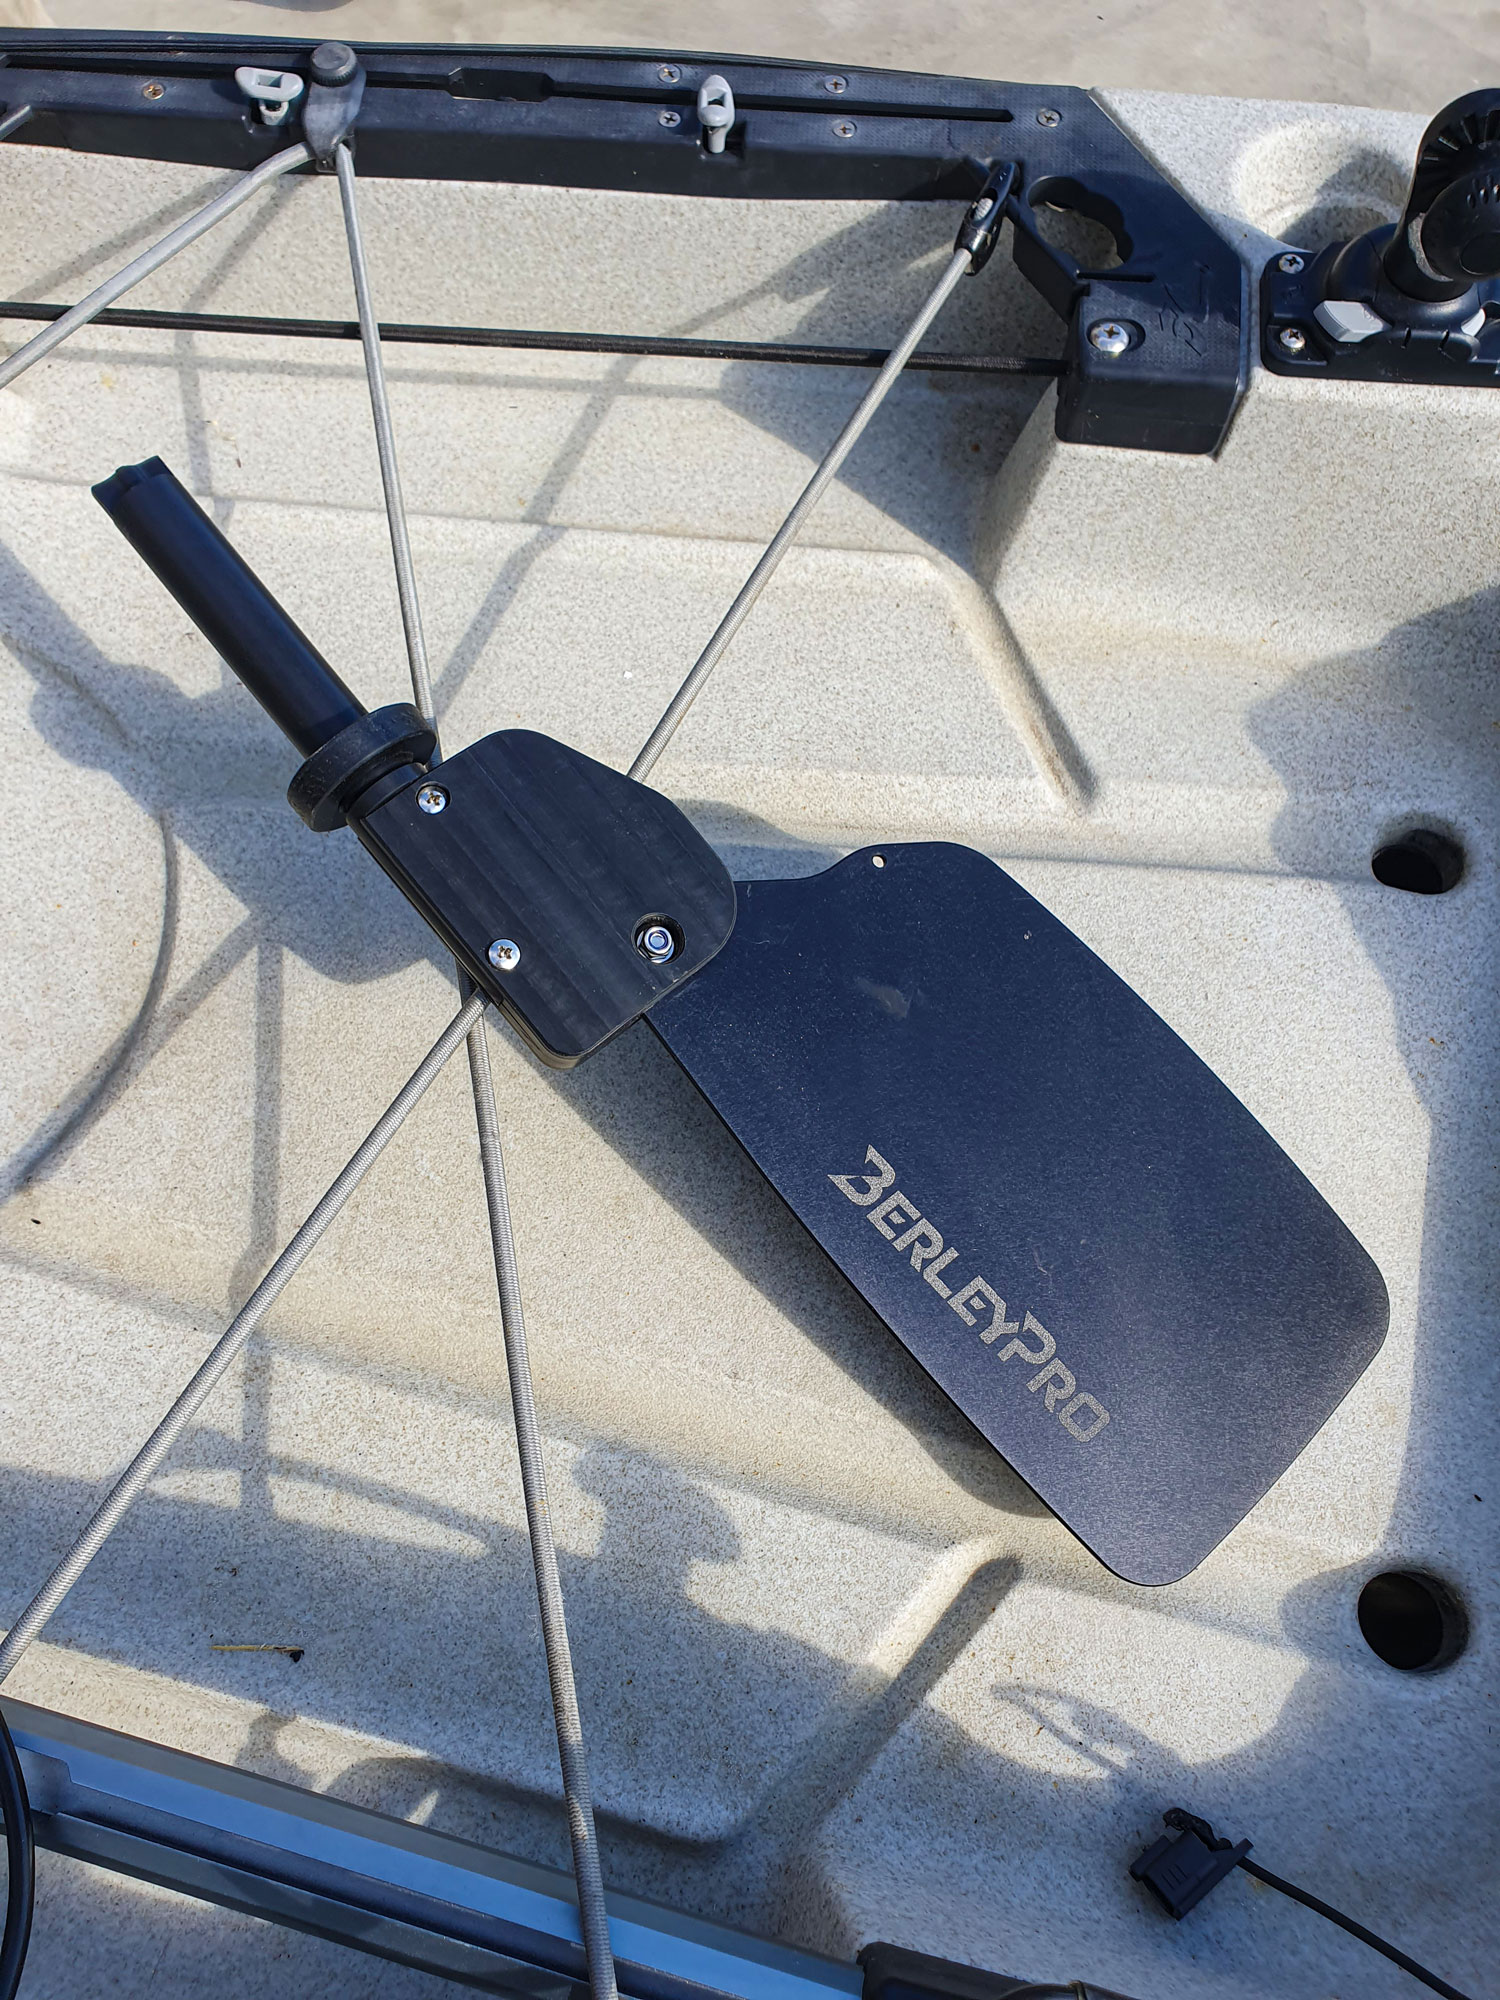
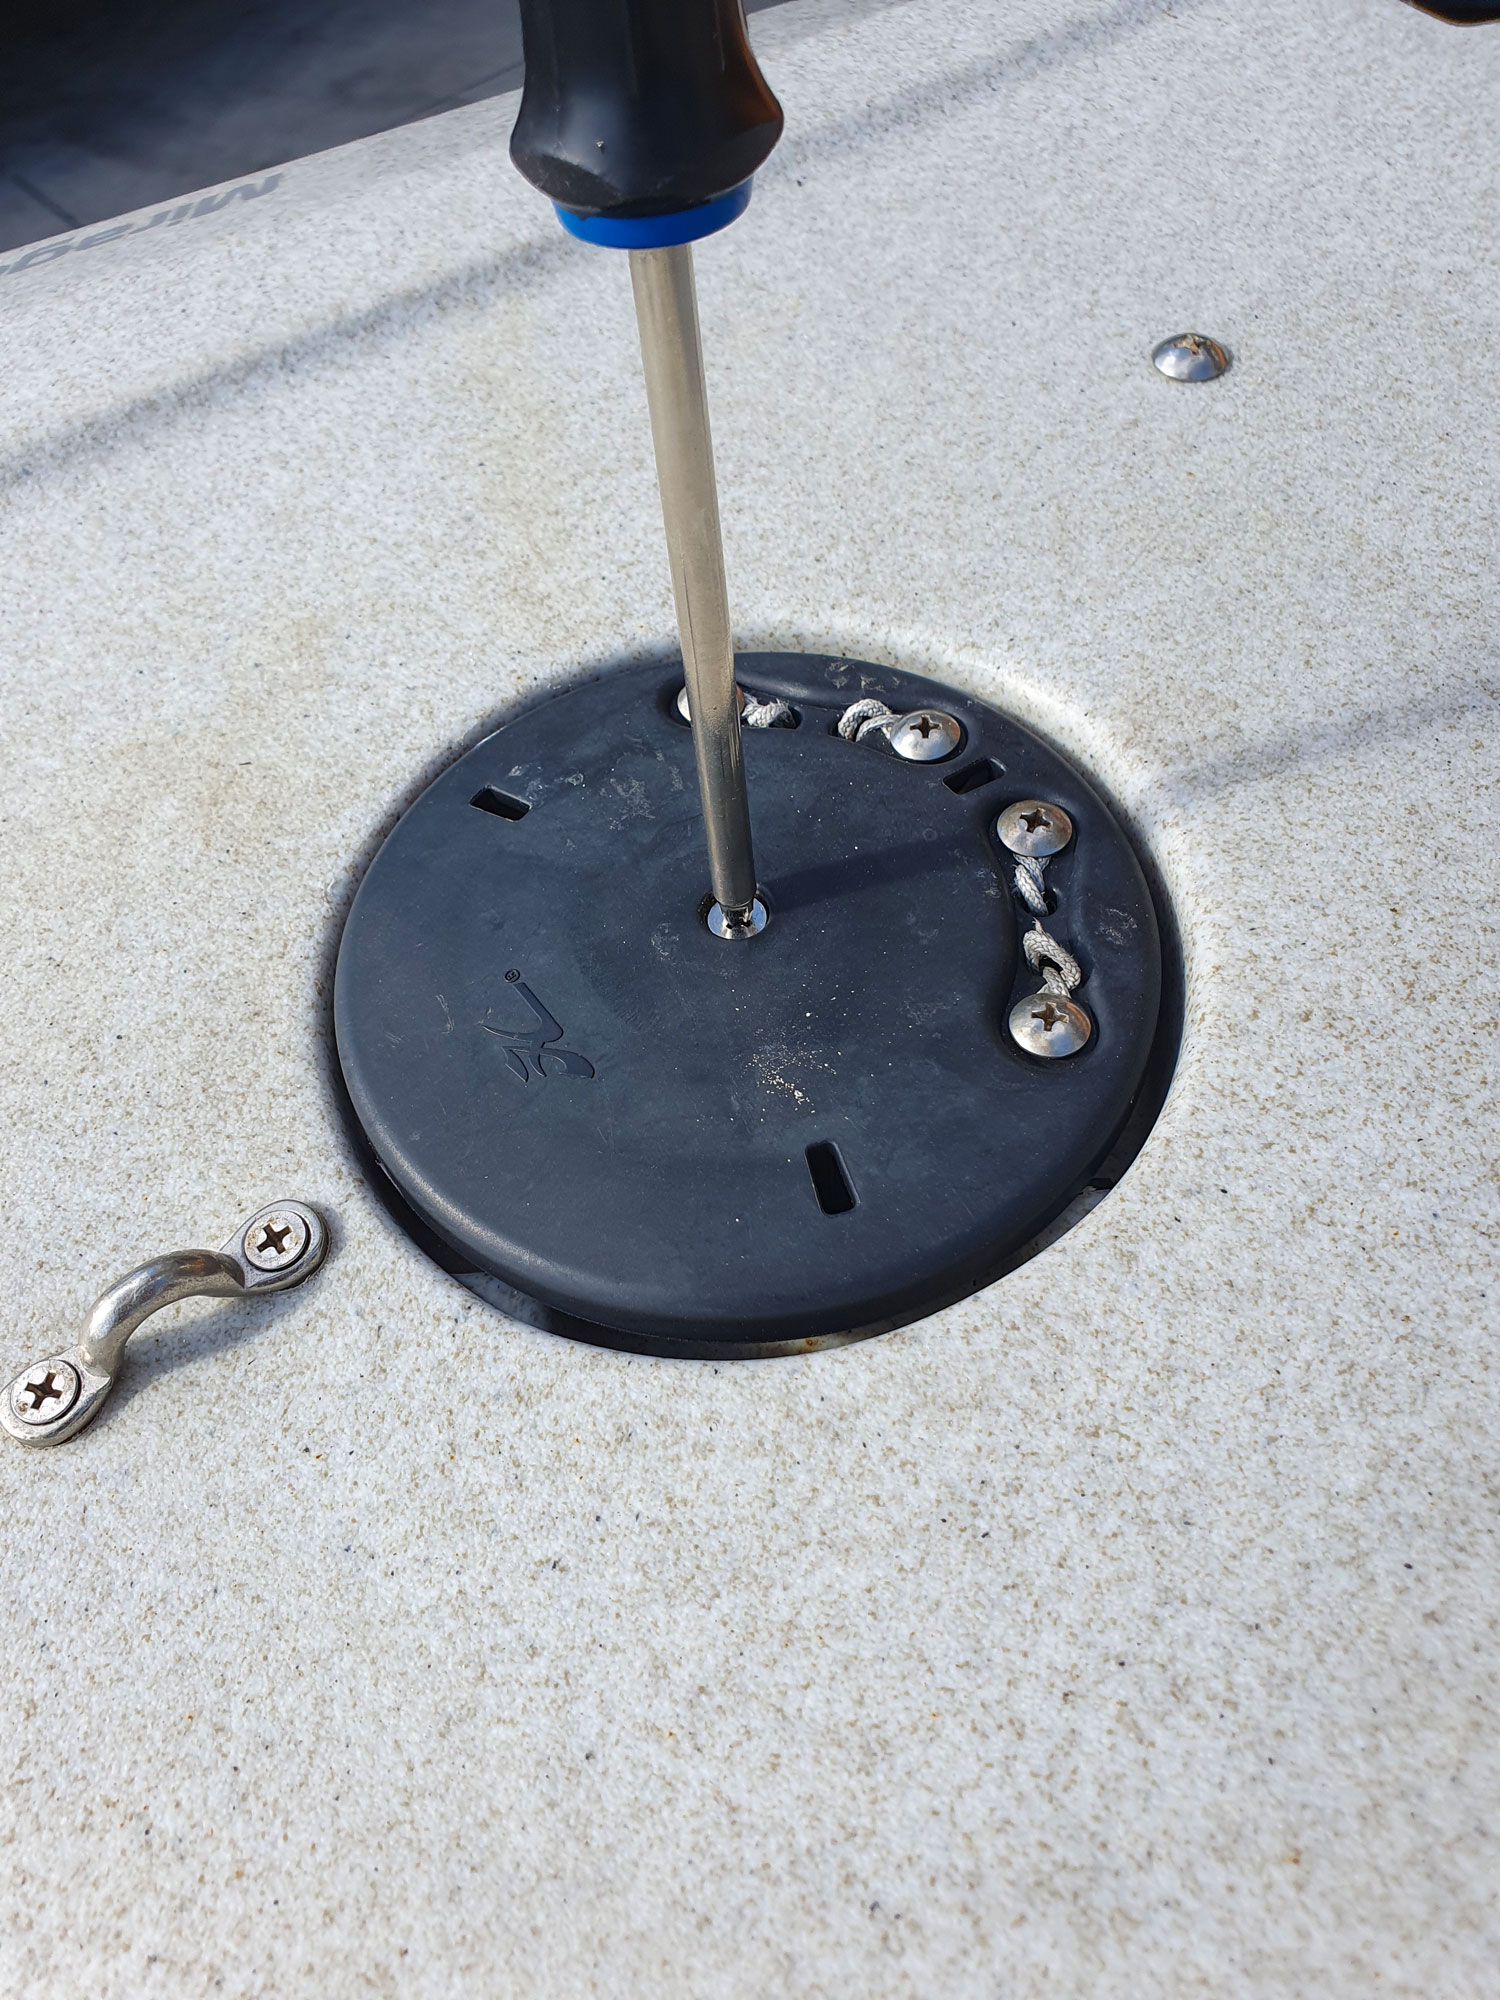
Firstly, remove the center screw from the top of the rudder disc to remove the old rudder. Also untie the rudder up-haul cord so this can be removed from the blade. Be careful not to pull up on the rudder cord and retract it into the hull as it can be quite dificult to feed back through.
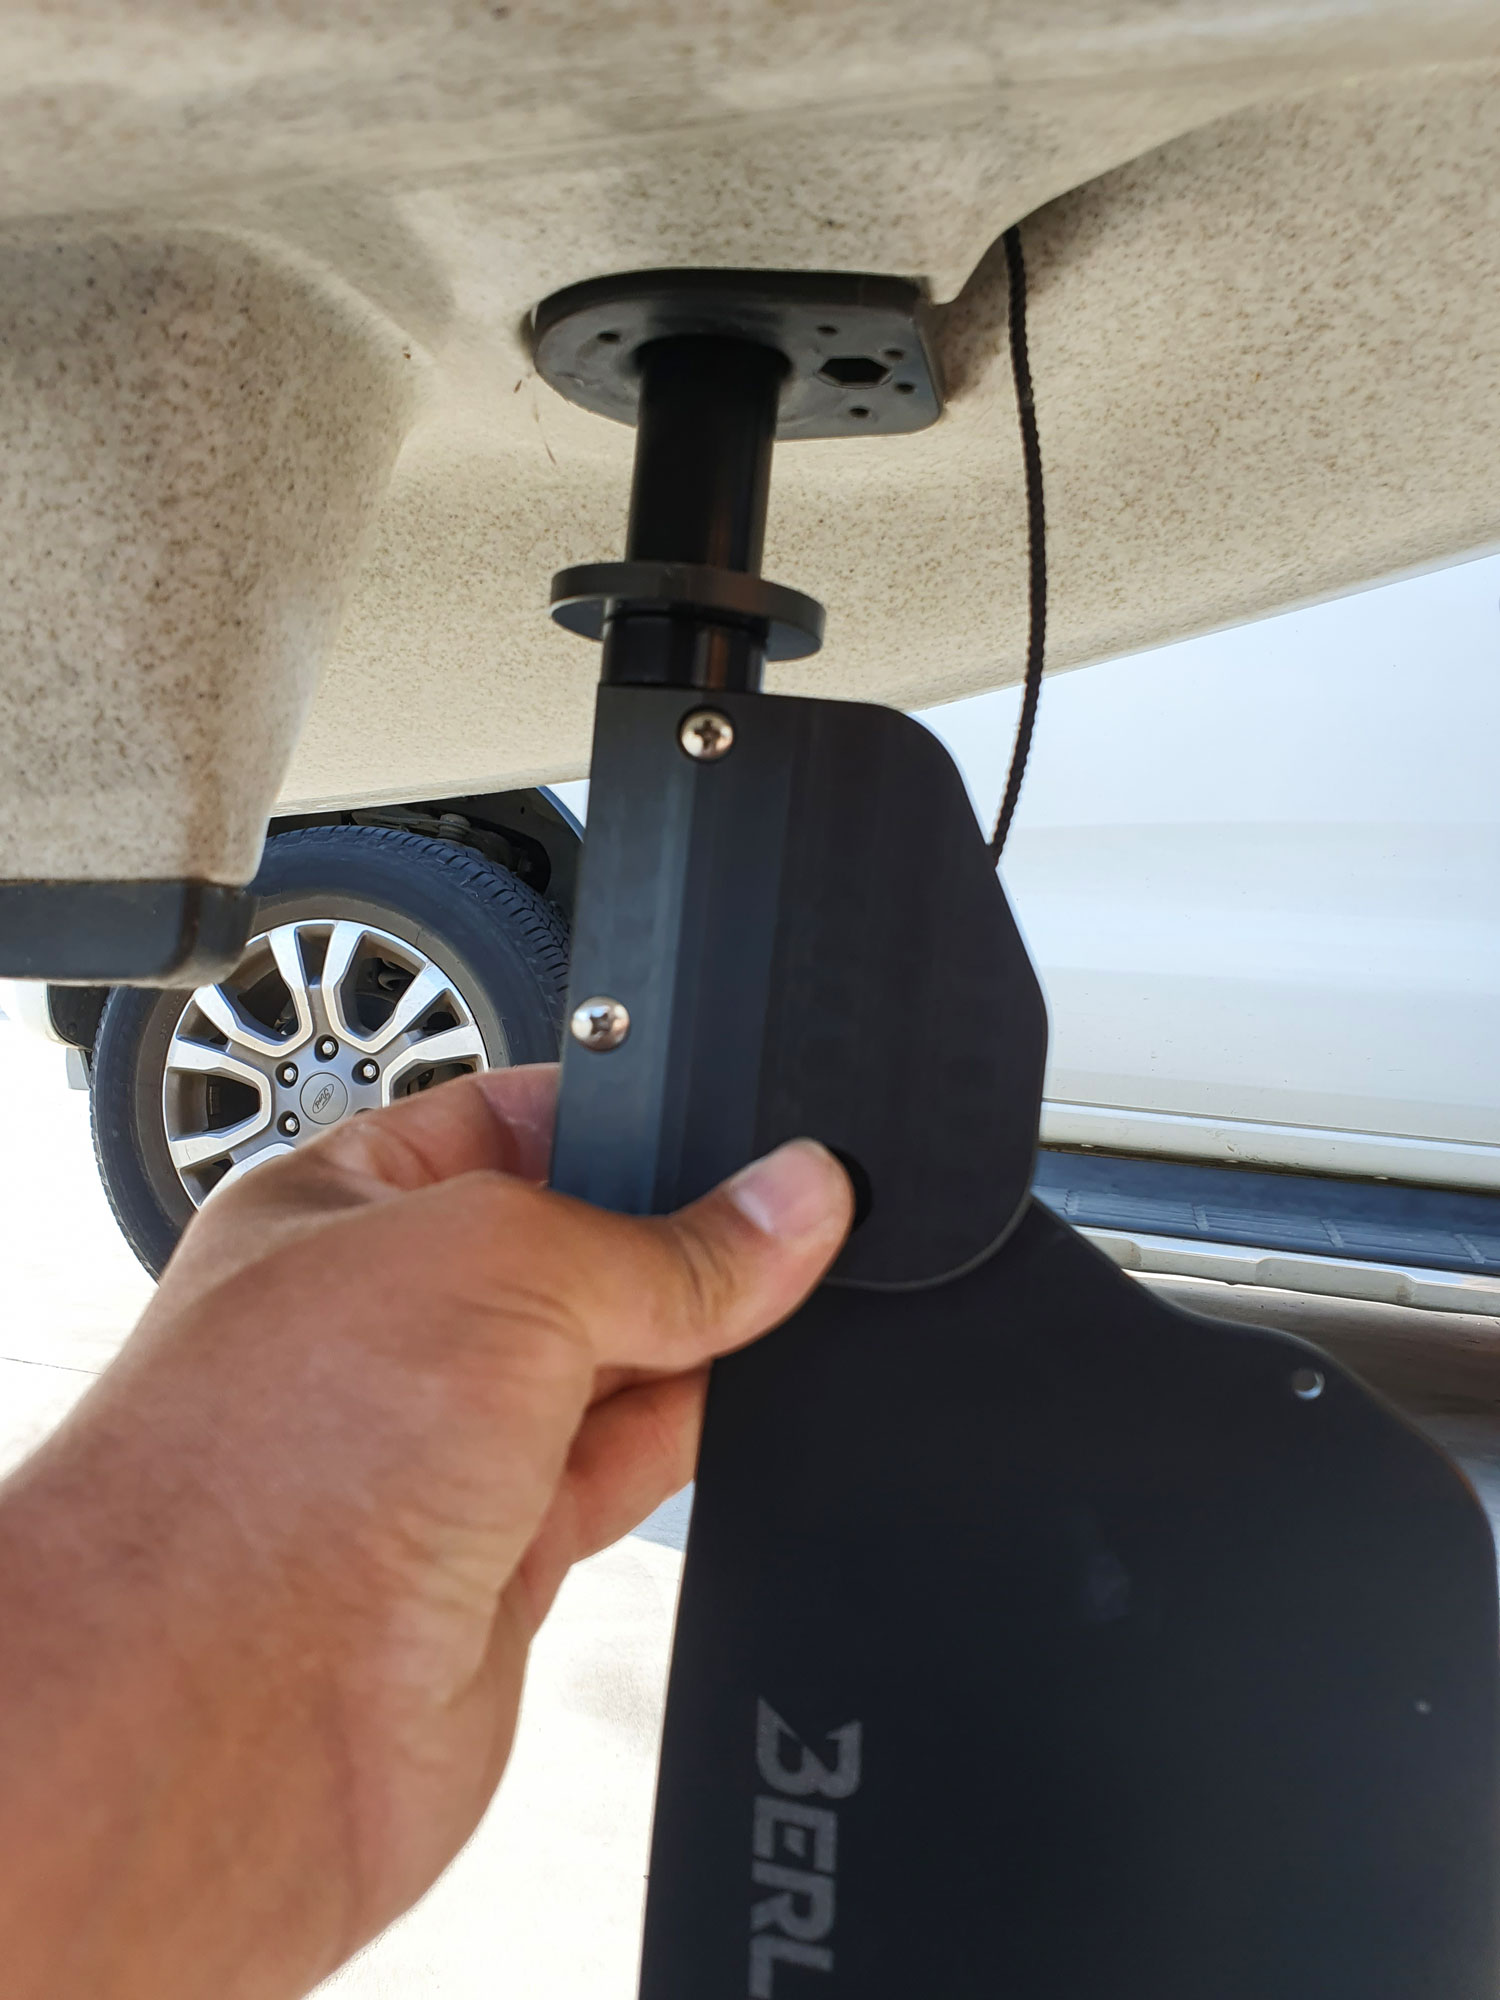
Install your new brudder into the turning disc from underneath the kayak. This will be a firm fit into turning disc so you will have to press firmly to get it to seat.
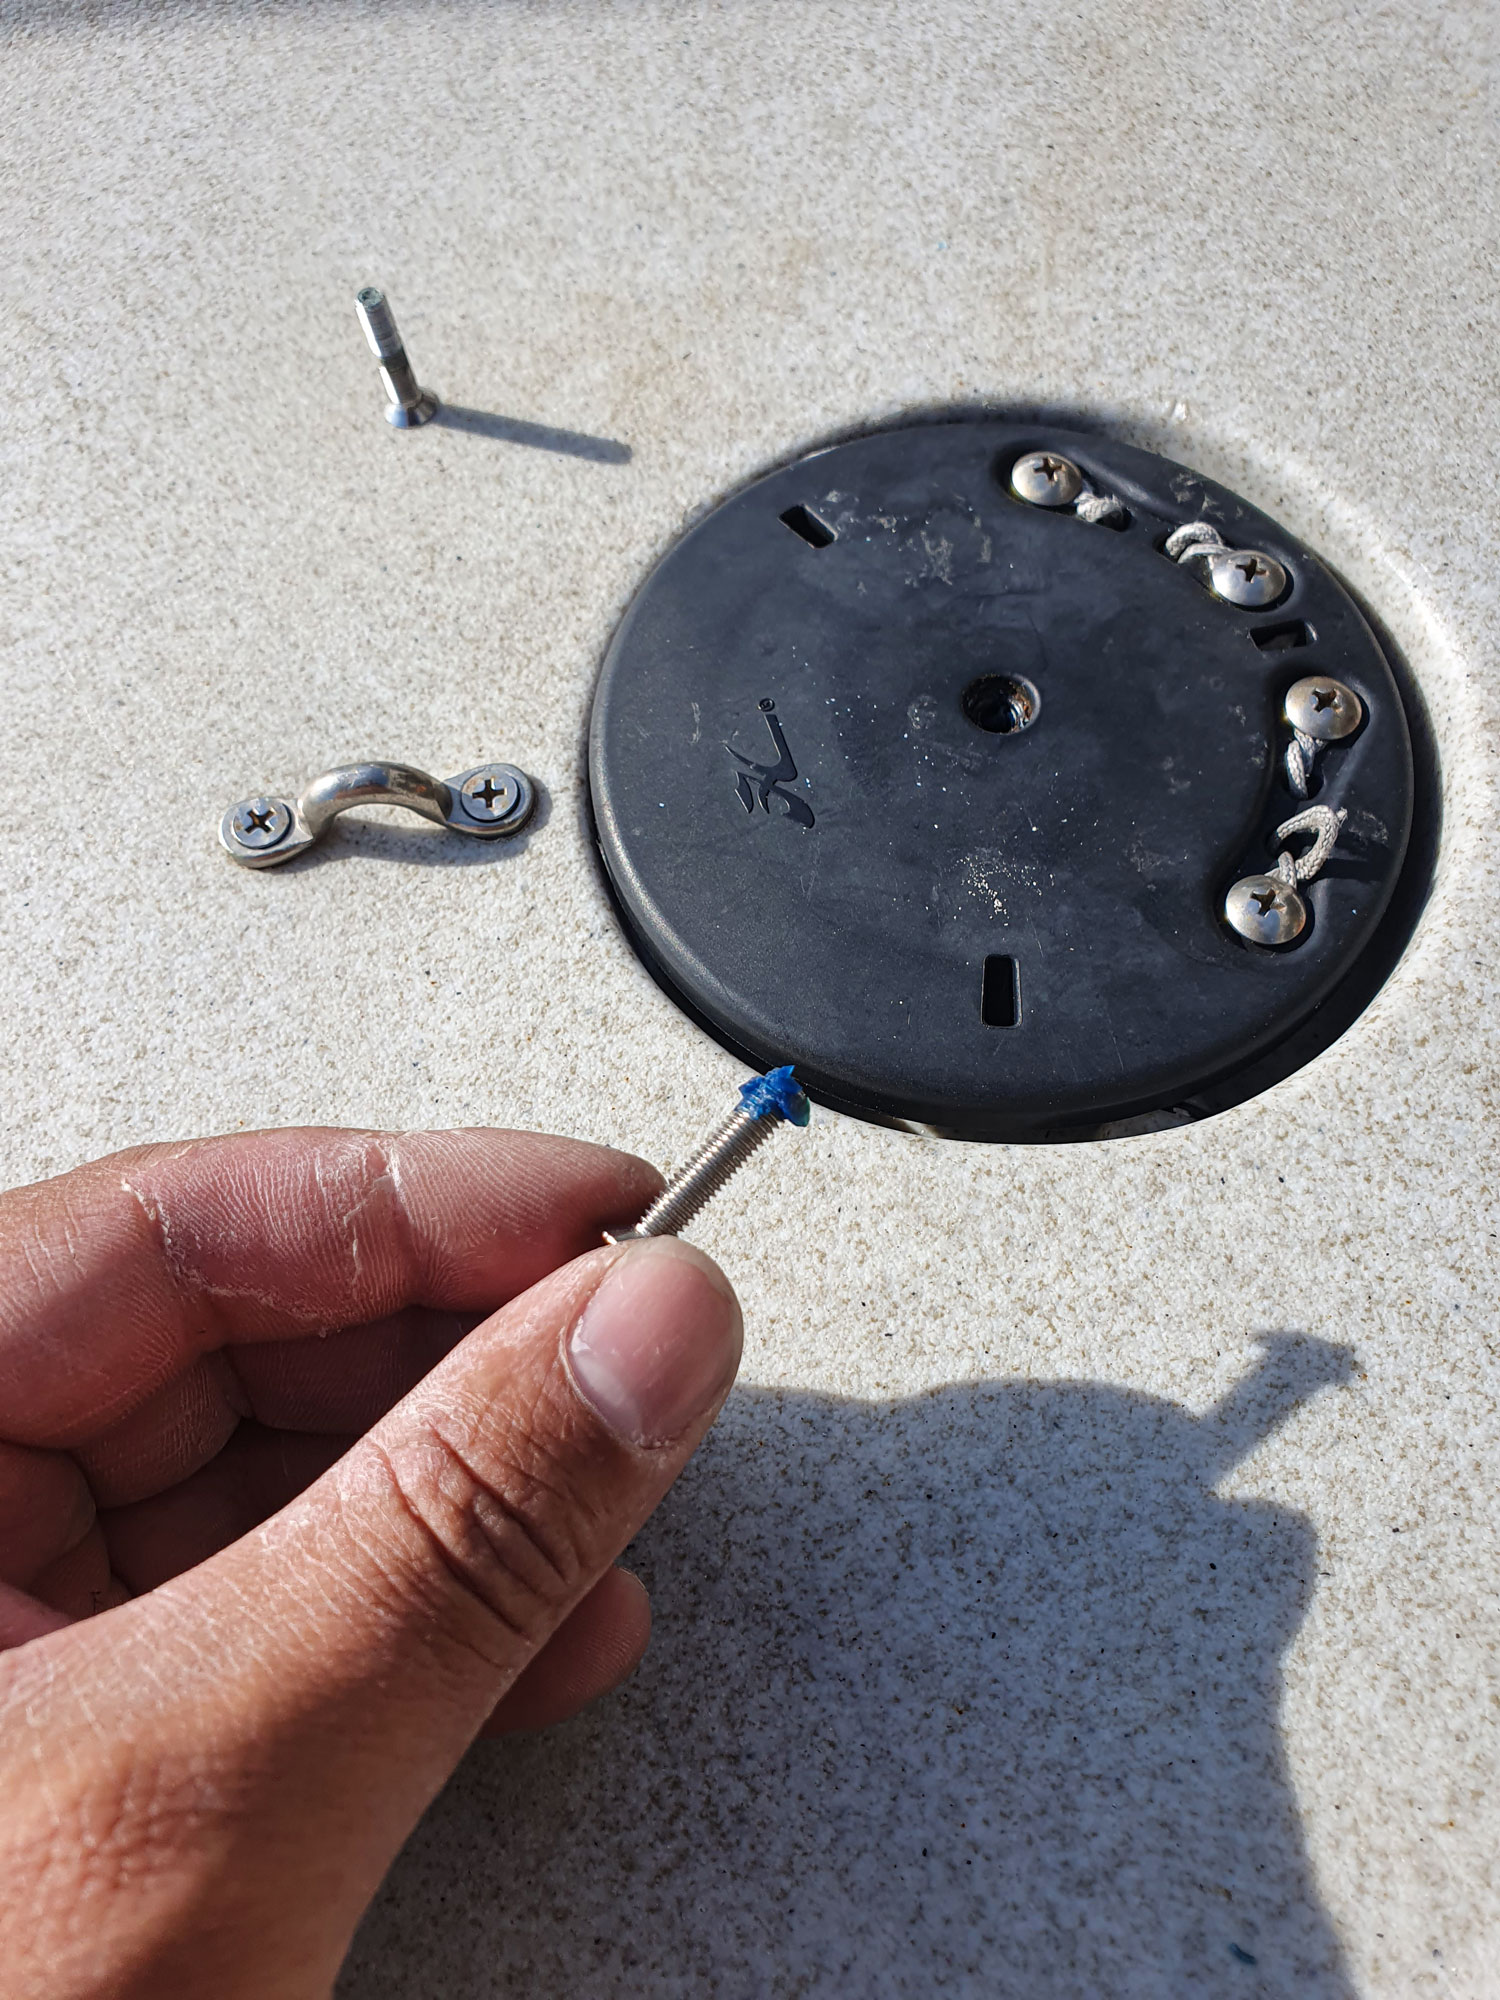
Insert the new screw supplied with the Brudder through the top steering disc and begin tightening into the rudder shaft. The new screw is supplied with loctite applied.
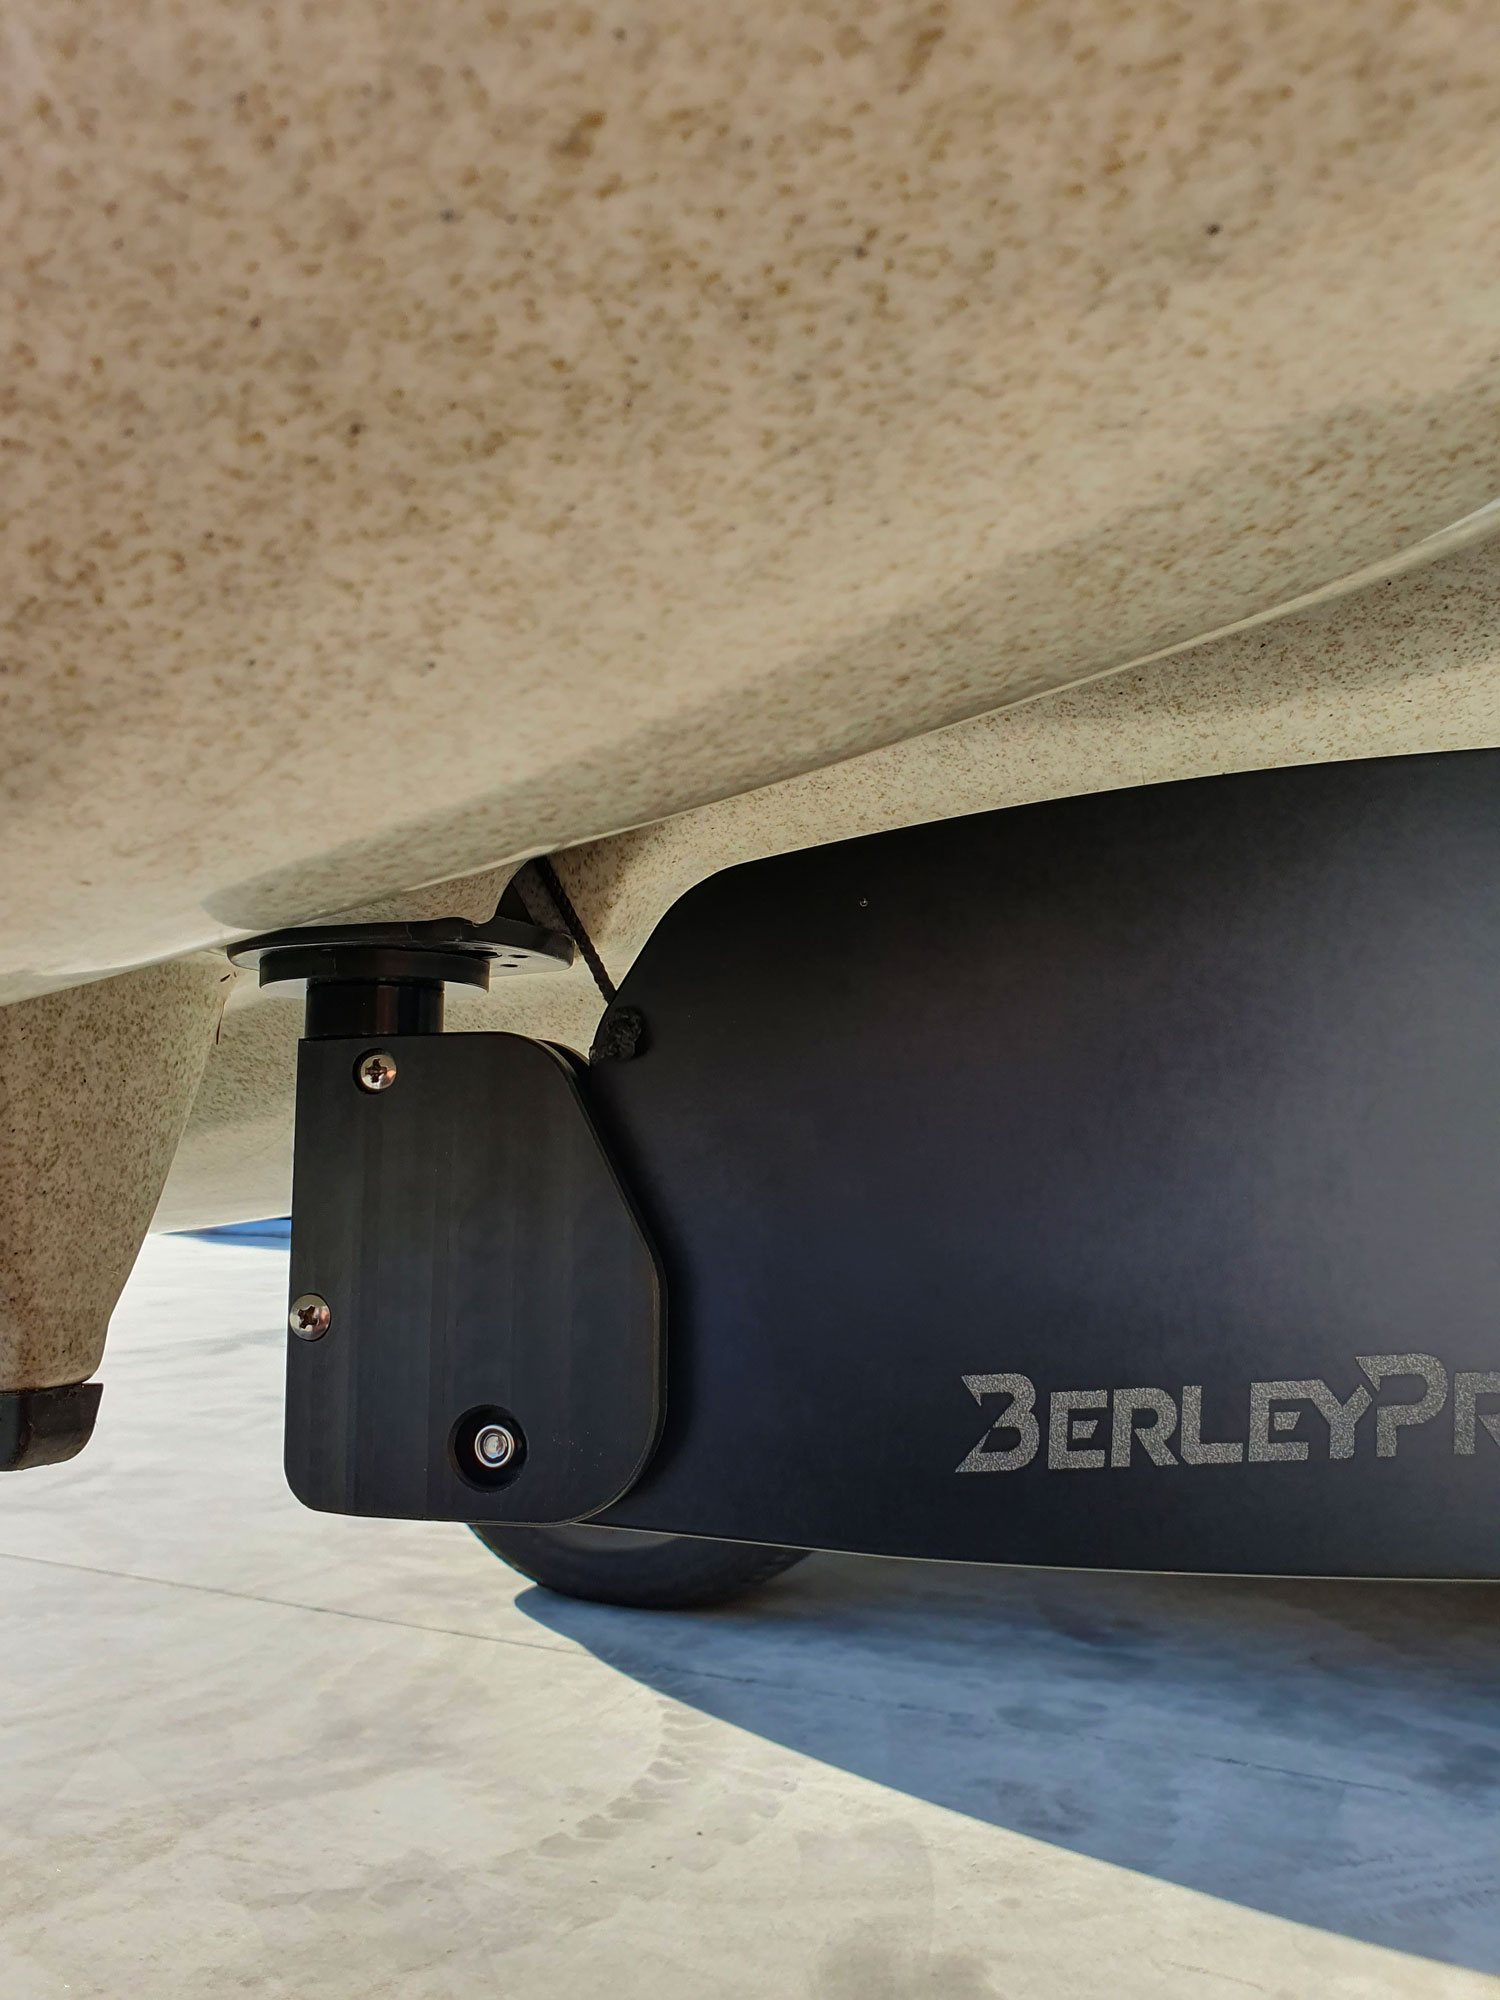
Tighten this screw until the rudder is pulled up against the friction disc on the shaft. This can be seen under the kayak. The rudder should be touching the disc with just enough force so that when turning there is a small amount of friction to help keep the rudder straight.
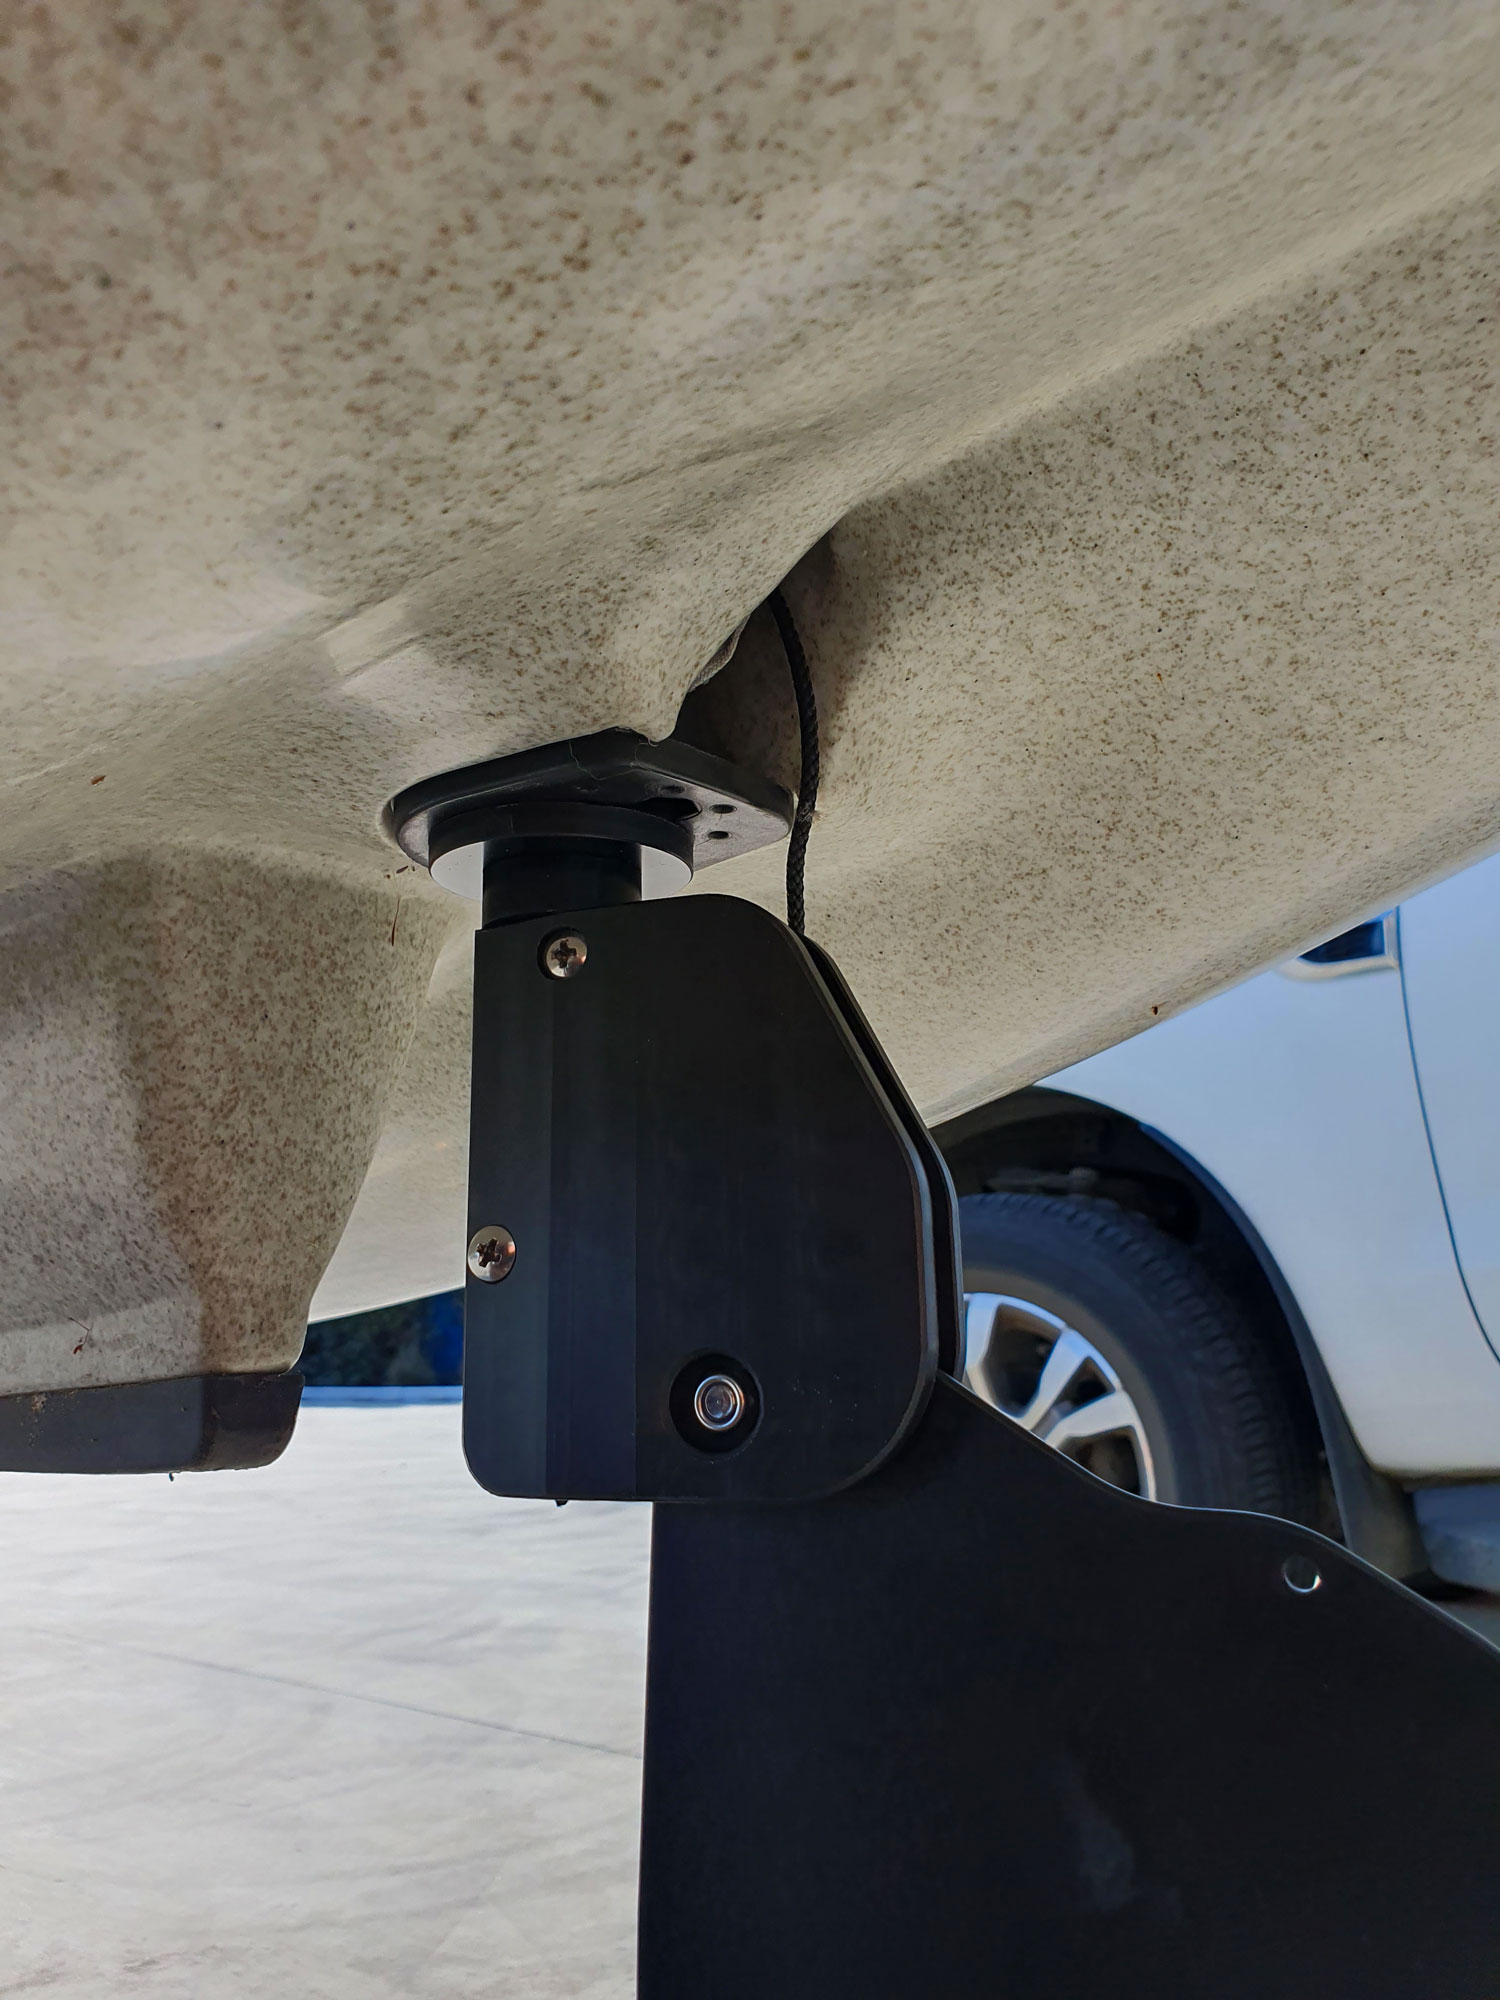
Attach the rudder up-haul cord through the hole on the new rudder blade. Move this up and down a few times to ensure the rudder is deploying easily.
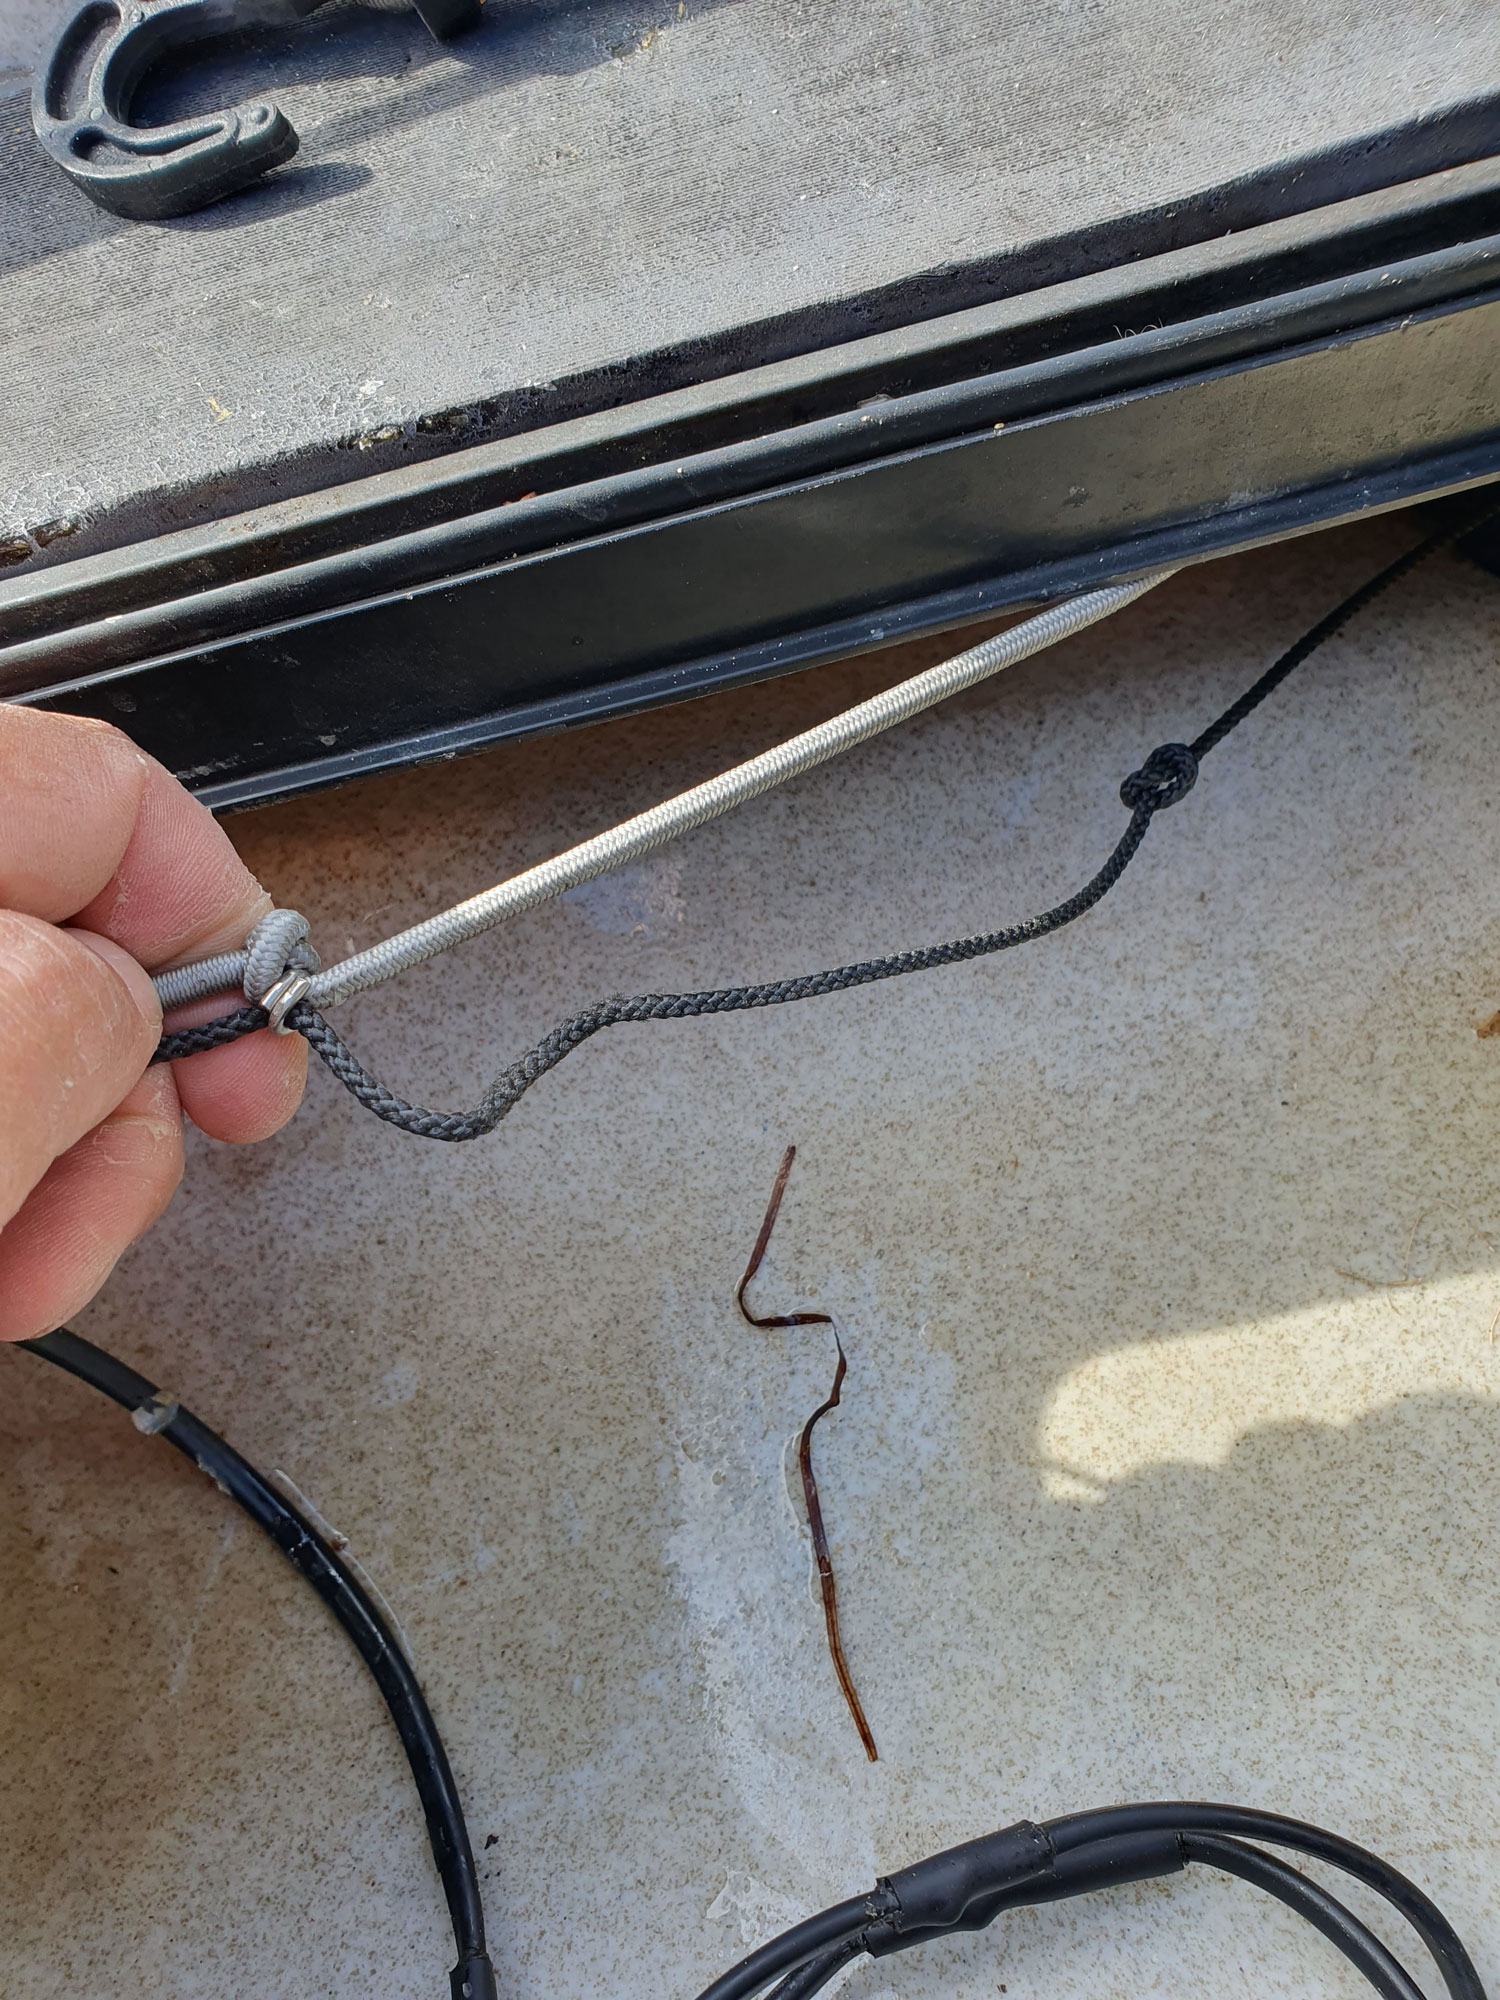
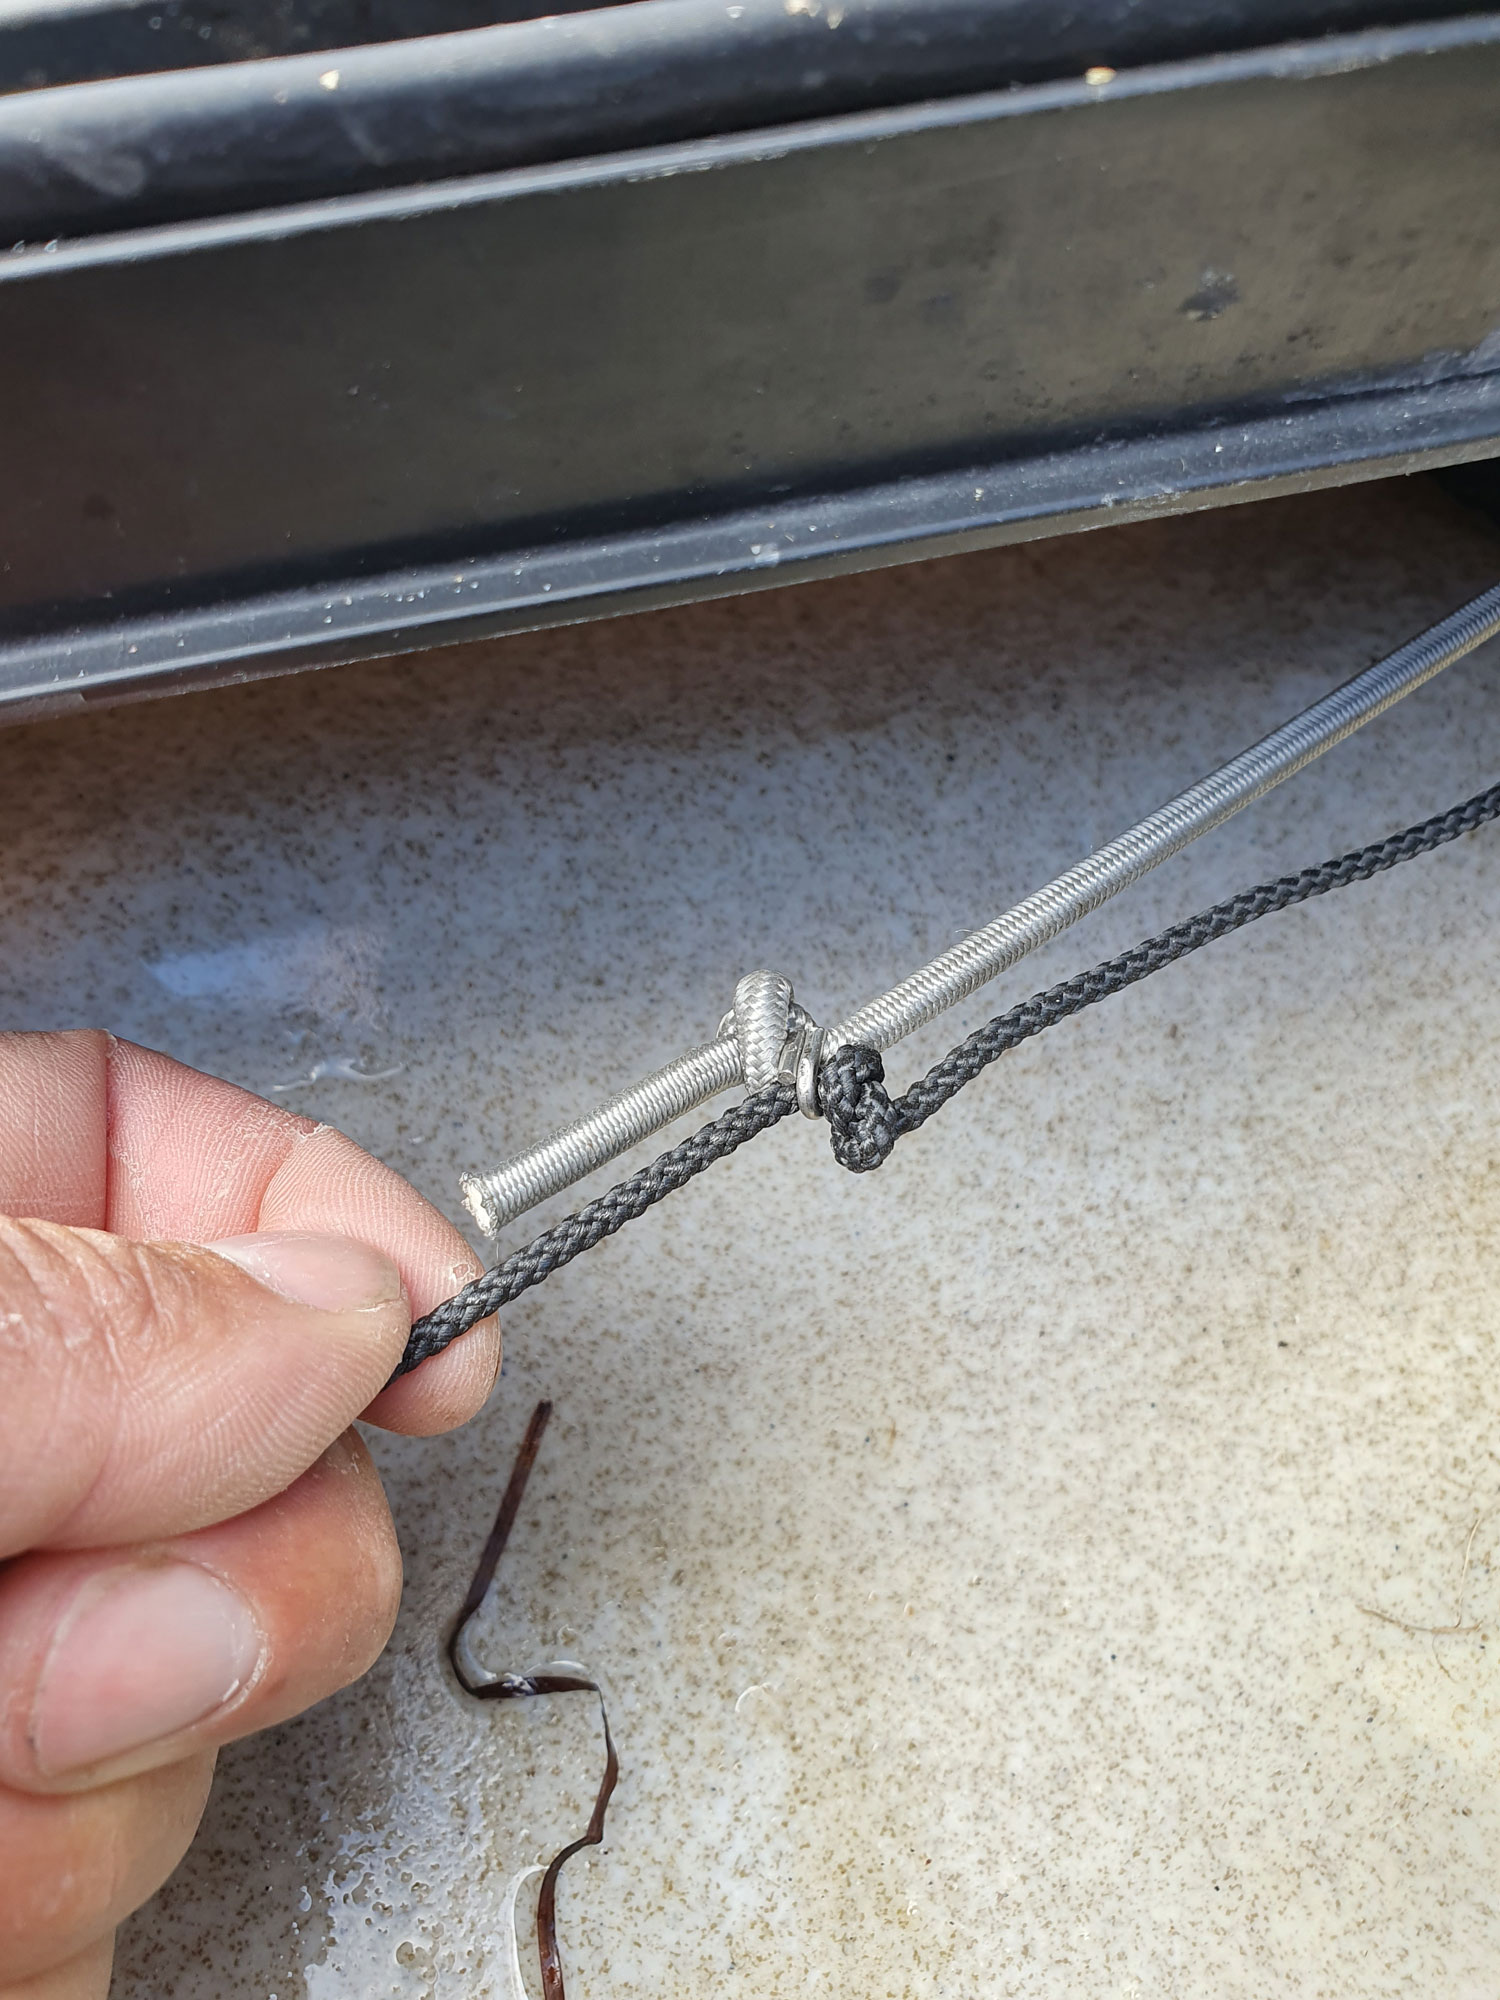
If the rudder is not deploying easily it is because the bungee is too tight on the rudder line inside the kayak. This can be found on the right hand side of the kayak through the center hatch by reaching up the side.
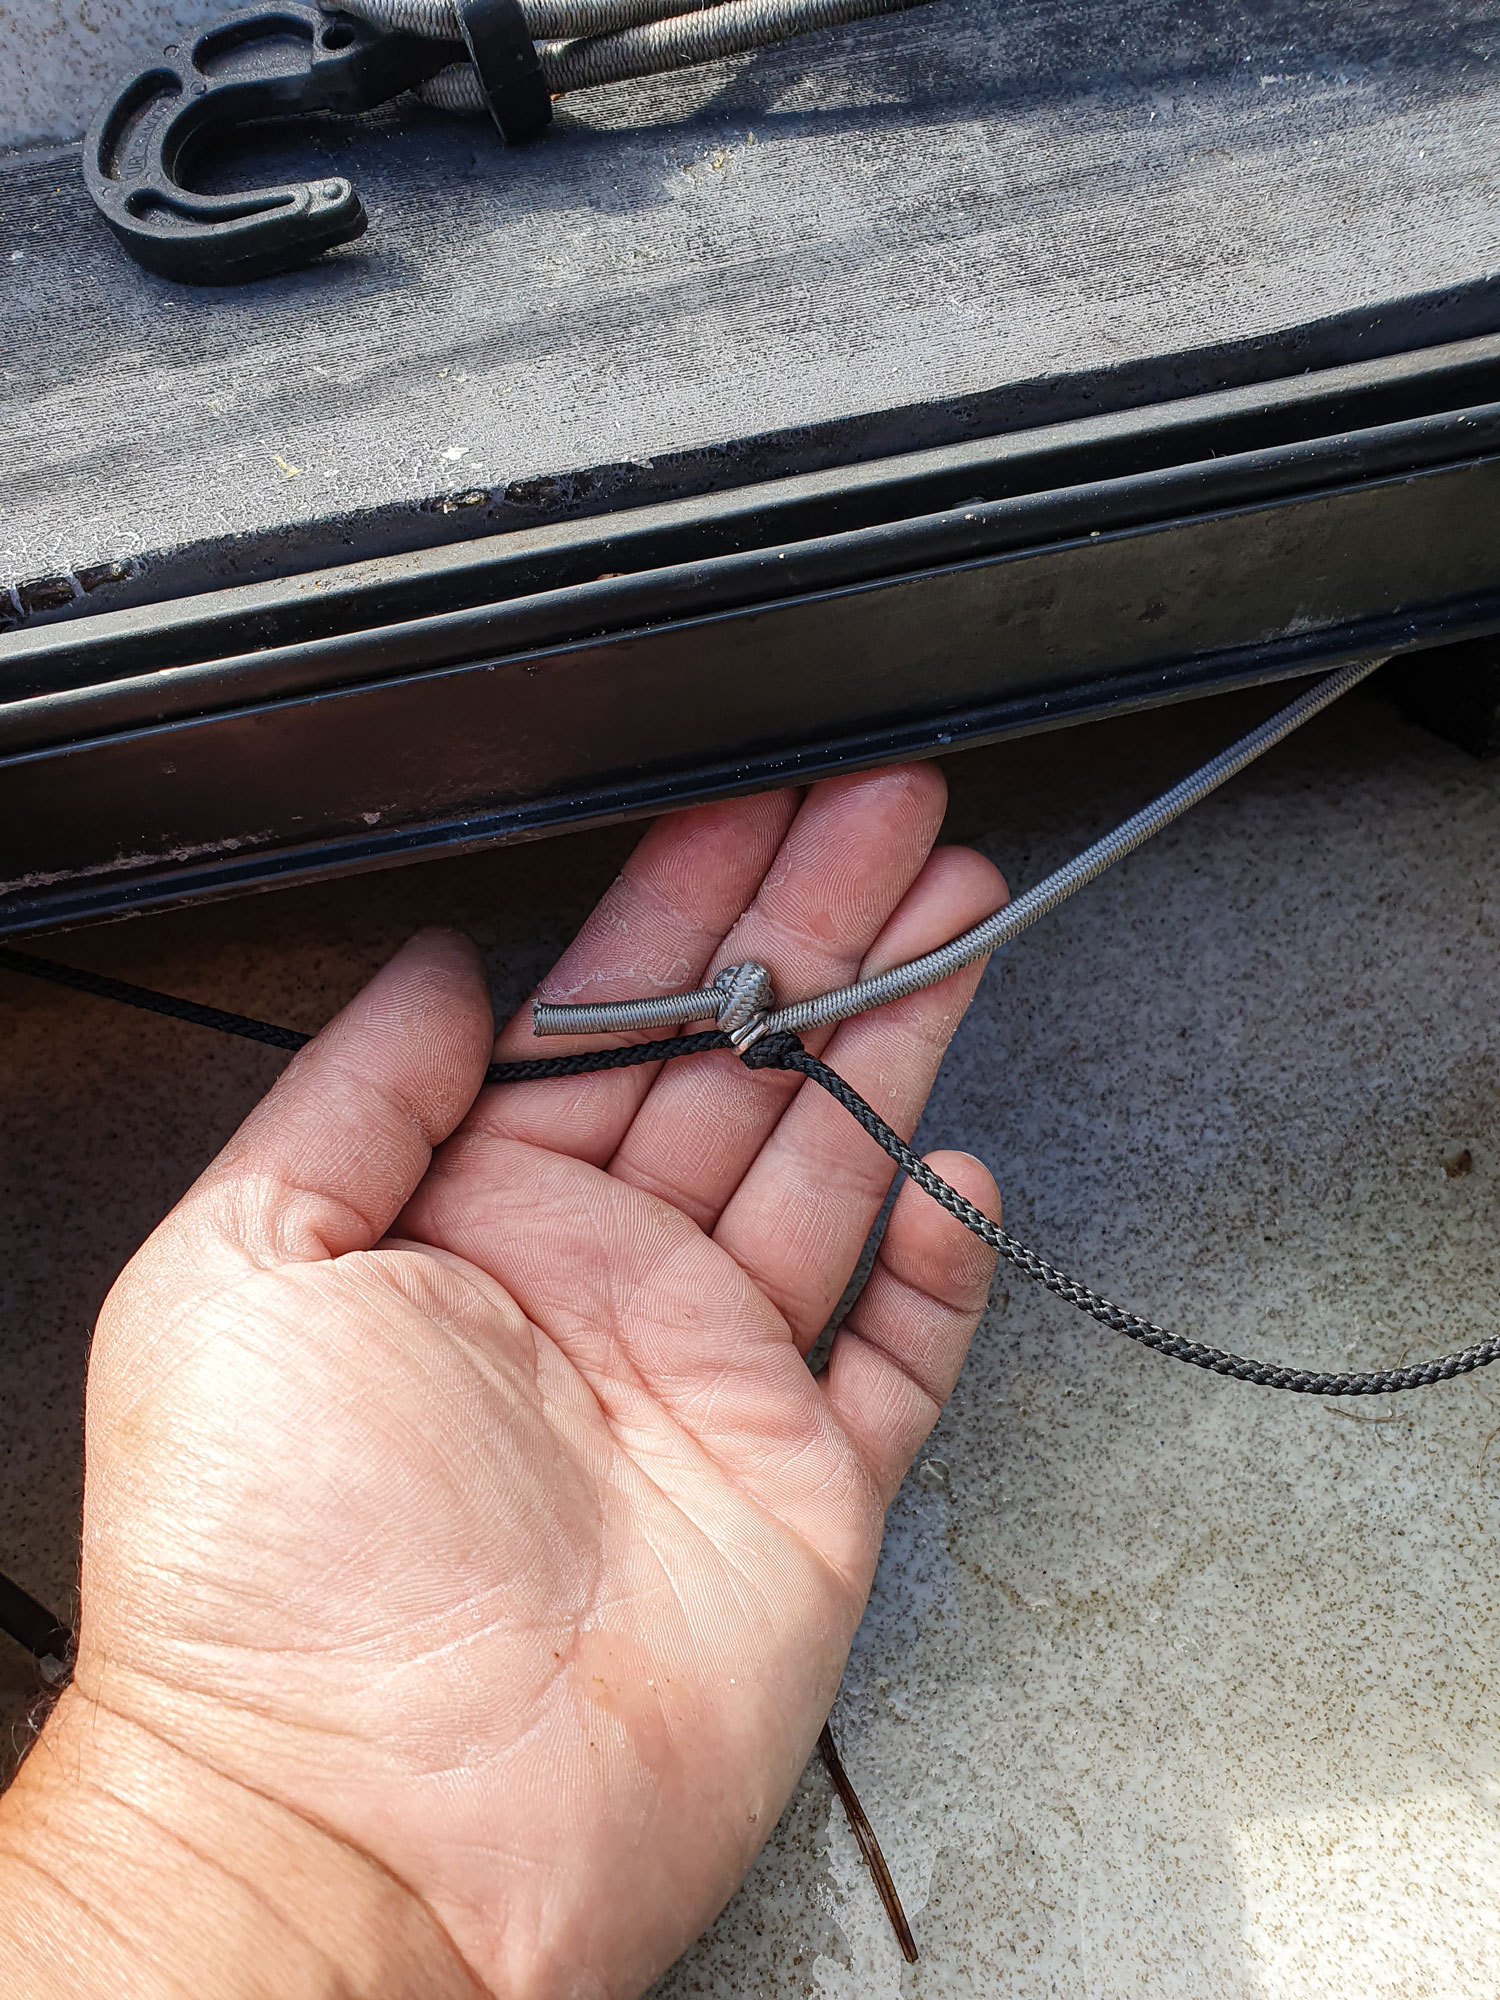
To loosen this off just undo the knot in the black cord and move that towards the rear of the kayak. On this kayak we moved it 4 inches towards the stern which was enough to get the rudder deploying easily.
Once this is done you are ready to hit the water. Be sure to check out our steering handles for the Outback as these can make your steering even better.


