Recently I have noticed a few people running their AGM batteries flat, which in some cases resulted in not being able to recharge the battery. I’ve put together this blog to give you a quick rundown of how to show a voltage gauge on your Lowrance Fish Finder. I hope this could potentially save your batteries as ideally you never want to run an AGM battery flat!
This is done on a Lowrance HDS12 Live but is the same on most of the Lowrance series graphs the same.
First, turn the unit on.
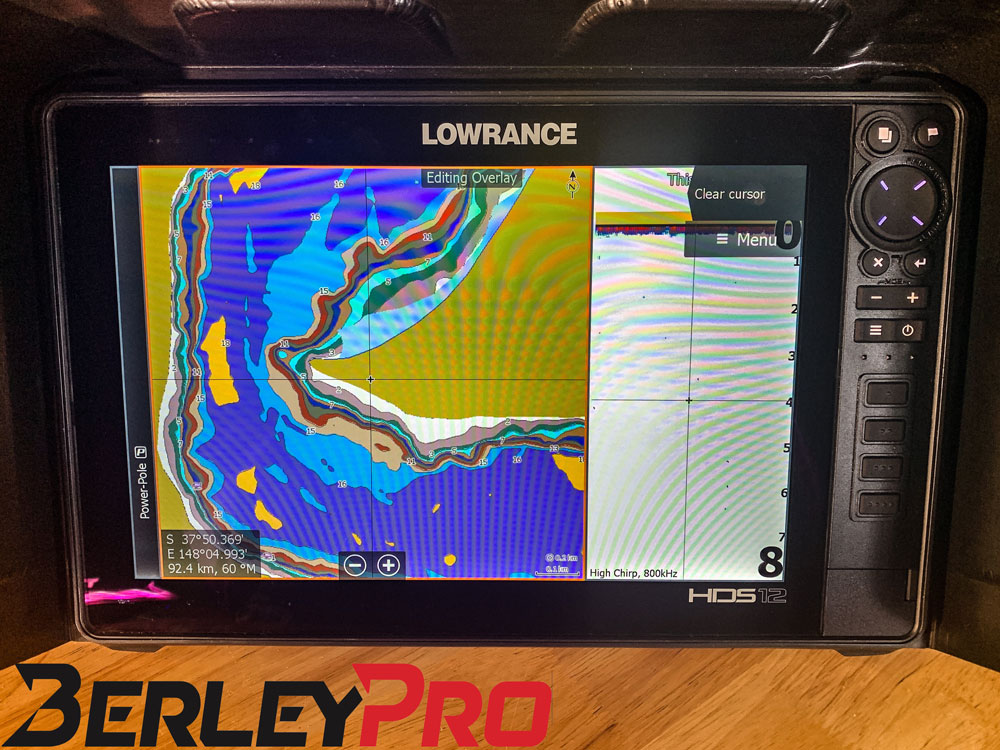
Press the power button to bring up the menu.
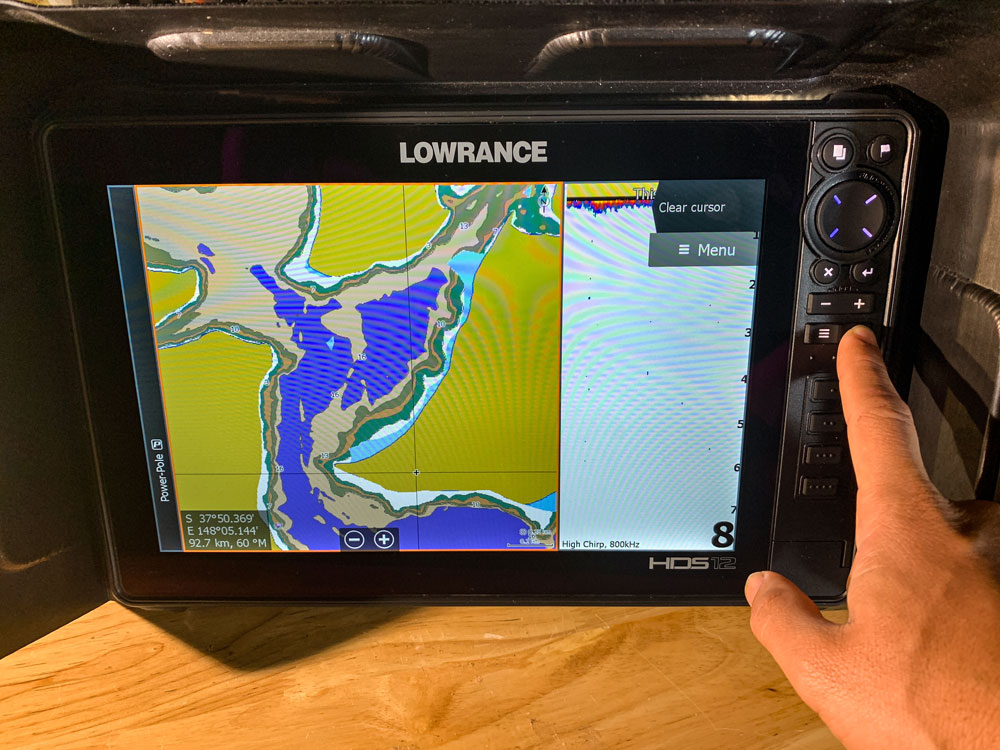
Toggle the Data Overlay display on or off by pressing the Data Overlay button. The orange bar at the top means it is on or off.
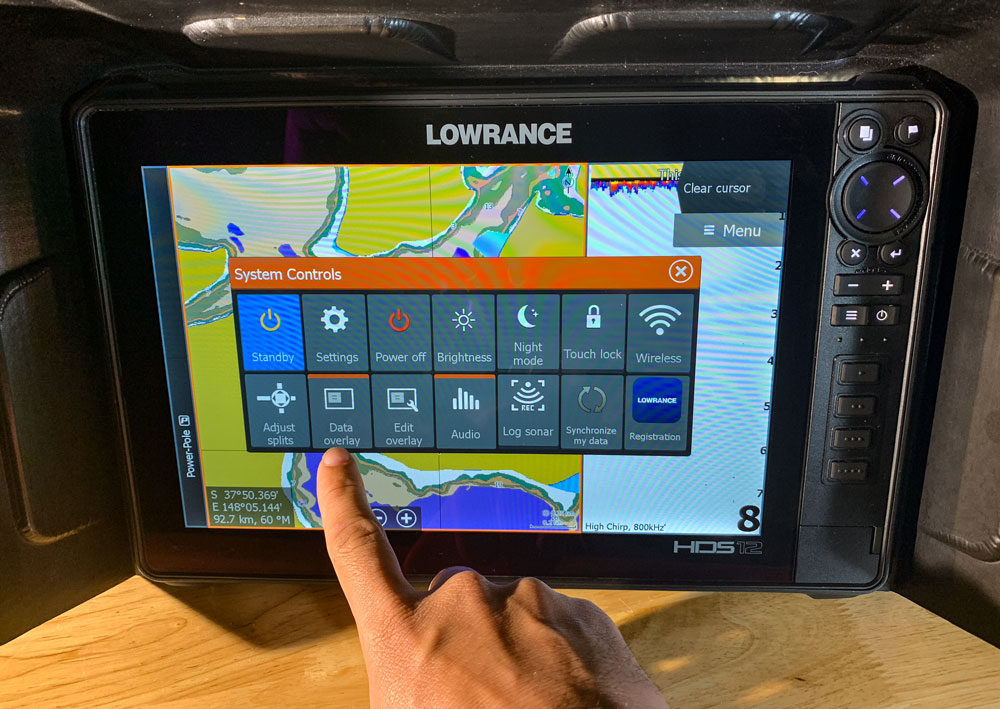
Select the Edit Overlay option.
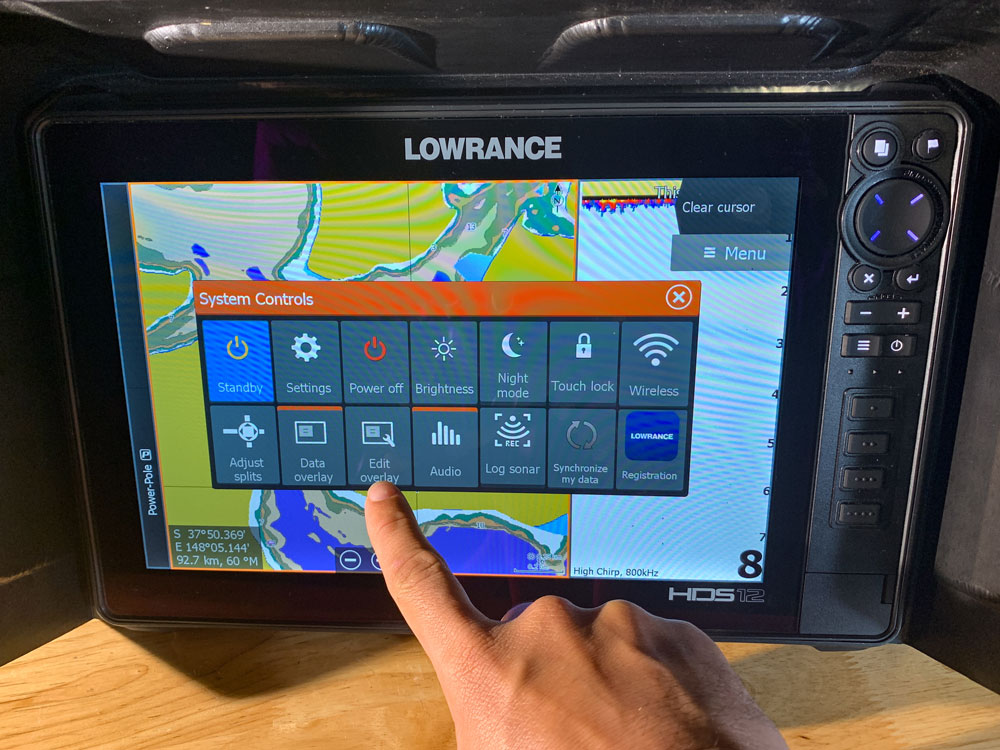
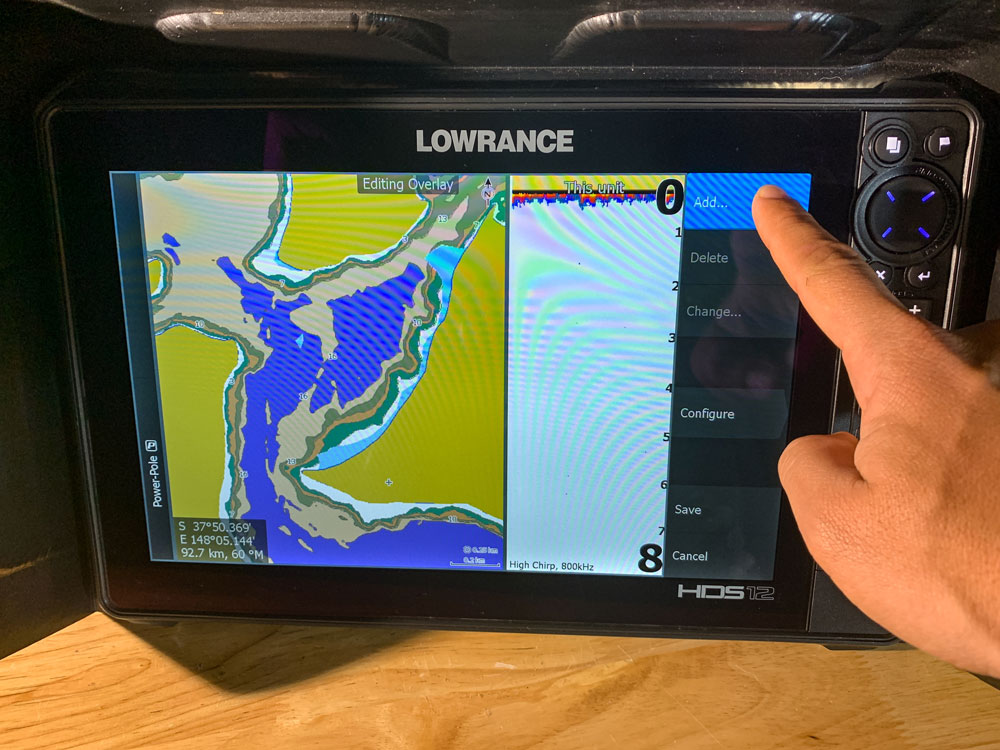
Select the Add option.
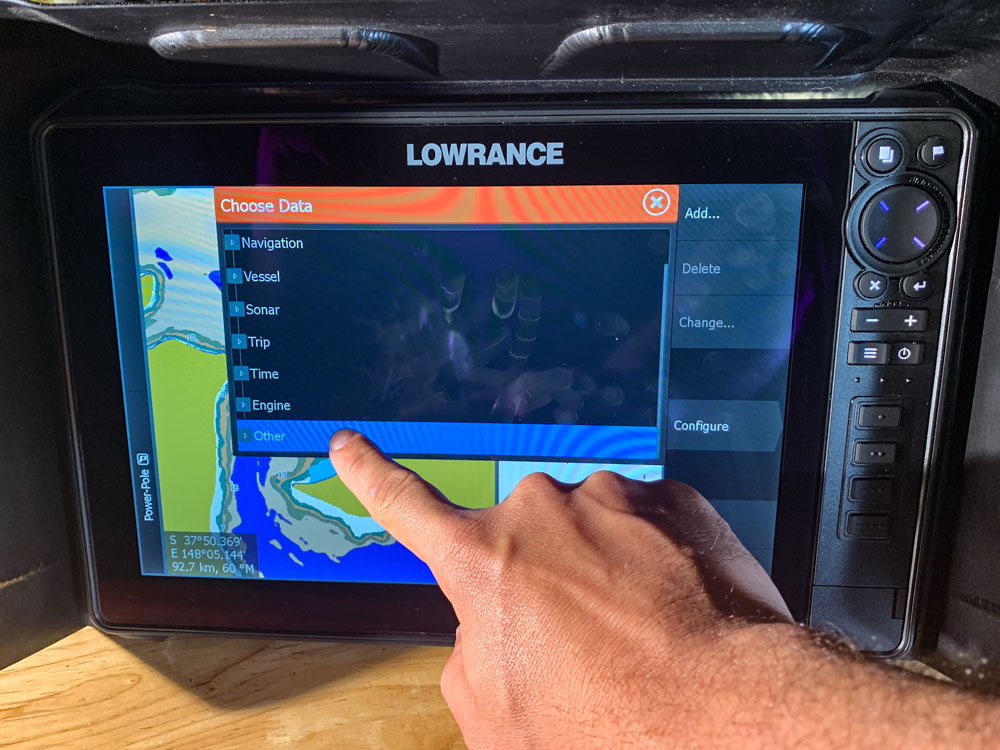
Select the Other option at the bottom.
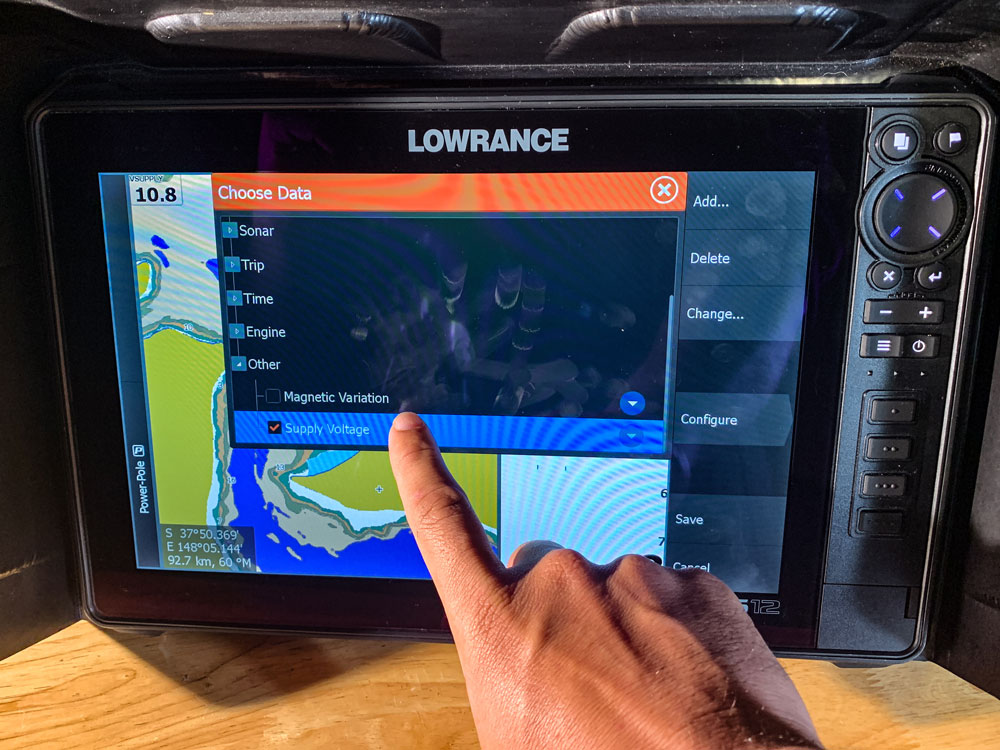
Select the Supply Voltage option.
You can also change the size of the voltage display to suit you by pressing the configure option and choosing the size. You can also drag the voltage display anywhere that you would like it to be displayed on the screen.
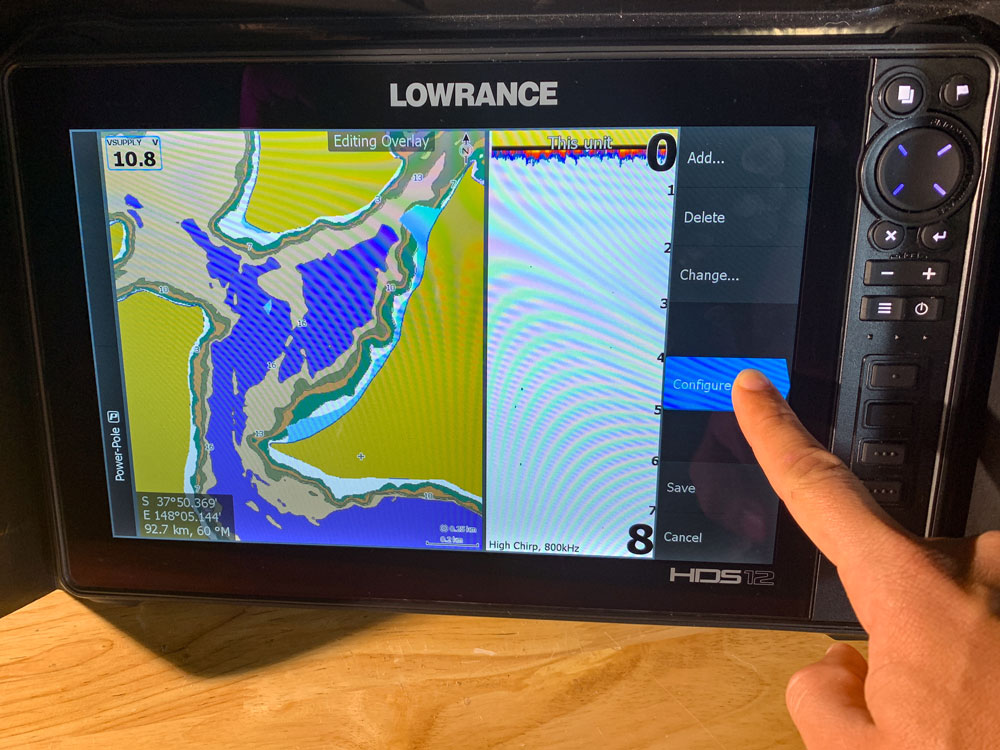
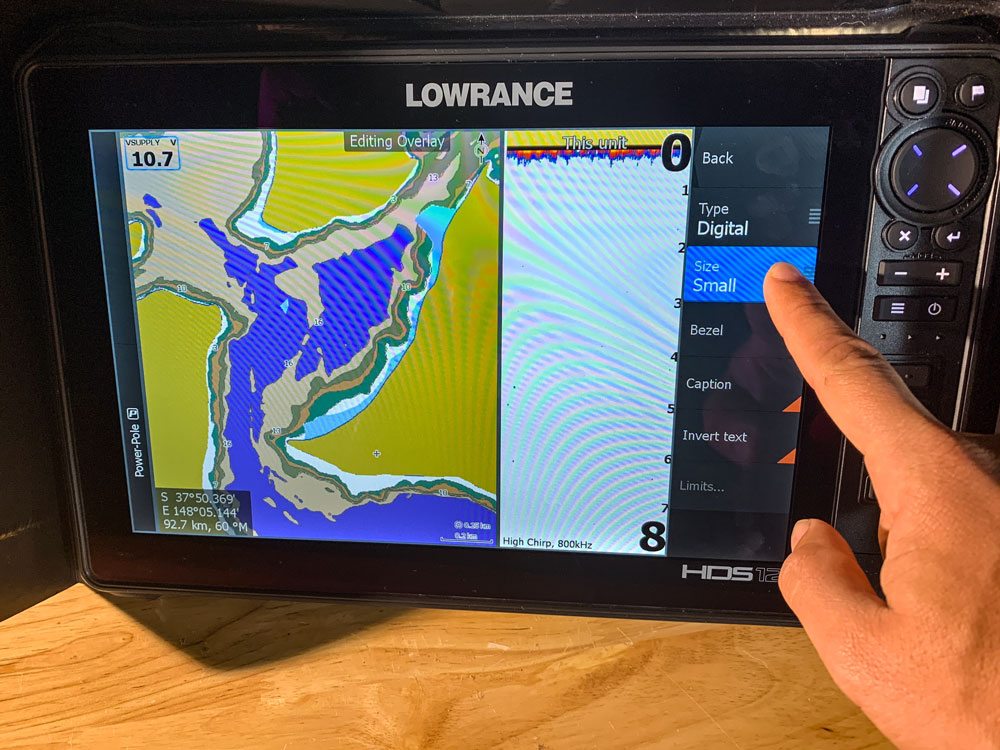
Once you’ve got the size you want and location remember to hit save!
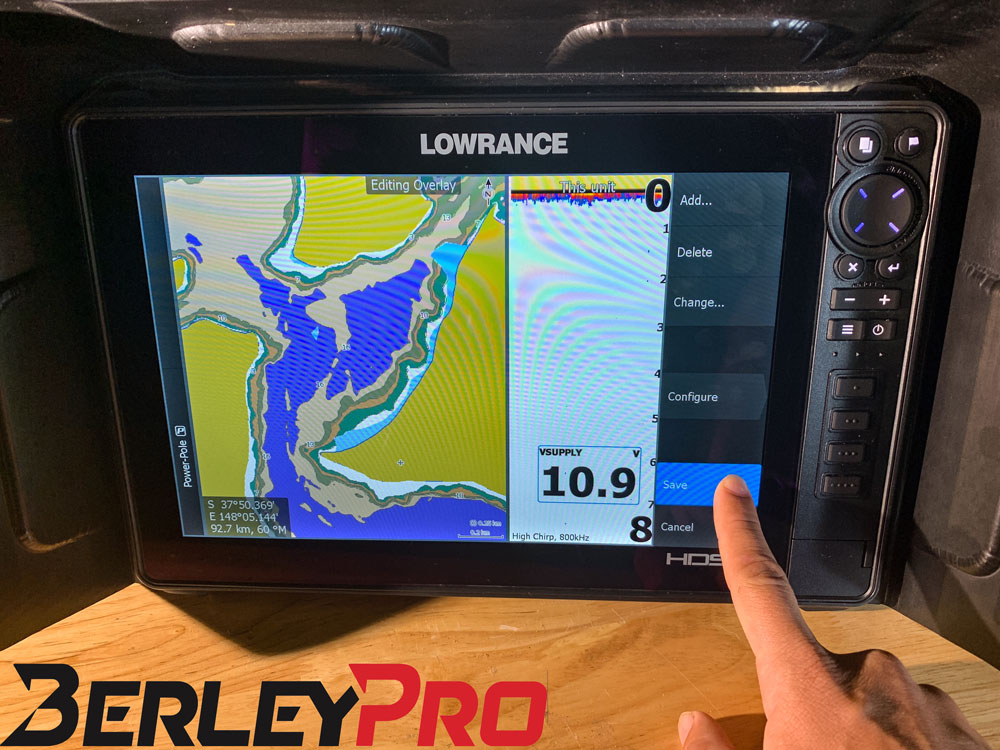
You should now have a voltage displayed on the screen so you can keep an eye on your batteries’ charge! To get the best value for your batteries ideally you don’t want to discharge your battery more than %50. The below voltages are just a guideline of what you can expect when there is no current draw on the battery.
| State of Charge | Sealed or Flooded Lead Acid | Gel battery | AGM battery |
| 100% | 12.70+ | 12.85+ | 12.80+ |
| 75% | 12.40 | 12.65 | 12.60 |
| 50% | 12.20 | 12.35 | 12.30 |
| 25% | 12.00 | 12.00 | 12.00 |
| 0% | 11.80 | 11.80 | 11.80 |
If you’re looking for ways to improve the run time on your battery, a great solution is reducing the brightness. On the units, I have measured they can draw up to 1A at full brightness you can save nearly 30% normally by just turning the brightness down to 60%. We provide a large range of Lowrance Visors to help you still see by protecting the screen from water and glare.
I hope this helps!


