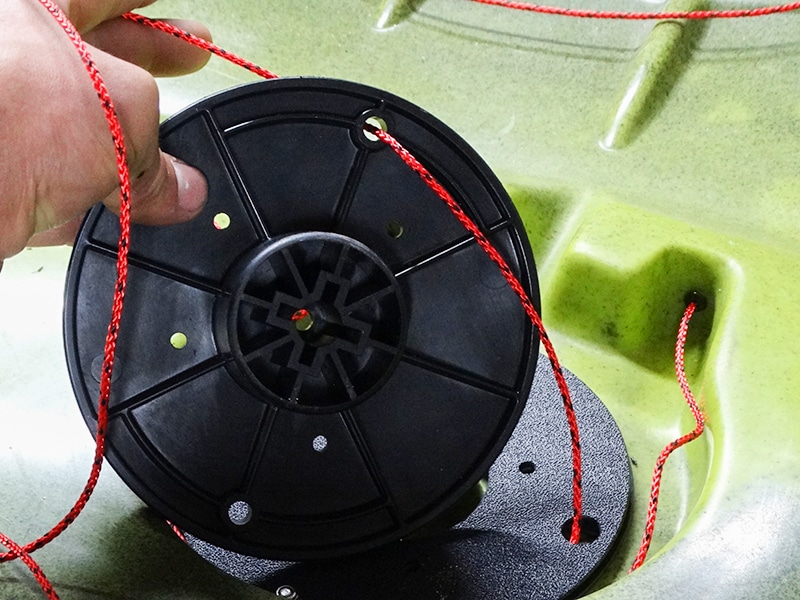
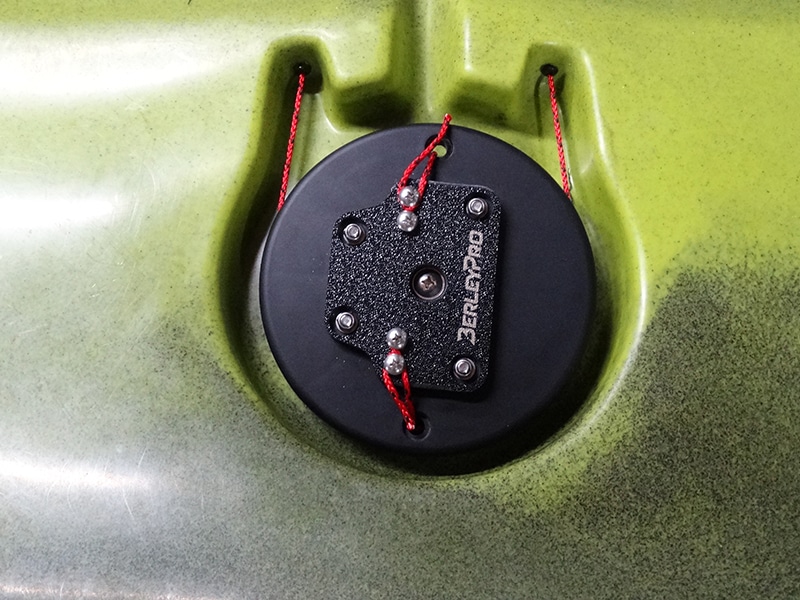
This guide shows you how to upgrade your Native Watercraft Titan steering to the BerleyPro system. #
This system is used to replace the stainless steel cables which are prone to snapping or corroding plus it gives you an increased angle on the rudder which allows you to turn quicker at slower speeds. The new tension plate allows the cables to be tightened easily giving you the ability to have no slop in the steering and a straight tracking kayak.
Tools Required:
- Phillips head screwdriver
- 7mm spanner or adjustable wrench
- 8mm or 5/16th socket and wrench
- 5mm or 1/5 drill bit
- Braid scissors or something to cut spectra cord
Time: approx. 1 hour
Please follow the instructions and images as shown. If you have any questions send us an email.
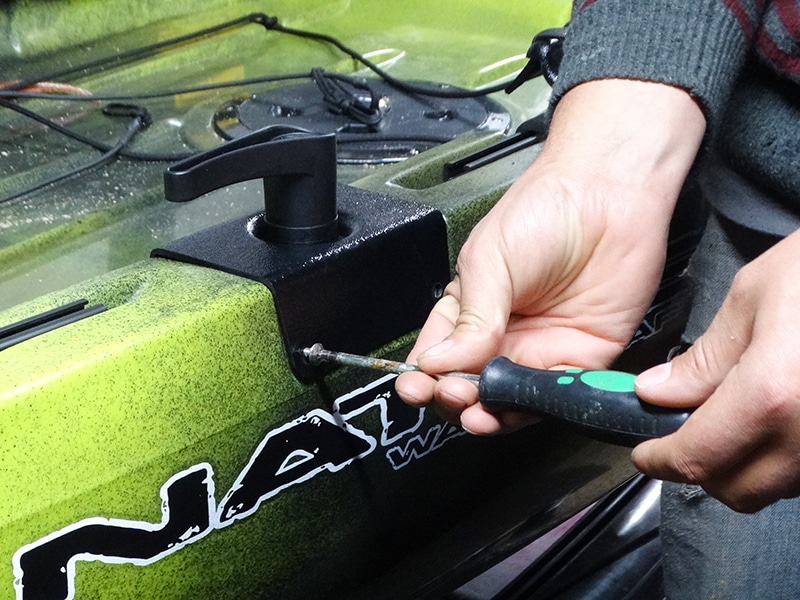
- Remove existing rudder and steering handle using a Phillips head screwdriver. Also, remove the grub screws and the locking pins on the existing rear black disc.
WHEN RUNNING THE NEW CORDS MAKE SURE THE NEW STEERING DISC IS INSTALLED IN THE ORIENTATION SHOWN BELOW.
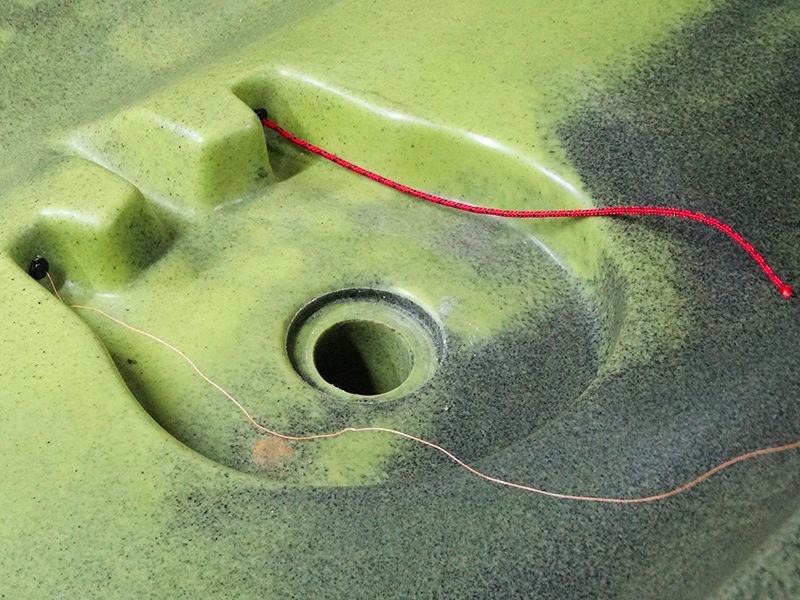
- One at a time remove the stainless steel steering cables and run the new cord provided. You can sometimes run the cord through the black tubes without any aid. We do provide braid you can tie onto the existing stainless cable with half hitches and use that to pull the new cord through.
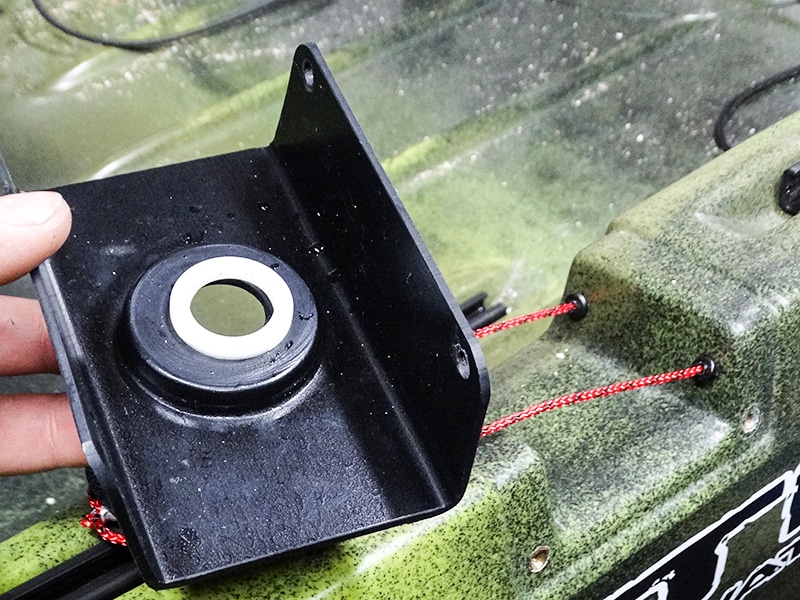
- Once the two cords have been run, put the handle assembly back together with the new disc and washers. The screw that goes into the handle base with the spline needs to be done up tight enough that you can still turn the handle but it doesn’t have any play in it.
THE ORIENTATION OF THESE PARTS IS CRITICAL. PAY ATTENTION TO THE PHOTOS BELOW TO ENSURE CORRECT FITMENT.
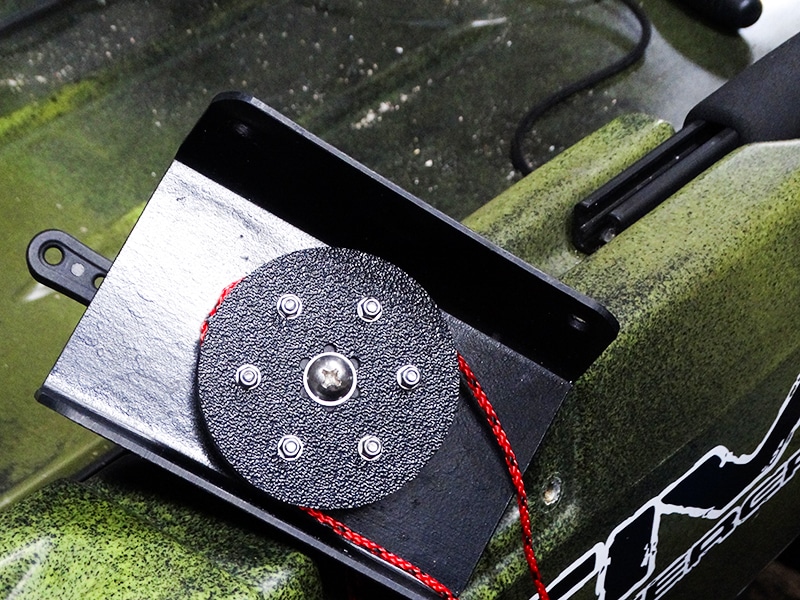
- Now install the handle assembly back on the kayak. The cords need to be overlapped as in the picture above and pull them tight at the rear of the kayak while installing the assembly to ensure they stay on the wheel.
- Remove the rear rudder control disc from the kayak. You also need the thin 2mm thick BerleyPro upper rear drum for the next step.
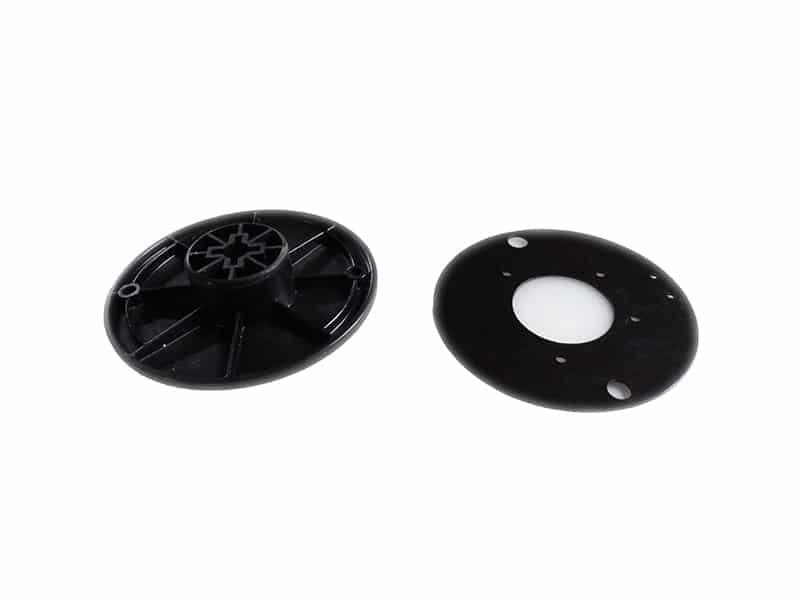
- Locate the BerleyPro disc on the existing rudder control disc and drill four 5mm holes through the existing disc shown in red below.
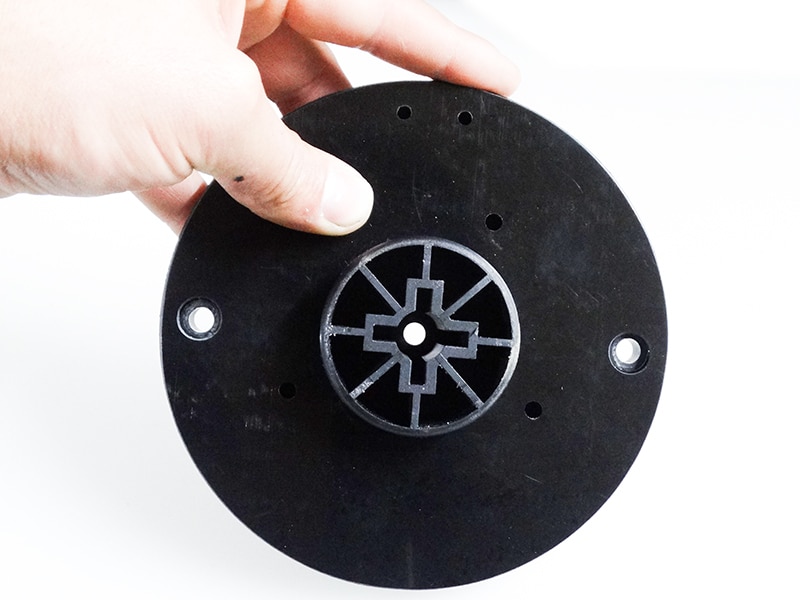
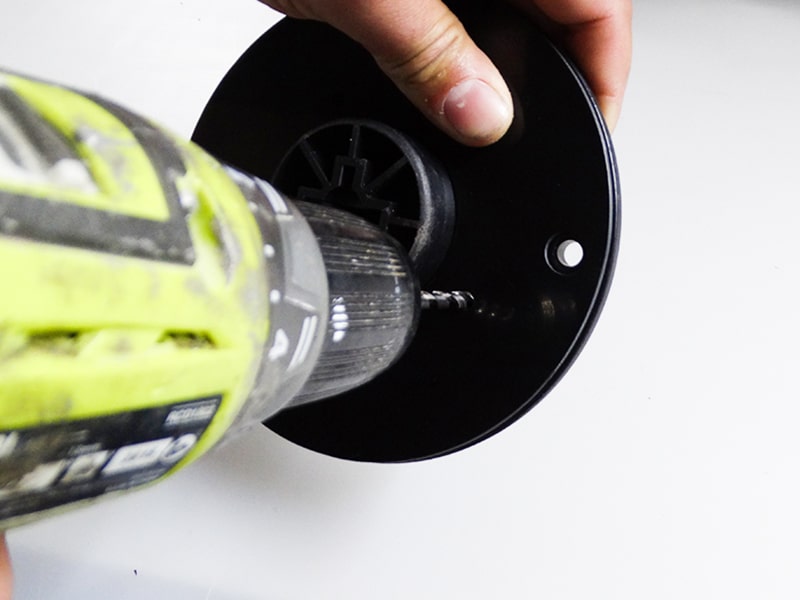
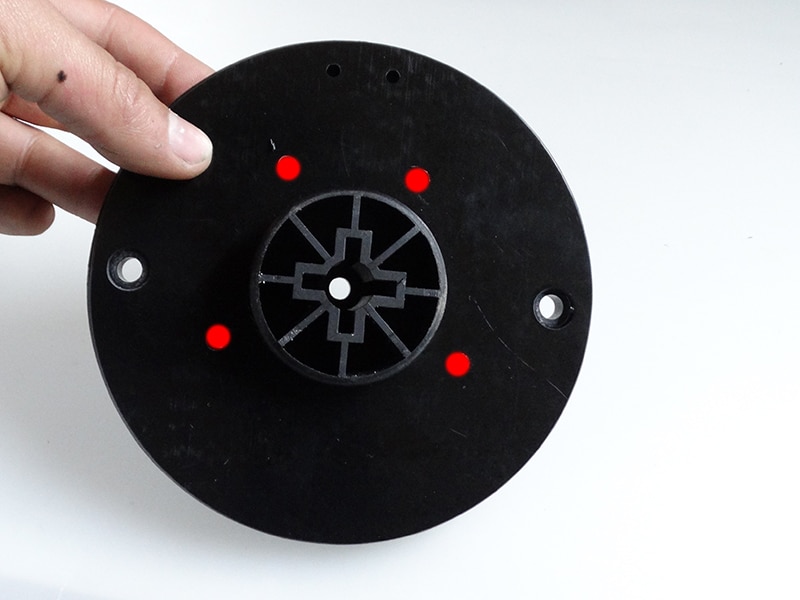
- Run the spectra cord through the new BerleyPro lower section of the drum. Using the two m4 x 12 countersunk head screws, flat washers and nuts you can now install the lower and upper part together and tighten.
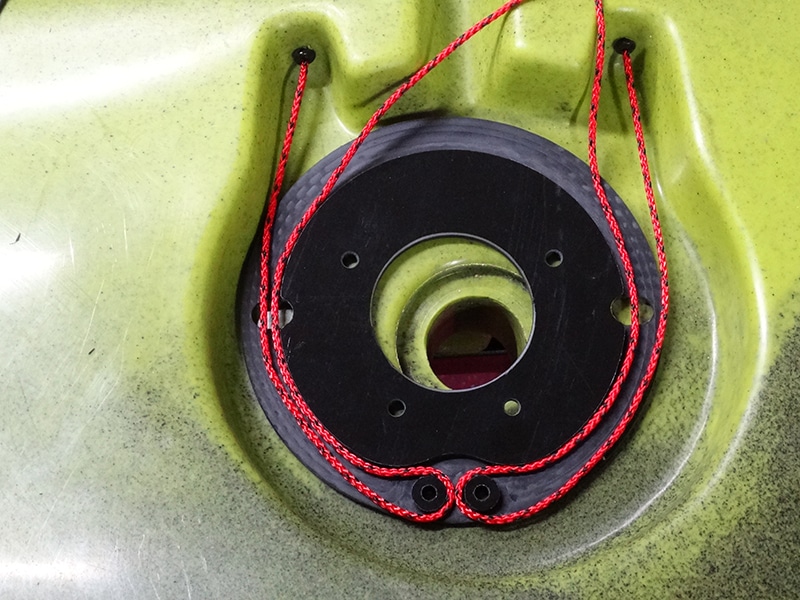
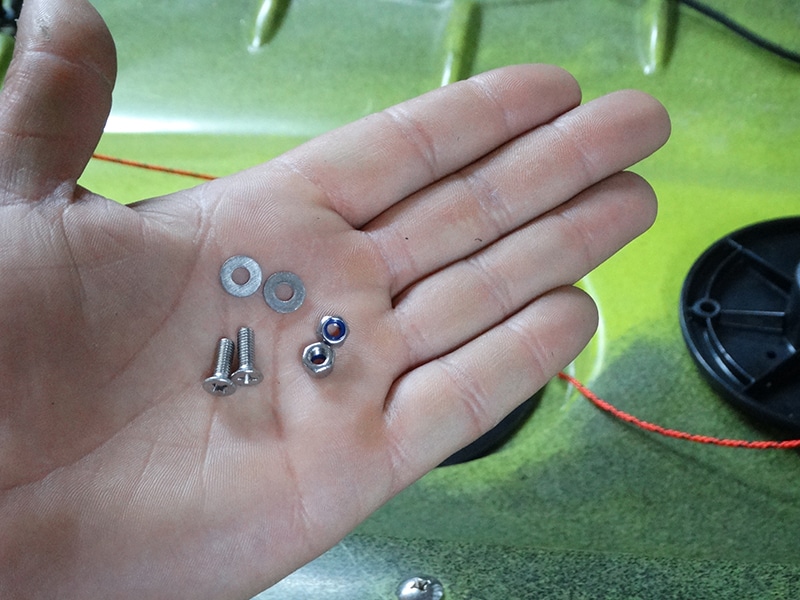
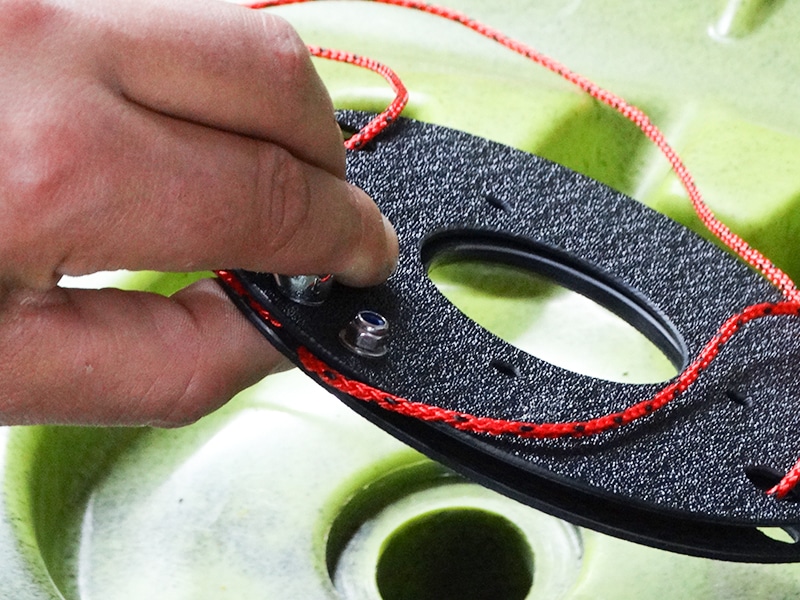
- The spectra cord needs to be run through the holes on the upper plate and through the existing disc.
- Assemble the new BerleyPro cover plate, the four m5 x 30 countersunk head screws, flat washers, and nuts.
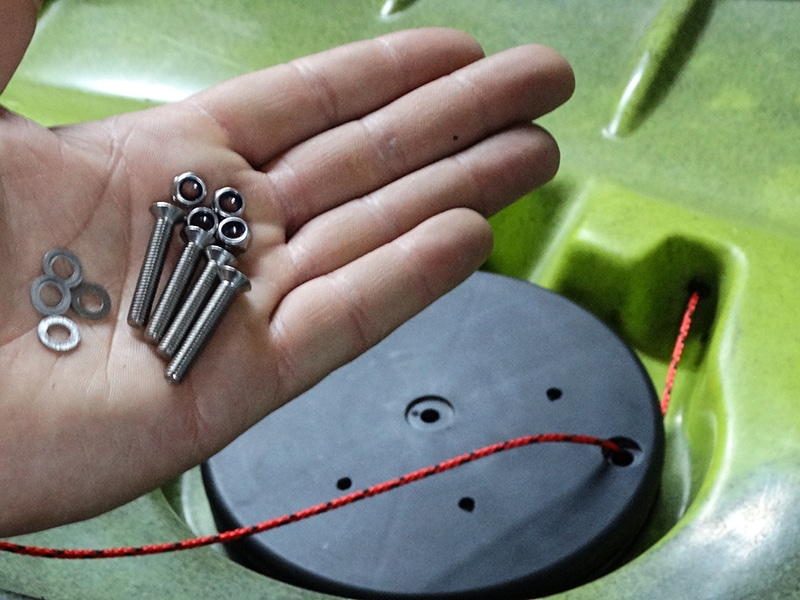
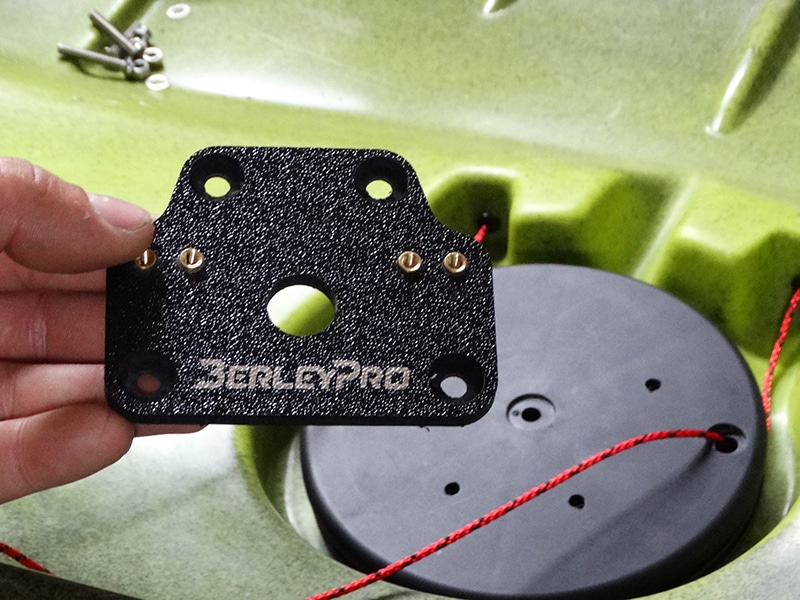
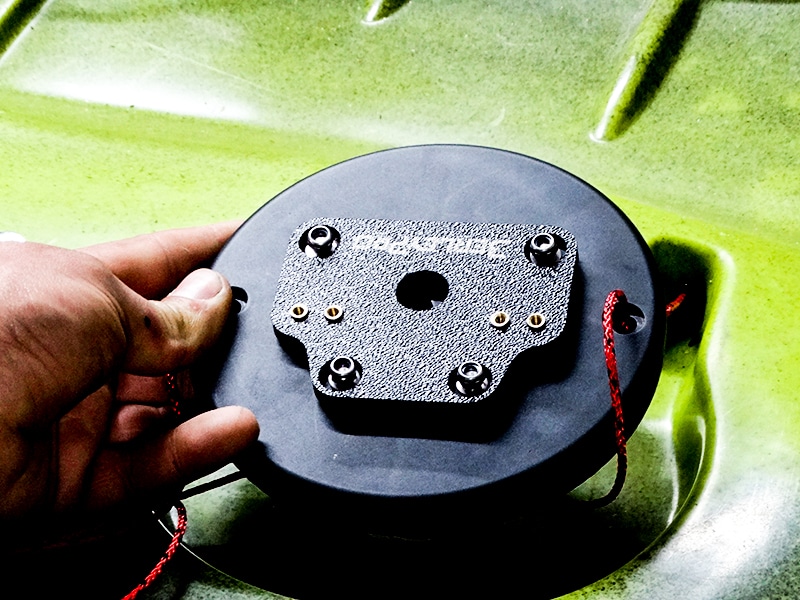
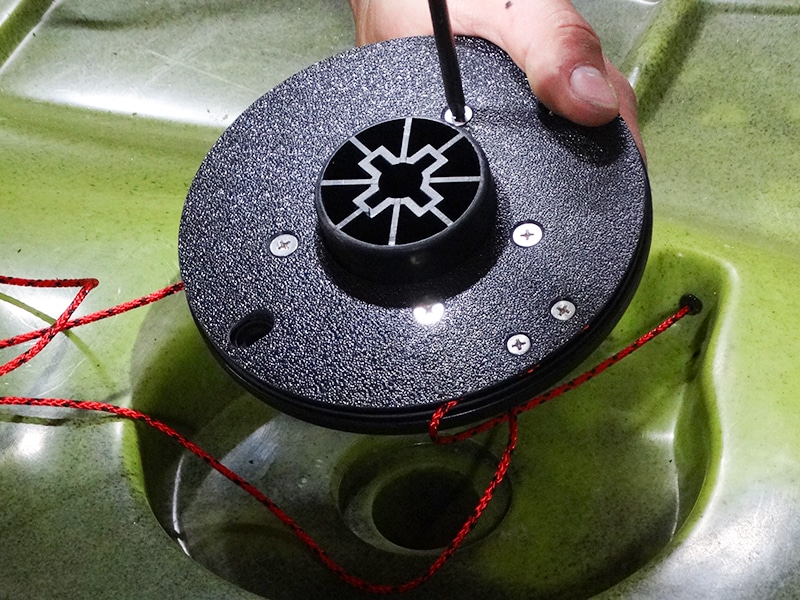
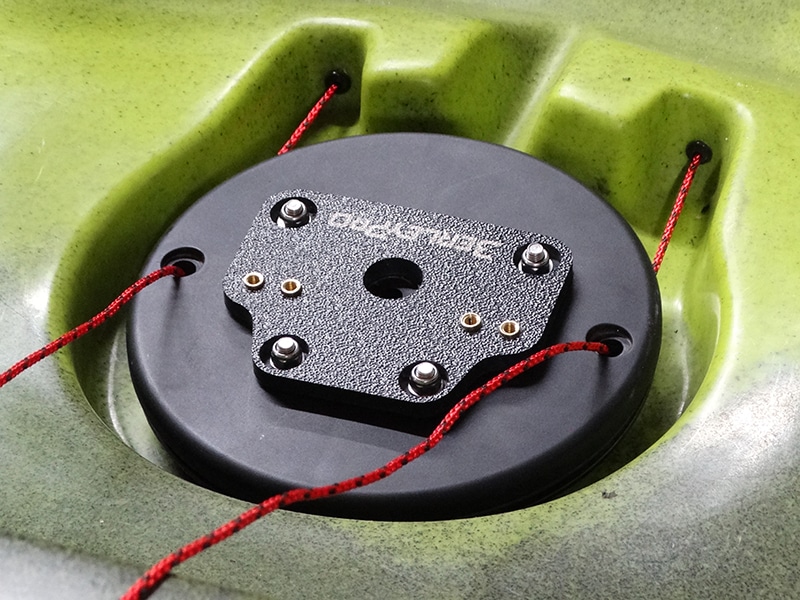
- Install the rudder on the kayak by using the top screw. Tighten this so you can feel friction while turning then back it off a quarter of a turn.
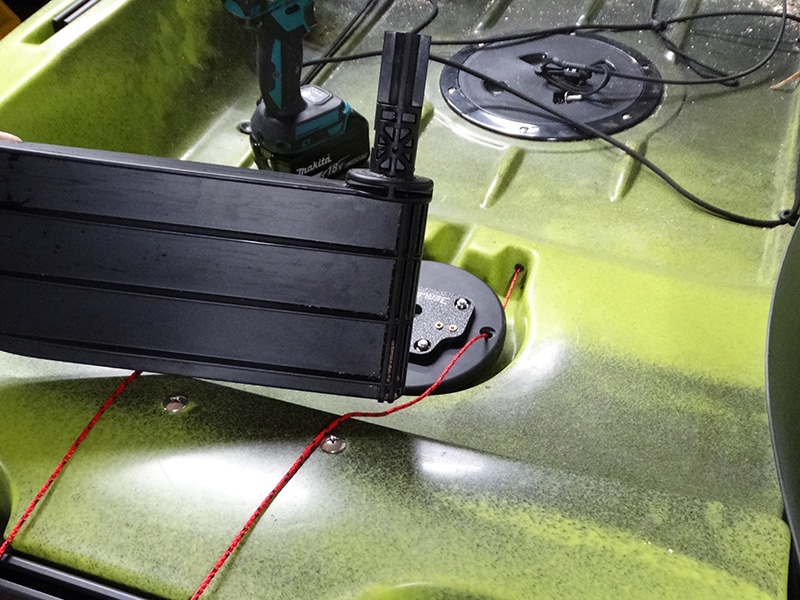
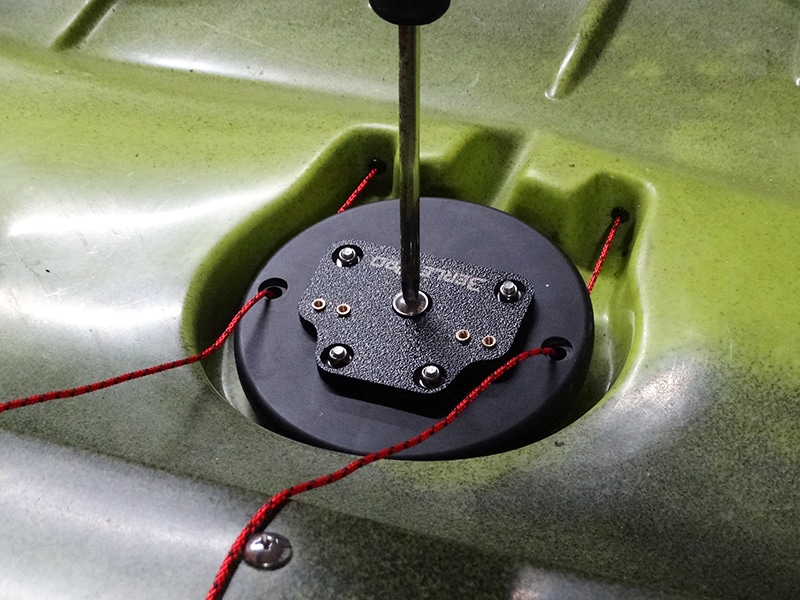
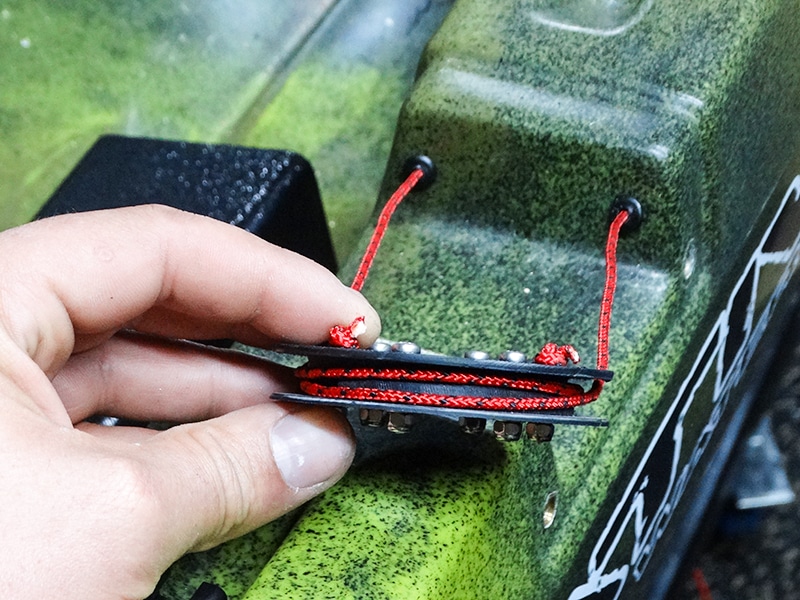
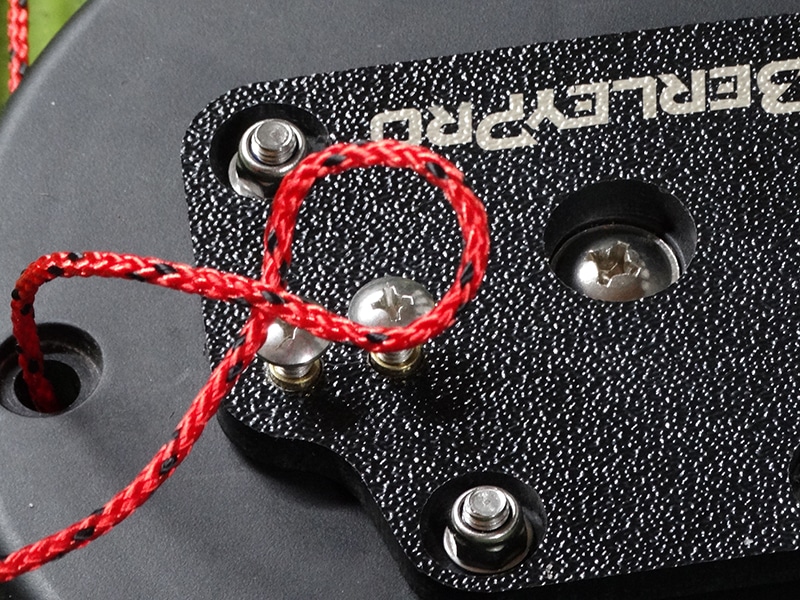
- To tension the steering system you need to ensure that the rudder and handle are pointing forward. Attach the cords looped the way shown to ensure they tighten down on one another. Use the four 8/32 x 3/8 screws provided. They do not need to be super tight just enough to pinch the cord. You can test this by pulling on it, if it moves it isn’t tight enough.
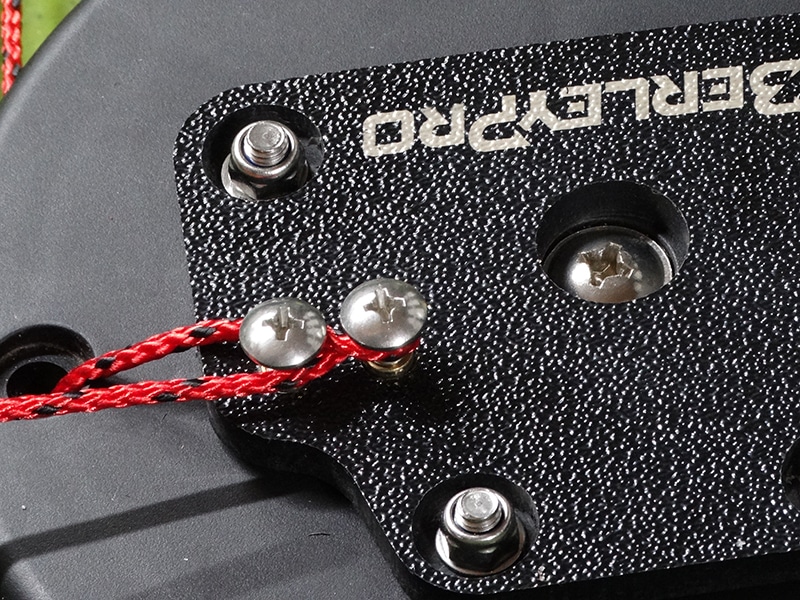
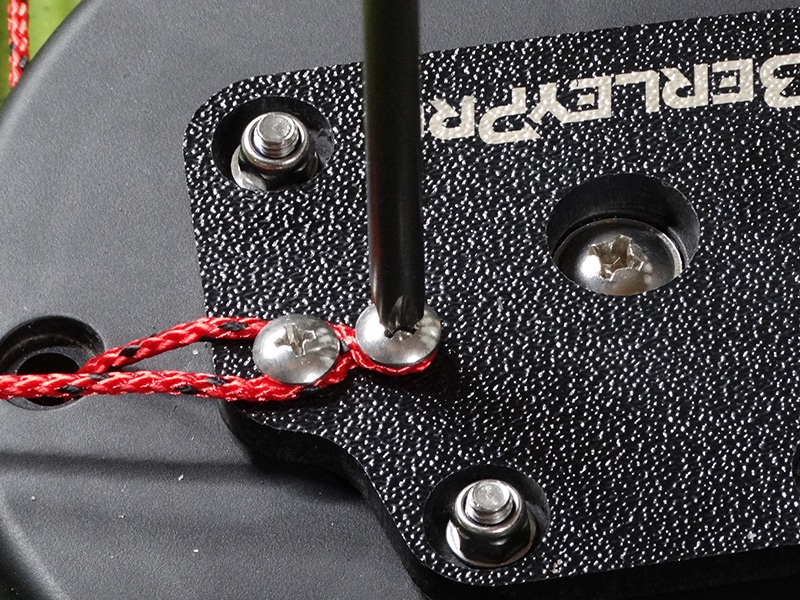
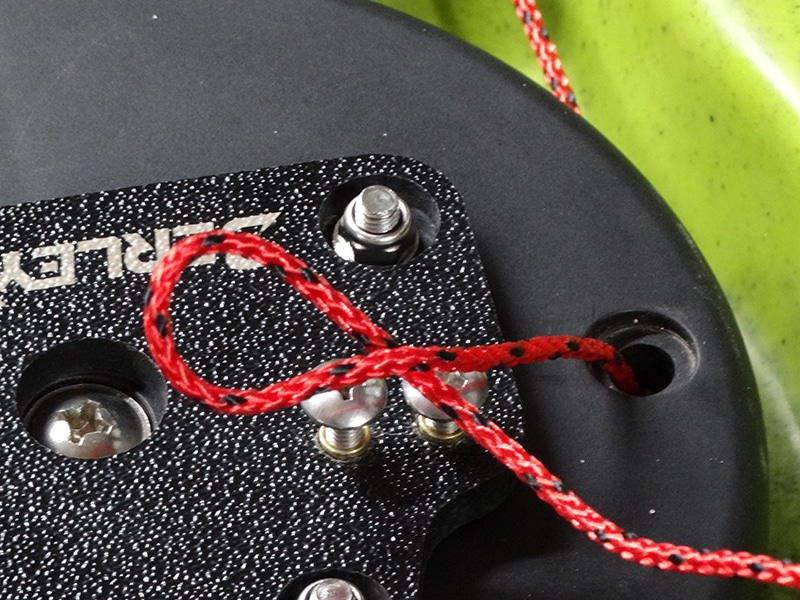
- Once this is complete you can check the steering to make sure it operates and then cut off the excess cord. We recommend leaving it long enough for your first couple of sessions that if you need to adjust it you can still grip it to get tension.
Your steering conversion is now complete and your rudder should be able to turn this far.
