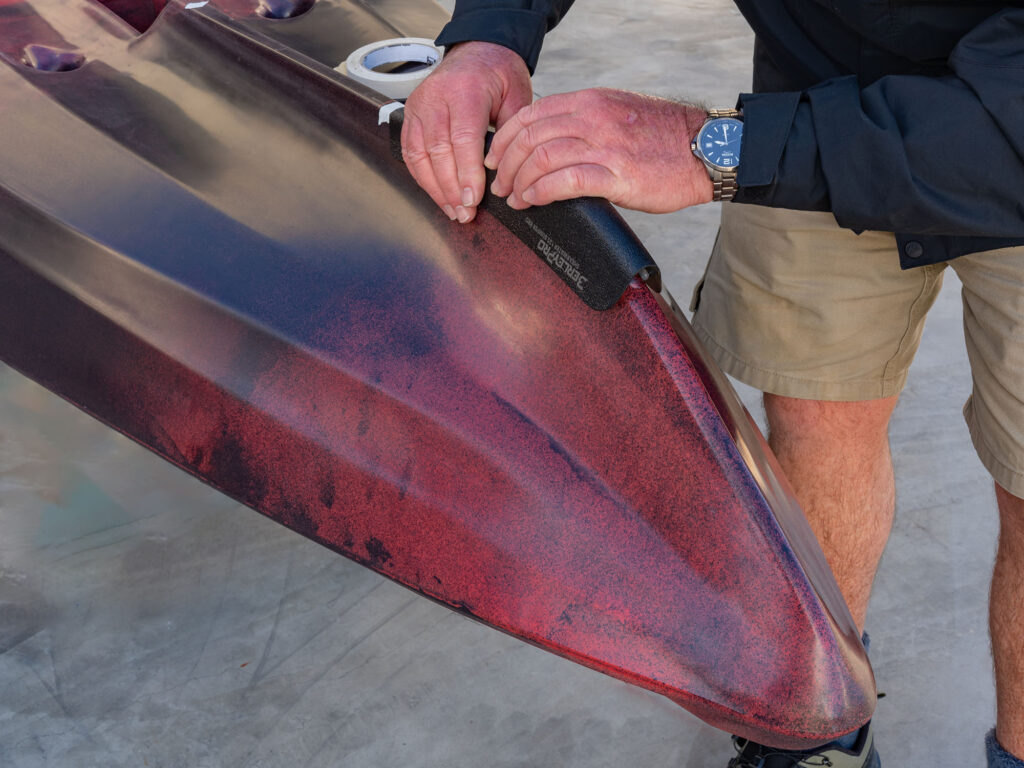
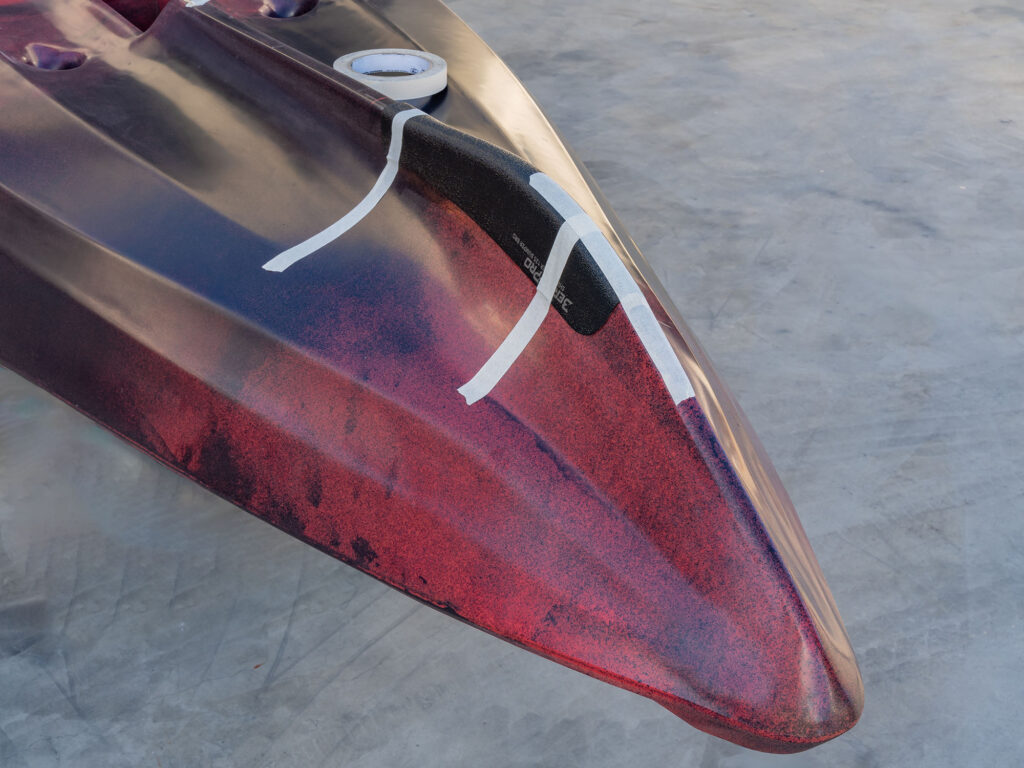
For kayak anglers seeking to enhance their fishing experience and protect their watercraft investment, the BerleyPro Bumper Bro offers a reliable solution. In this blog post, we’ll provide you with a step-by-step guide to installing the Bumper Bro using marine goop or a suitable adhesive. By following these instructions, you can ensure a secure and durable attachment without the need for screws. Let’s dive in and have your kayak equipped with a BerleyPro Bumper Bro in no time!
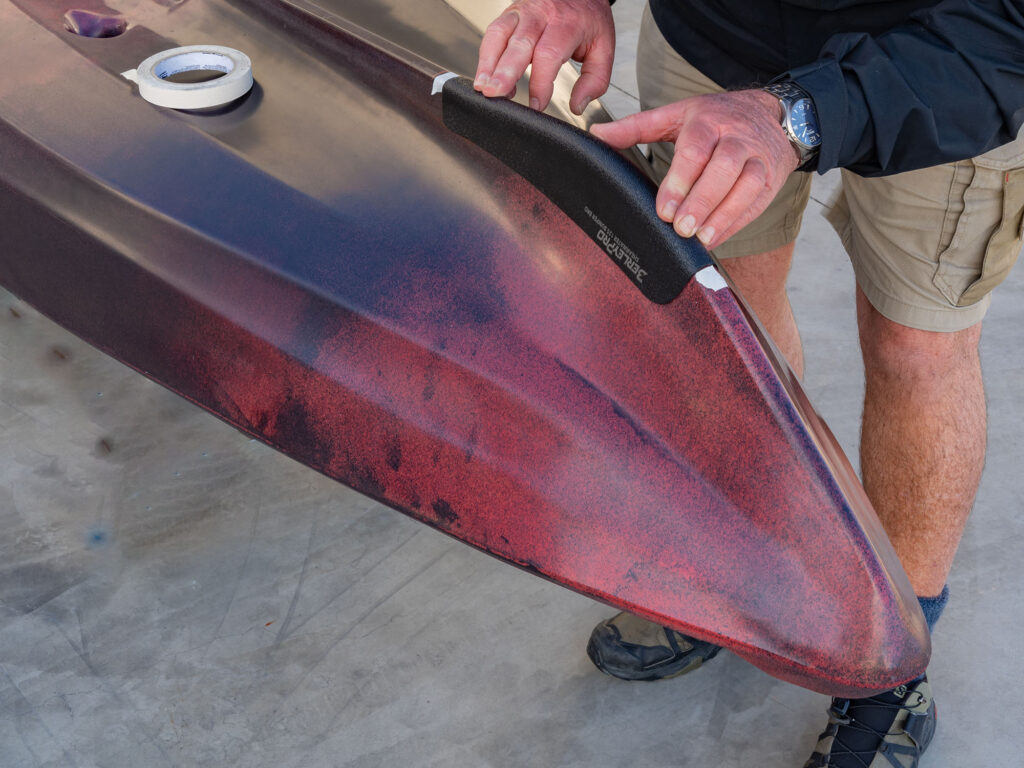
Step 1: Locate the Ideal Position and Reform the Bumper (if necessary): The fit of the BerleyPro Bumper Bro may vary slightly depending on the kayak model. Therefore, carefully position the bumper on the bow or stern of your kayak to find the location where it fits best with the least gaps. Mark this location using masking tape or a pencil. If there are gaps between the bumper and the kayak, gently heat the bumper with a heat gun while wearing a heat-proof glove. Apply slight pressure and reform the bumper to better conform to the shape of the kayak.
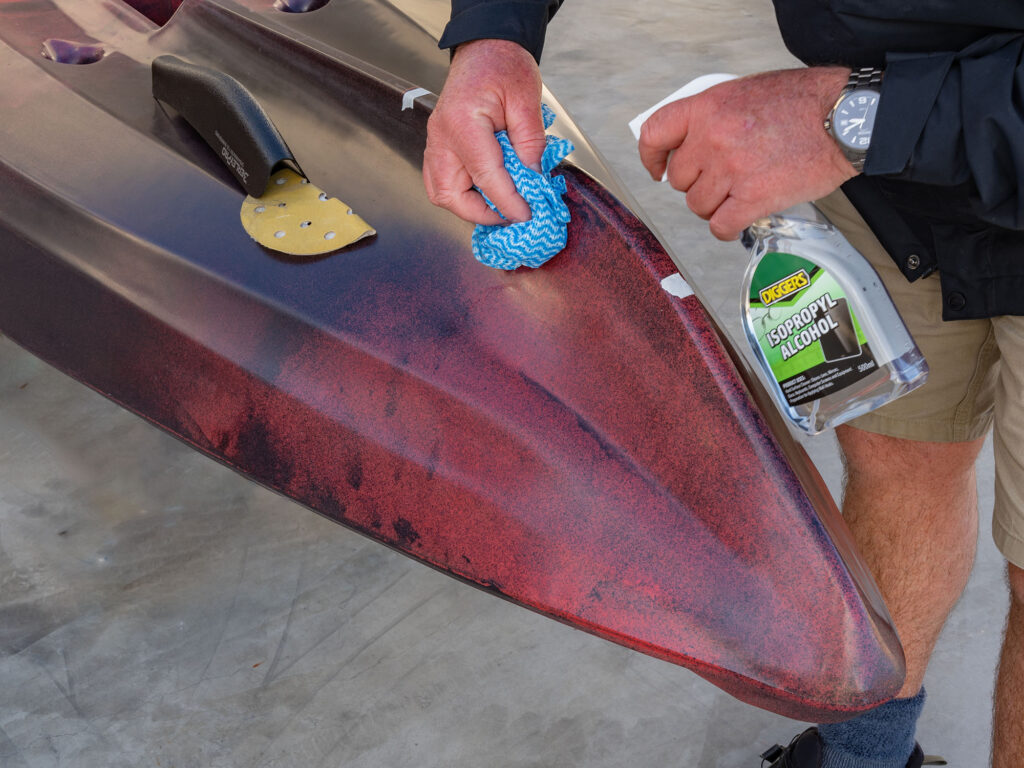
Step 2: Clean and Prepare the Surface: Thoroughly clean the mounting surface on the kayak using isopropyl alcohol and a clean cloth. This ensures the surface is free of dirt, grime, or residue. For improved adhesion, lightly sand the surface with sandpaper then dust off before cleaning with isopropyl alcohol. This step promotes better contact and enhances the effectiveness of the adhesive.
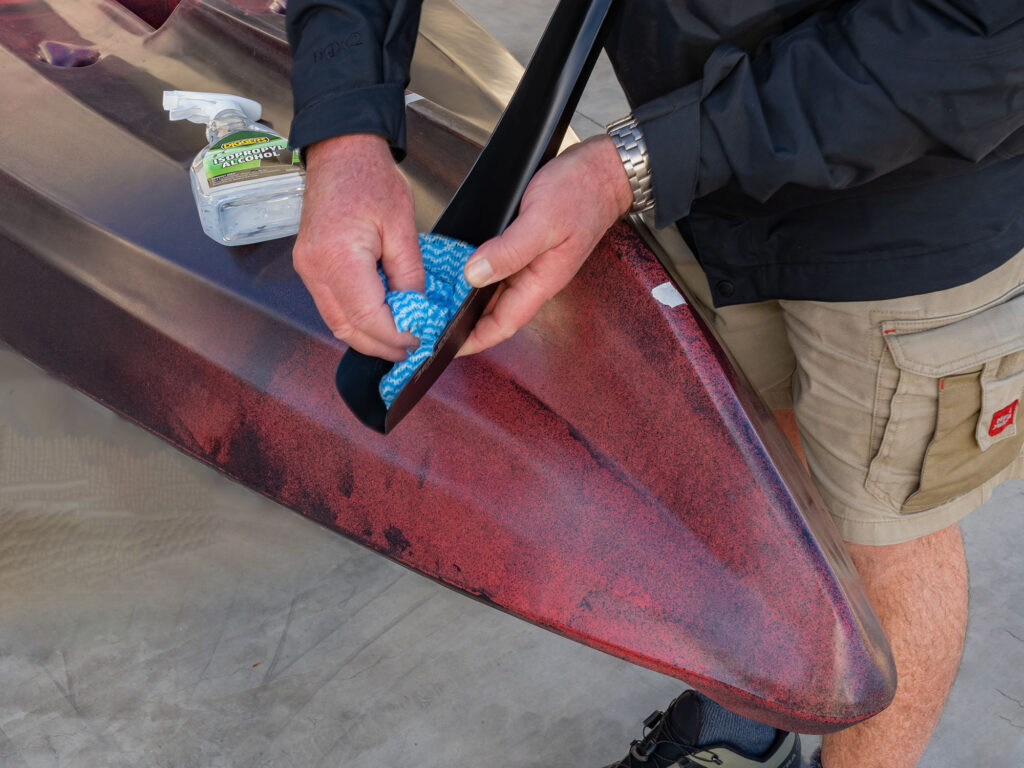
Step 3: Clean the Bumper Bro: Thoroughly clean the inside surface of the Bumper Bro using isopropyl alcohol and a clean cloth or paper towel. Allow the Bumper Bro and the mounting surface on the kayak to dry completely.
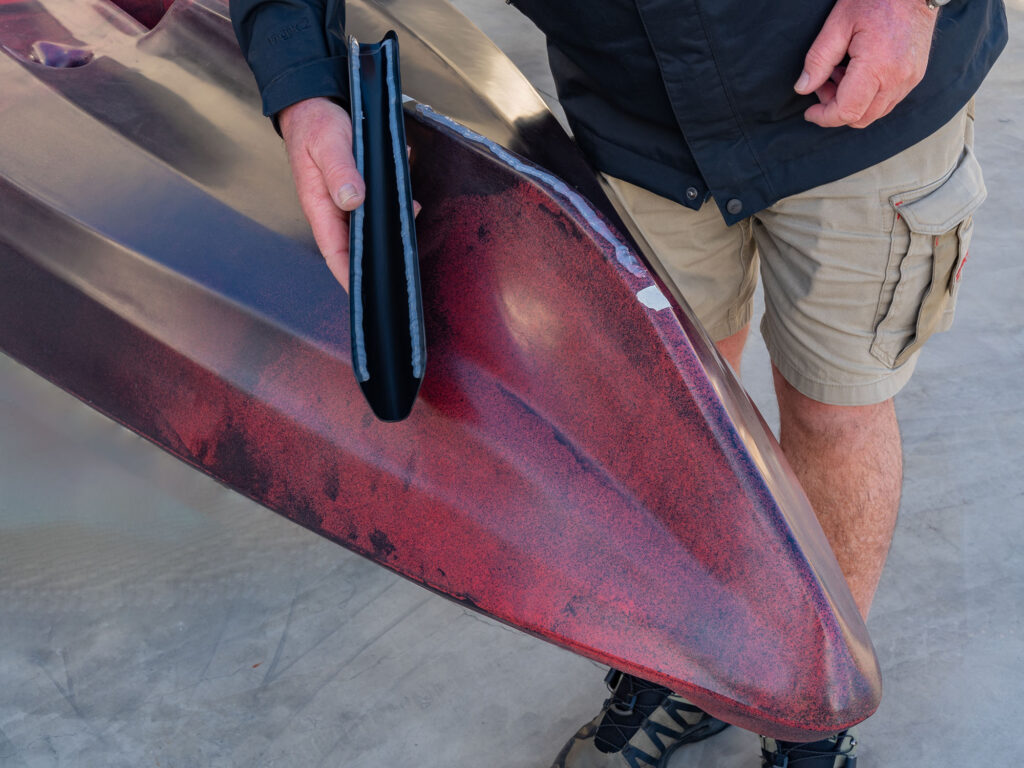
Step 4: Apply the Marine Goop or Adhesive: Check fit the Bumper Bro to make sure you have it the correct way round for fitting onto the kayak. It is a good idea to use pieces of tape to mark the keel just beyond the ends of the Bumper Bro to serve as a guide as you press it in place. Squeeze a small bead of marine Goop or your choice of adhesive along the sides of the Bumper Bro 15mm (1/2 inch) down from each edge. Also apply a generous bead along the centerline of the kayak keel.
Step 5: Position and Secure the Bumper Bro: Carefully position the Bumper Bro on the marked location of your kayak, aligning it properly with the contours of the hull. Apply firm but gentle pressure to press the bumper against the kayak surface. If needed, use masking tape to temporarily secure the bumper in place while the adhesive cures.
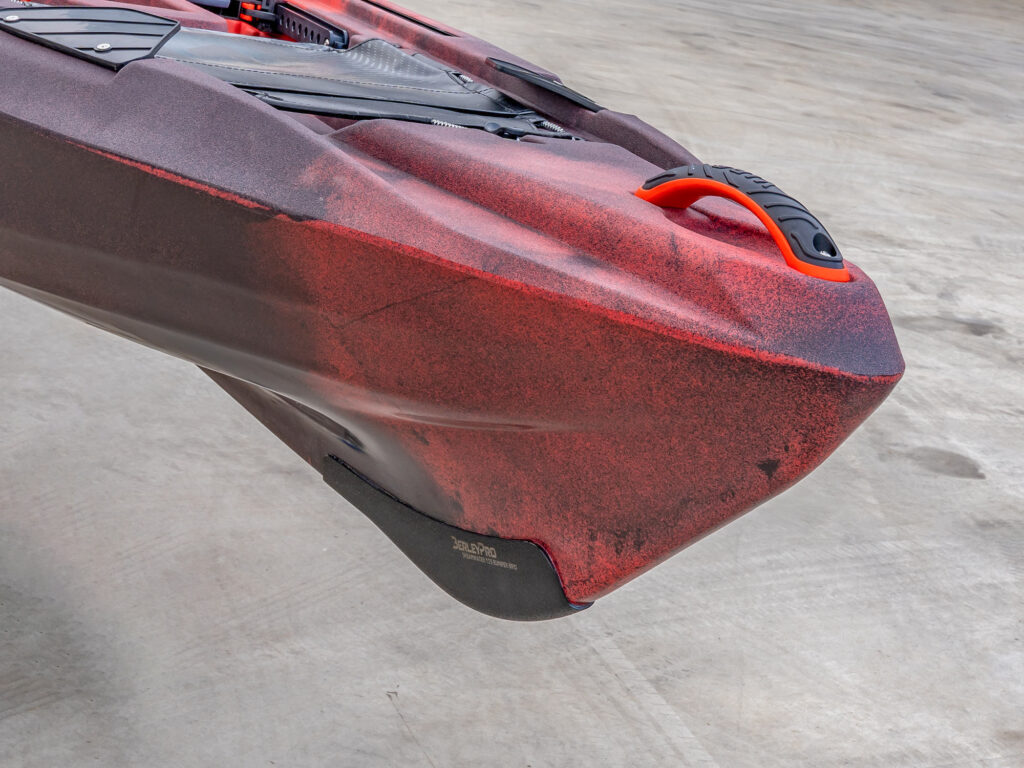
Step 6: Allow the Adhesive to Cure: After securing the bumper in place, allow the adhesive to cure undisturbed for at least 24 hours, or per the instructions provided by the adhesive manufacturer. This curing time ensures a strong and lasting bond between the bumper and the kayak.
