Here’s a step-by-step process for installing your visor on a Lowrance Elite 5 HDI!
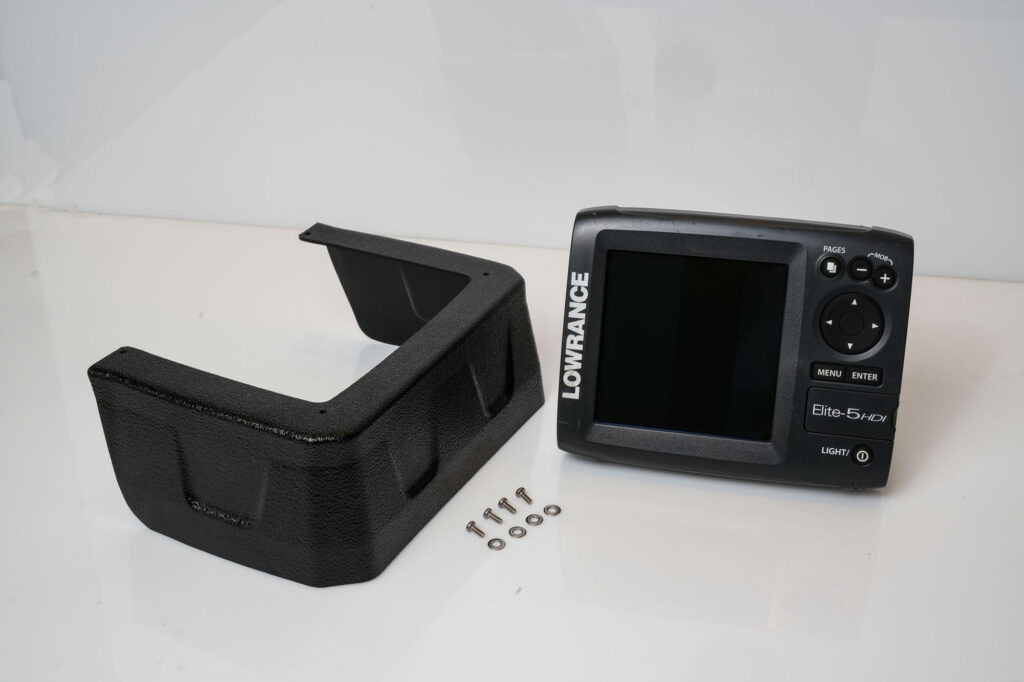
Step 1: Gather the Components: Before starting the installation, make sure you have all the necessary components within reach. You’ll need the BerleyPro sun visor, 4 M3 x 8 Phillips pan head screws, washers, and a Phillips head screwdriver. Ensure each component is in good condition, ready for a seamless installation.

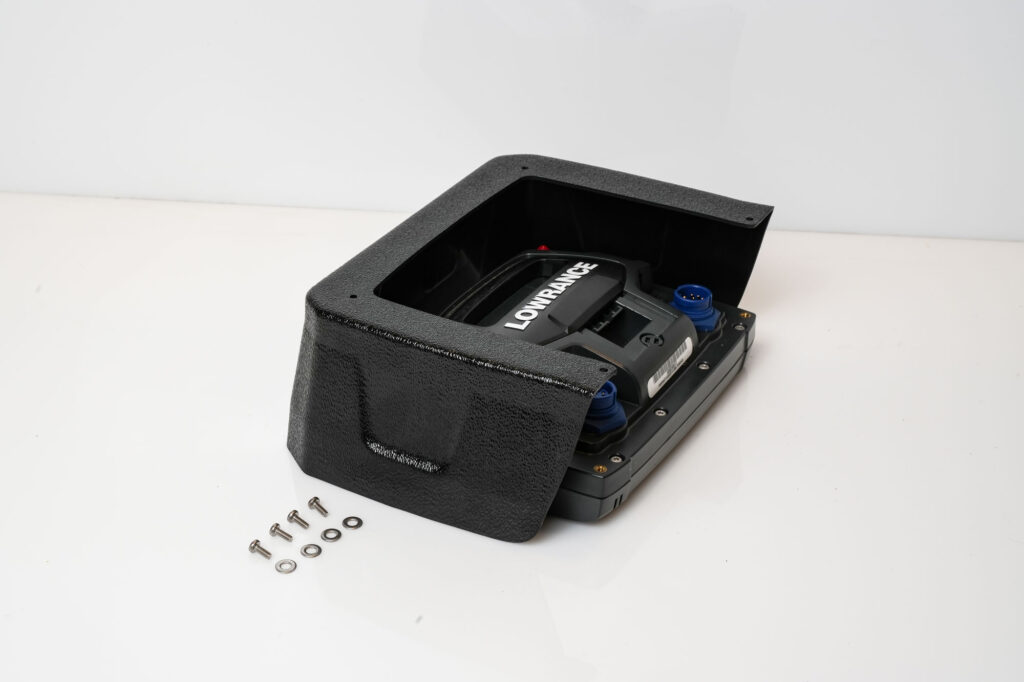
Step 2: Positioning the Visor: Take the BerleyPro sun visor and carefully place it over the rear of your Lowrance Elite 5 HDI unit. Align it properly, ensuring it adequately covers the screen and provides the desired shade. Confirm that the visor fits securely and snugly in place, preparing it for the next step.

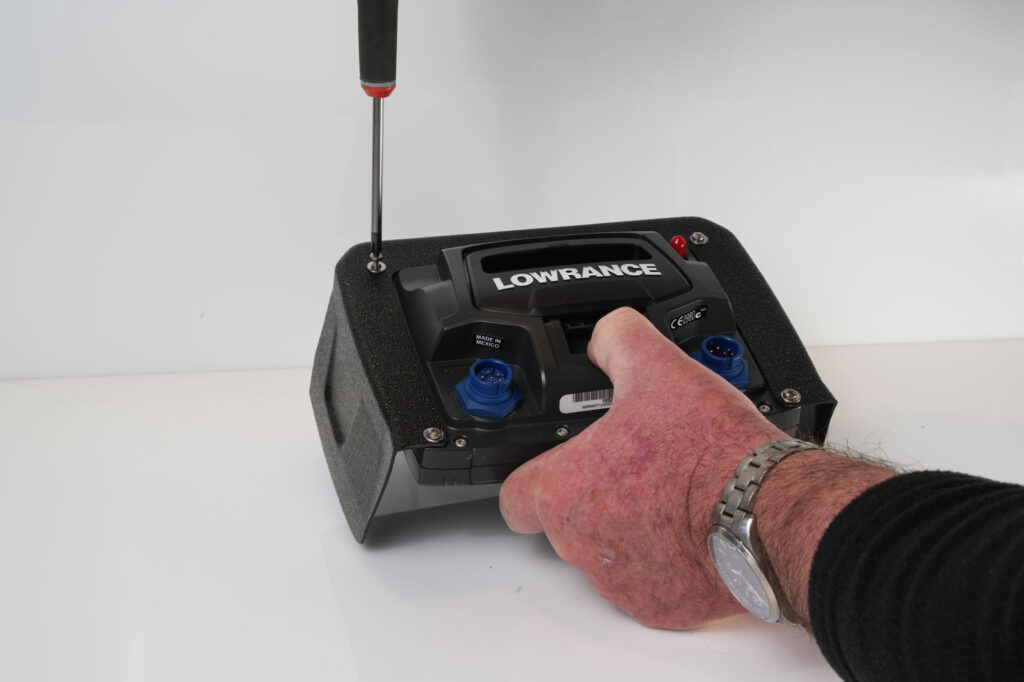
Step 3: Attaching the Screws: Using your trusty Phillips head screwdriver, start attaching the 4 M3 x 8 Phillips pan head screws. Insert them one by one through the designated holes in the sun visor. To provide stability, slide a washer onto each screw. Tighten the screws securely, making sure not to overtighten.

Step 4: With all the screws tightly secured, take a moment to appreciate the remarkable difference the BerleyPro sun visor brings to your fishing experience. Enjoy an unobstructed view of your Lowrance Elite 5 HDI fishfinder’s screen, even in bright sunlight. The reduced glare enhances visibility, allowing you to focus on tracking fish and navigating waters effectively. Say goodbye to frustrating reflections and hello to a more productive and enjoyable time on the water. Embrace the optimized performance of the BerleyPro sun visor and embark on unforgettable fishing adventures with confidence. Happy fishing!


